Tips for Flattening the Draw Reed Plate

Flattening the draw reed plate is an essential technique for increasing the performance of your harmonica (read: bending). Reducing air loss--by eliminating unnecessary (microscopic) divots and imperfections found on the mating surface of the reed plate, can greatly increase the playability of your harmonica.
Here are a few methods used in my shop that have proven extremely effective for flattening draw reed plates:

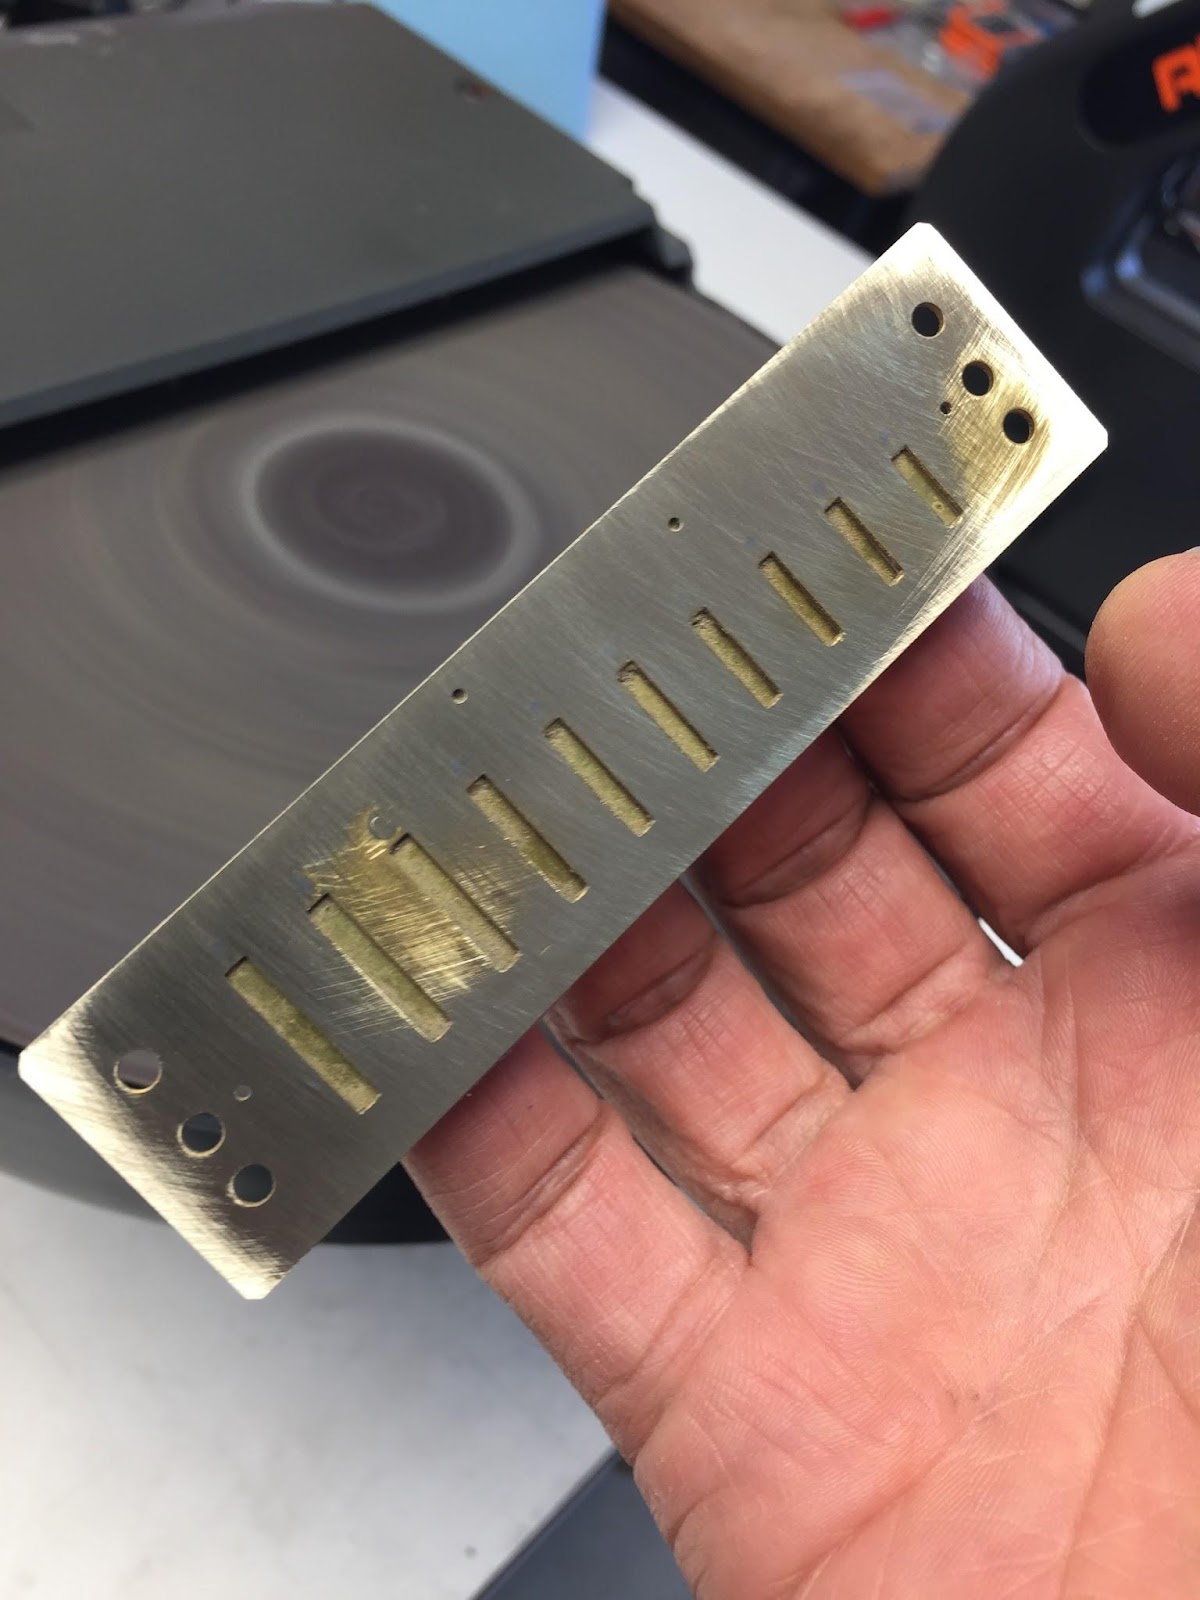
Visually examine the underside of the draw reed plate and look for discoloration. In this photo, it is easy to see the corrosion across the front of slots #1 through #7. This indicated that there was enough of a gap for saliva (moisture) to seep onto the plate.
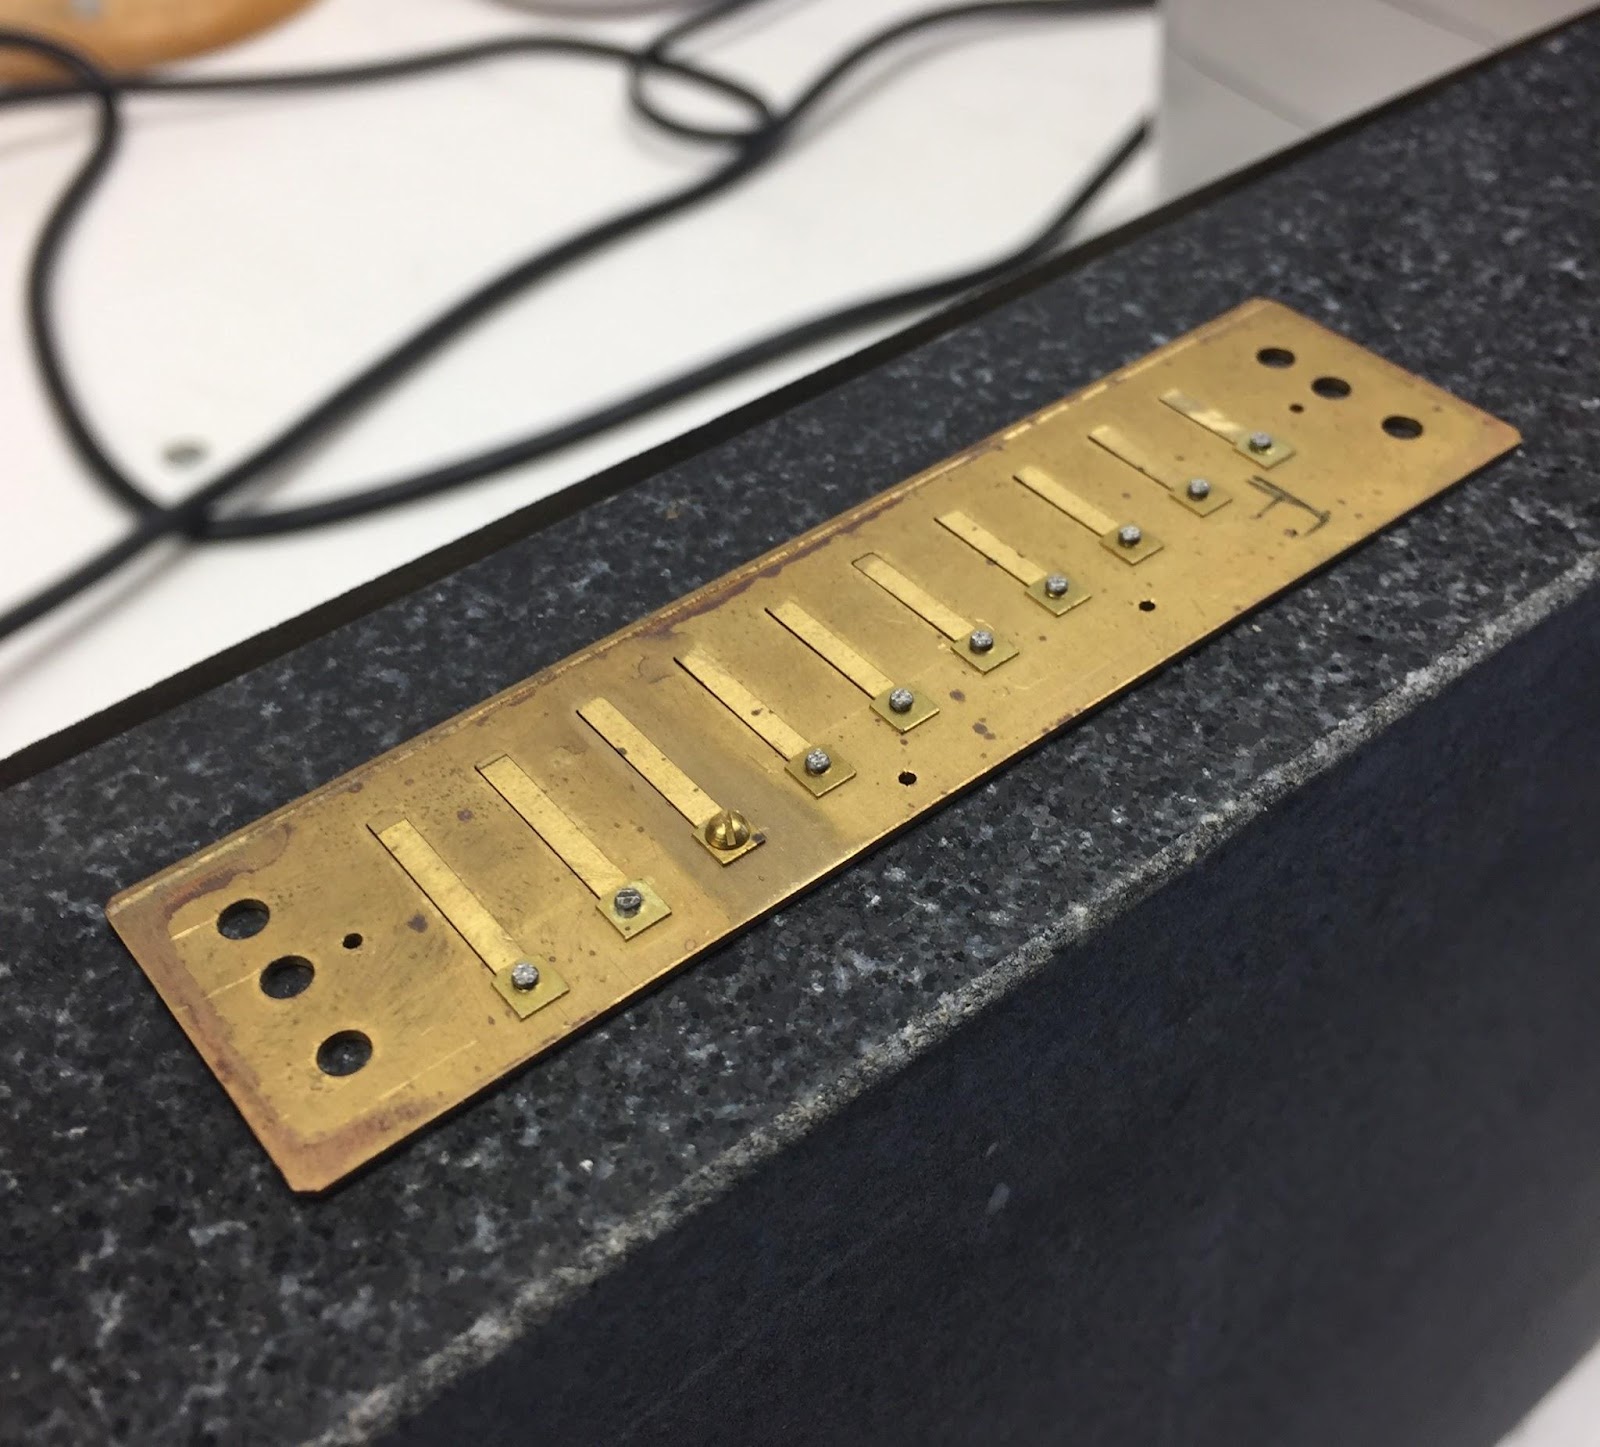
Here I’m checking the flatness of the reed plate against a known flat surface (e.g. machinist’s granite).
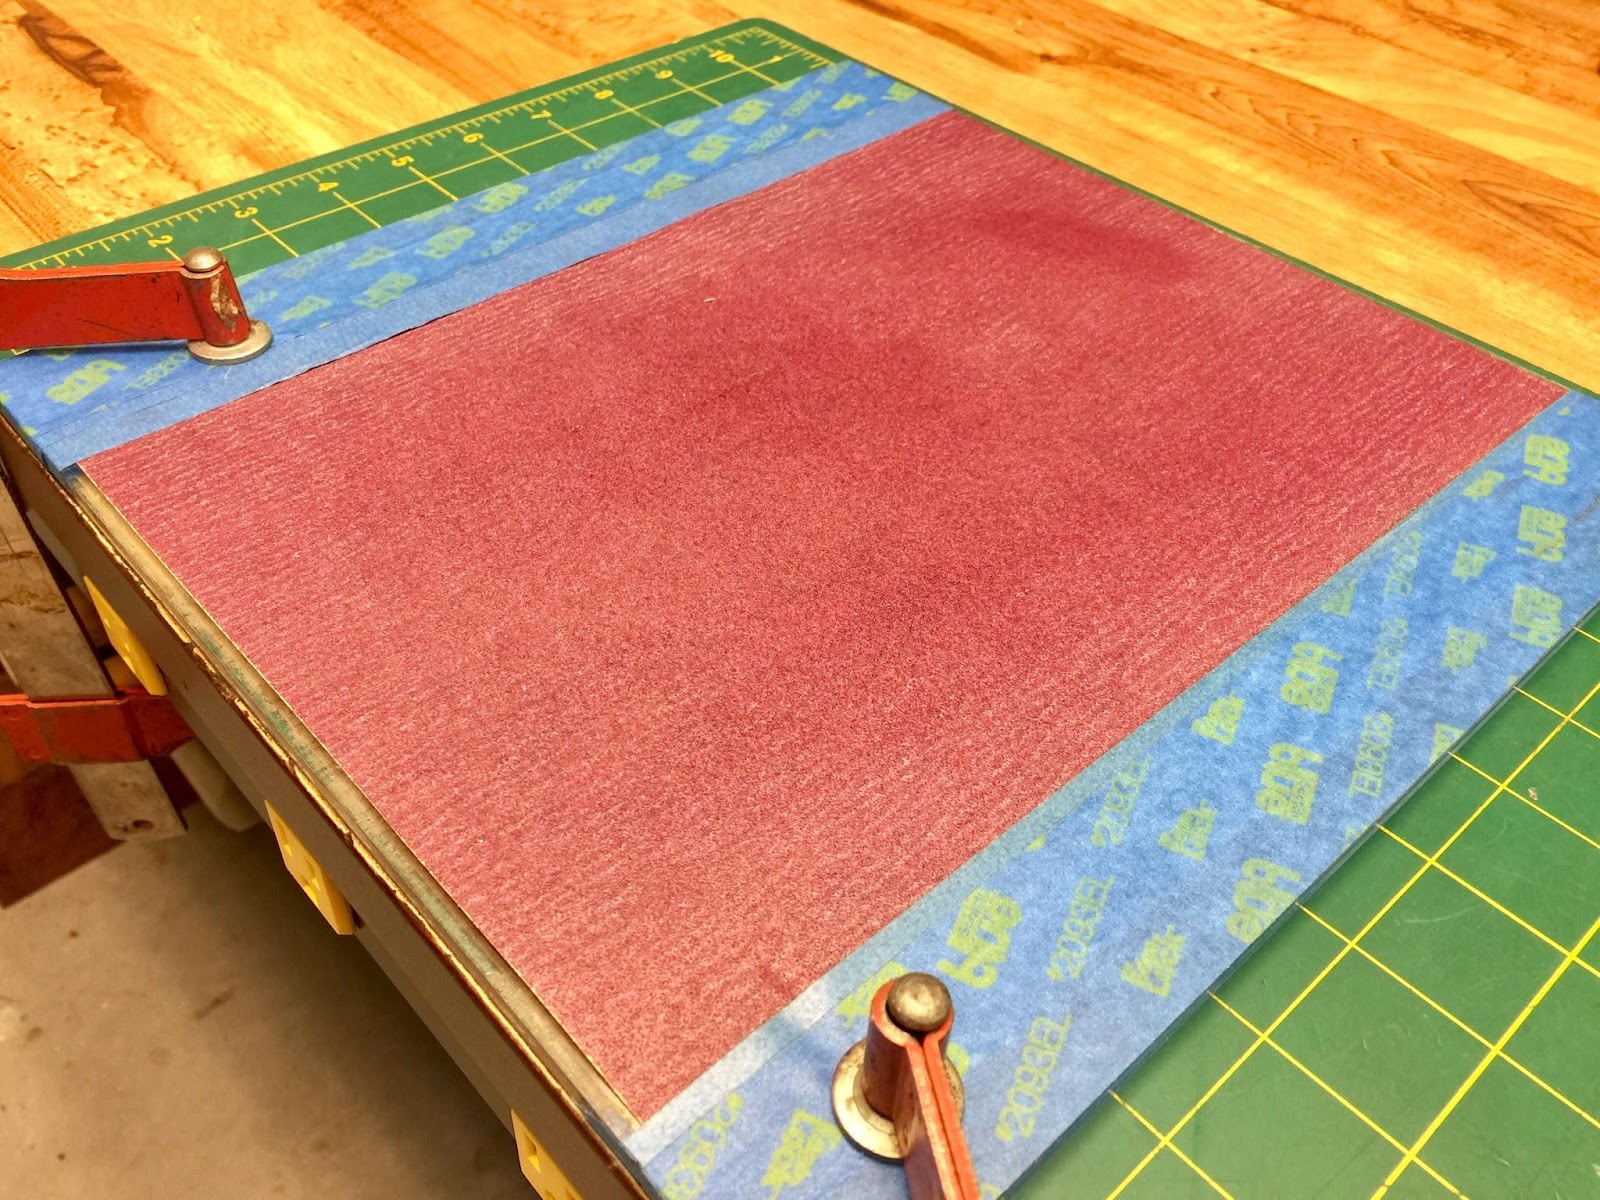
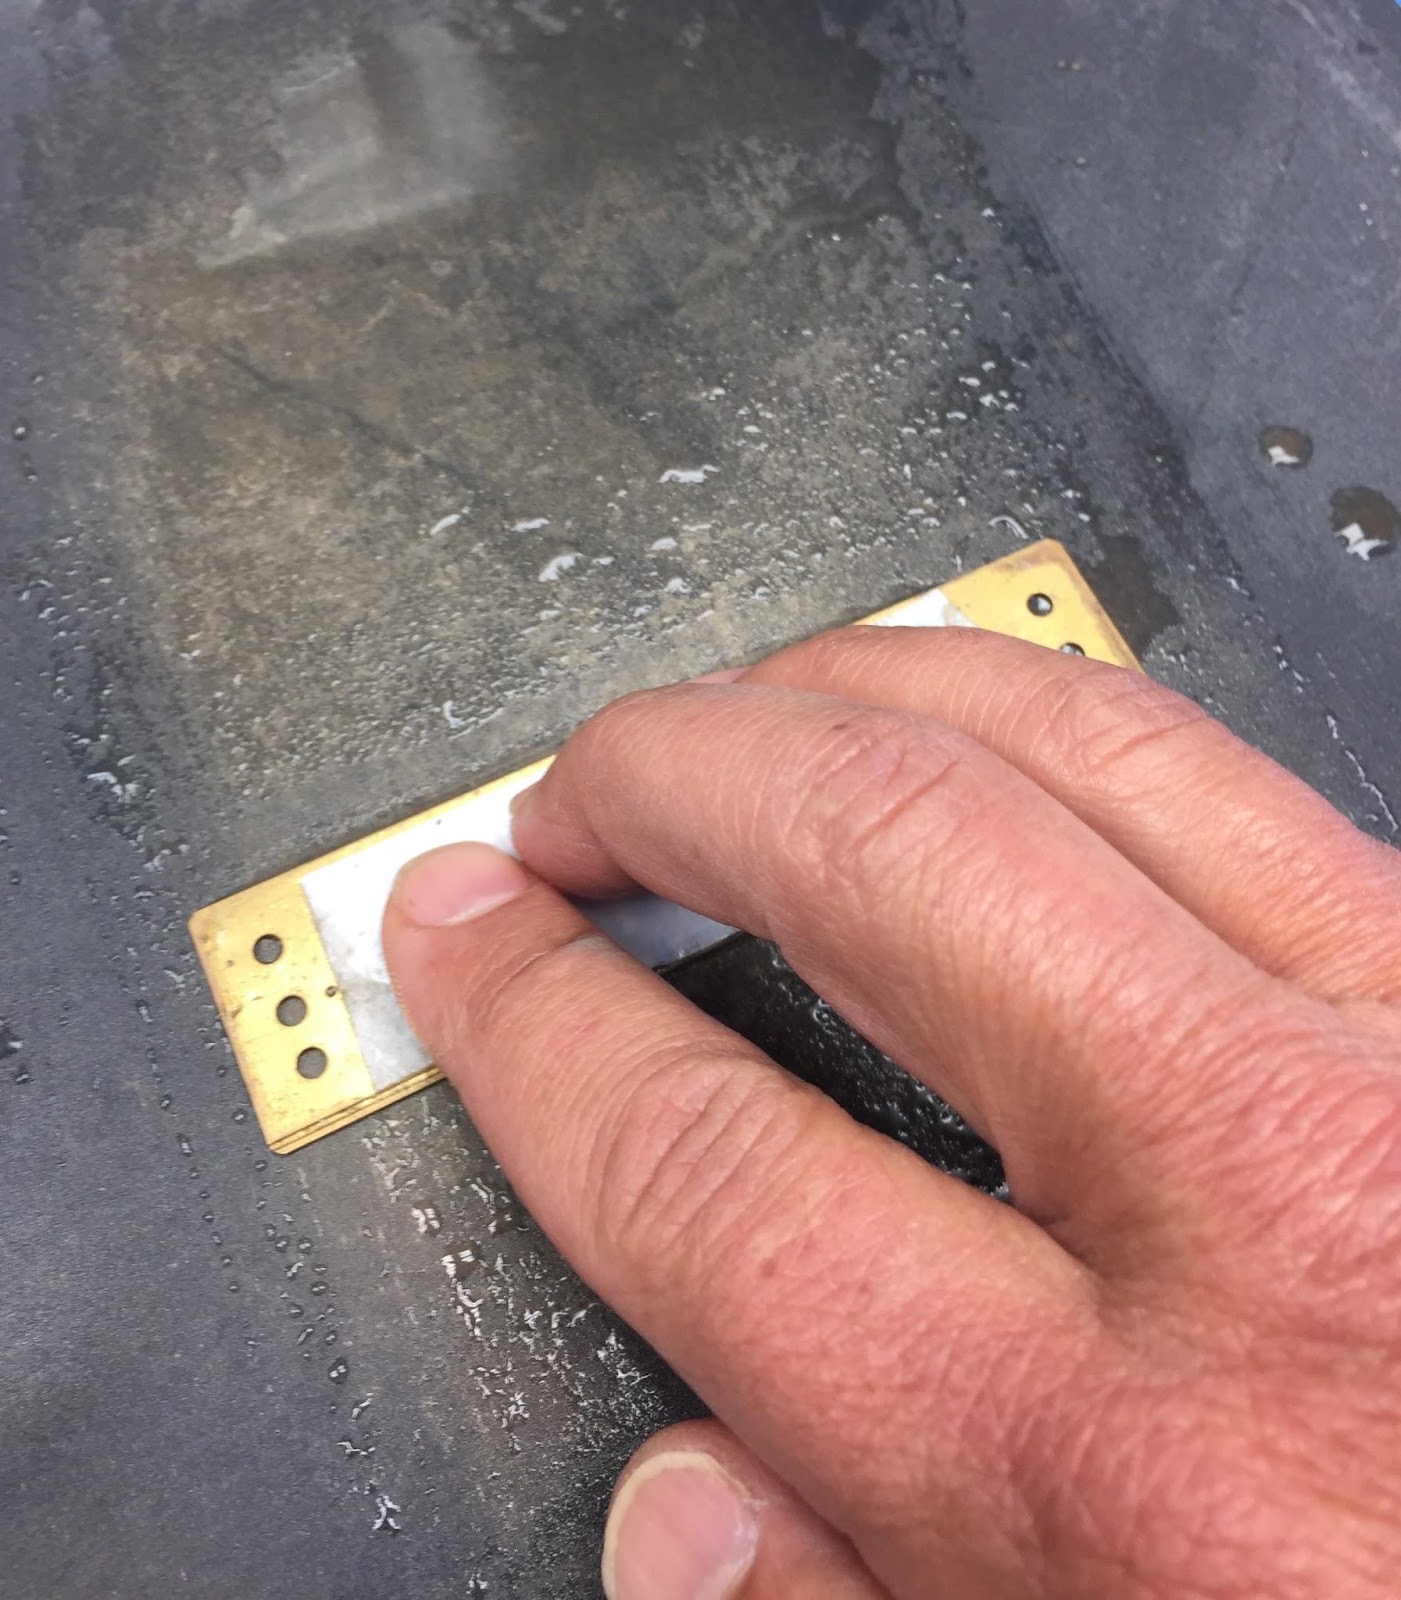
METHOD 1: Secure with Painter’s Blue tape, garnet type sandpaper onto a piece of flat acrylic plastic or glass. Clamp this sanding table to your work surface.
While applying even downward pressure across the reed plate--slide forward and backward
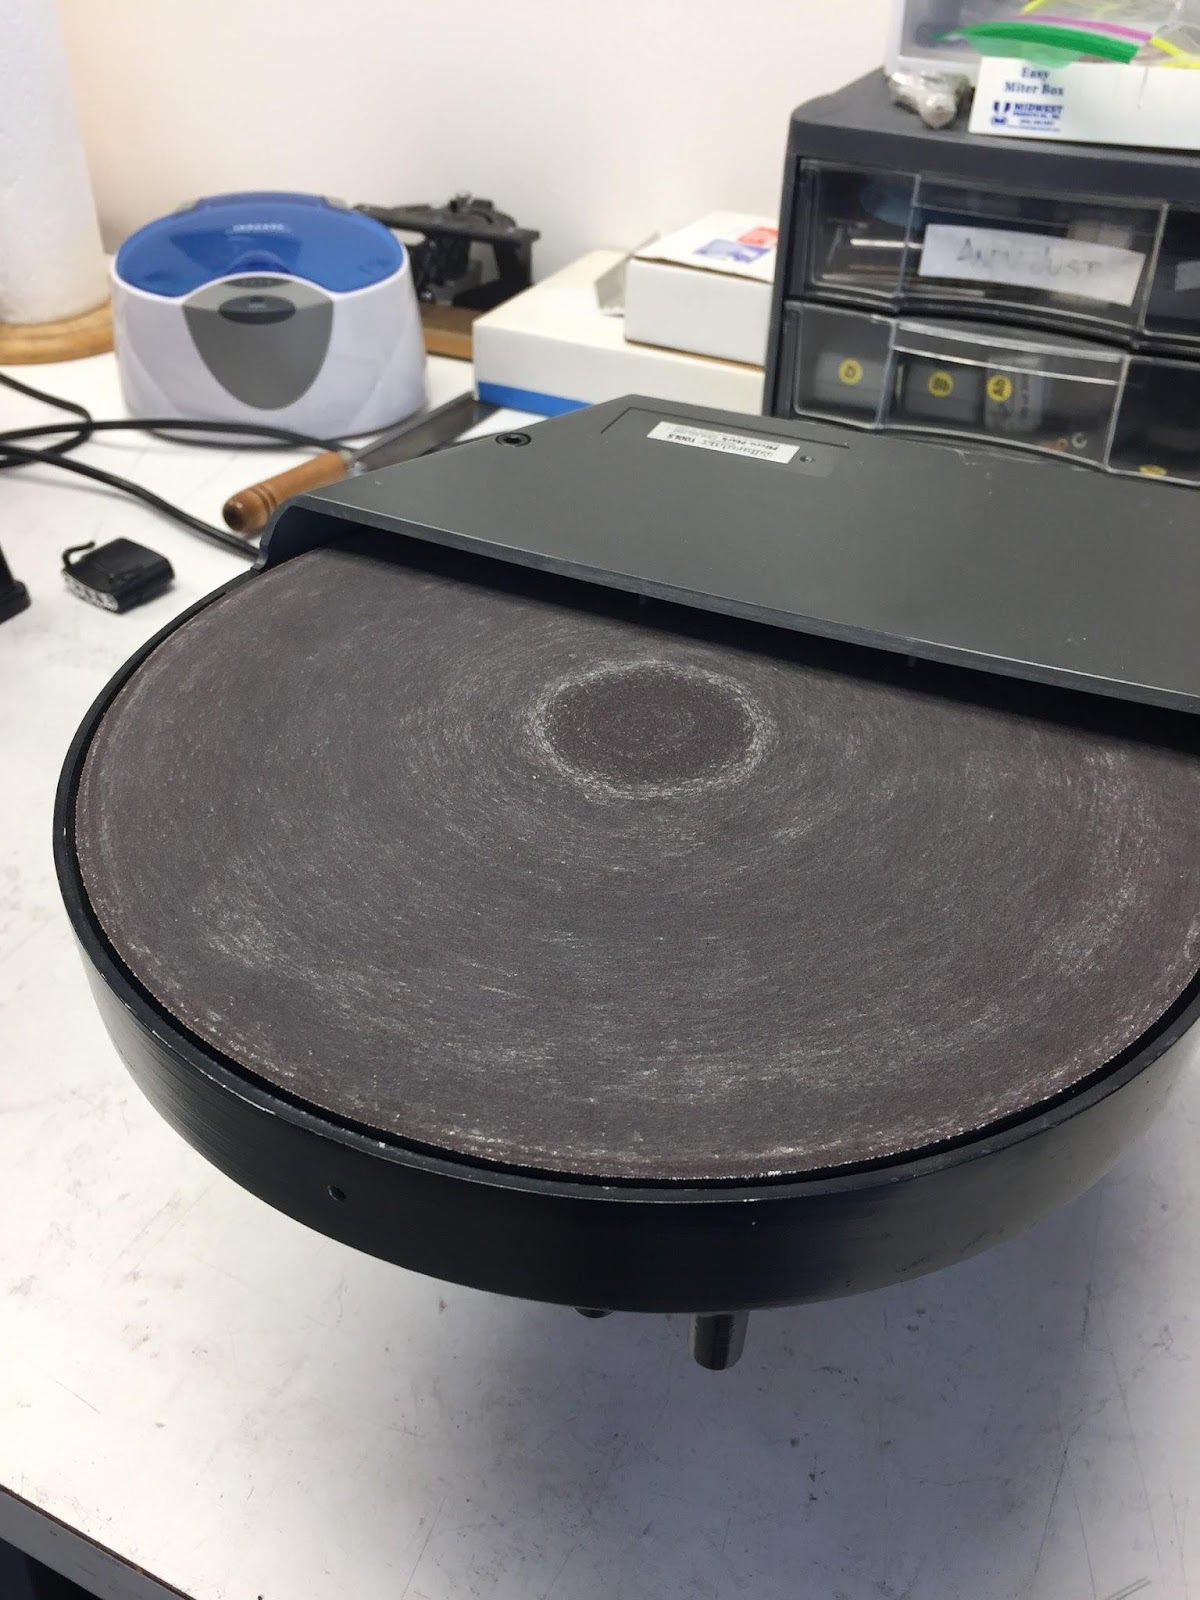
METHOD 2: Mounted horizontally, the 10” diameter modeler’s disc sander (MicroMark https://www.micromark.com/10-Inch-Variable-Speed-Disk-Sander), is a wonderful alternative to the sanding table
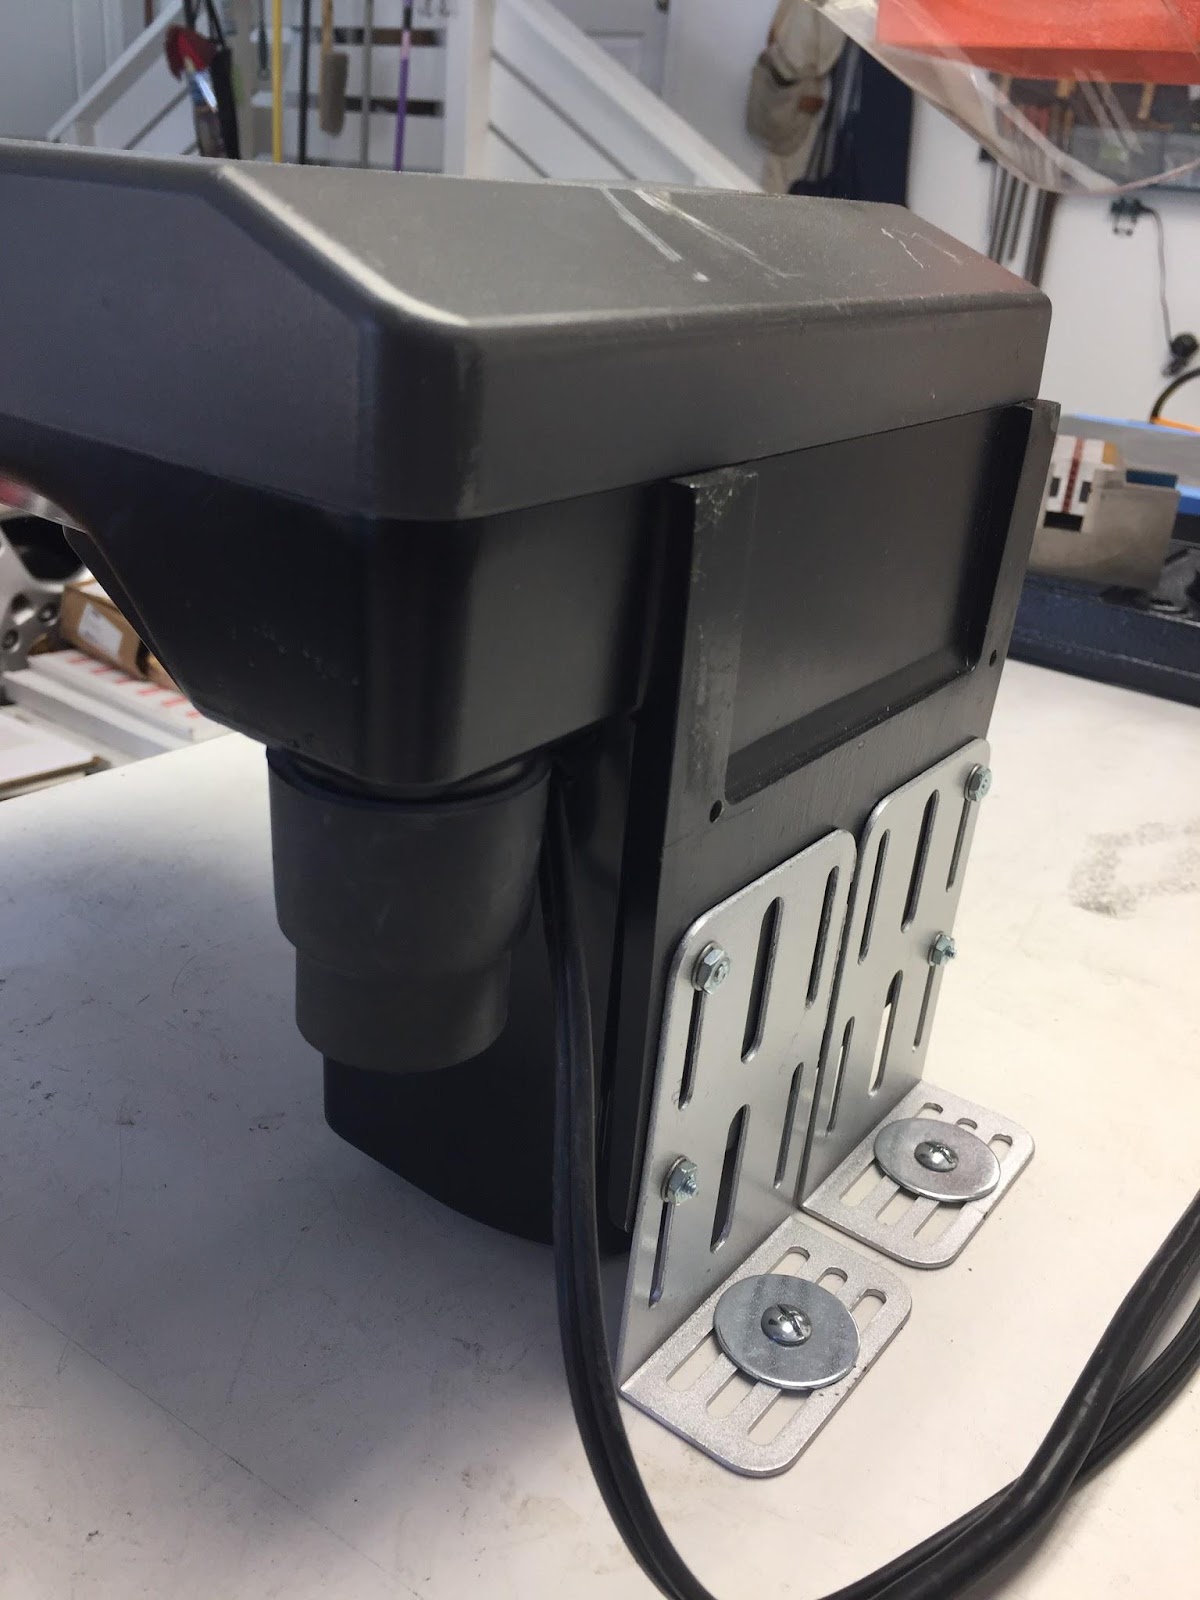
Here is an image of the back of the sander with a set of adjustable brackets I had fabricated
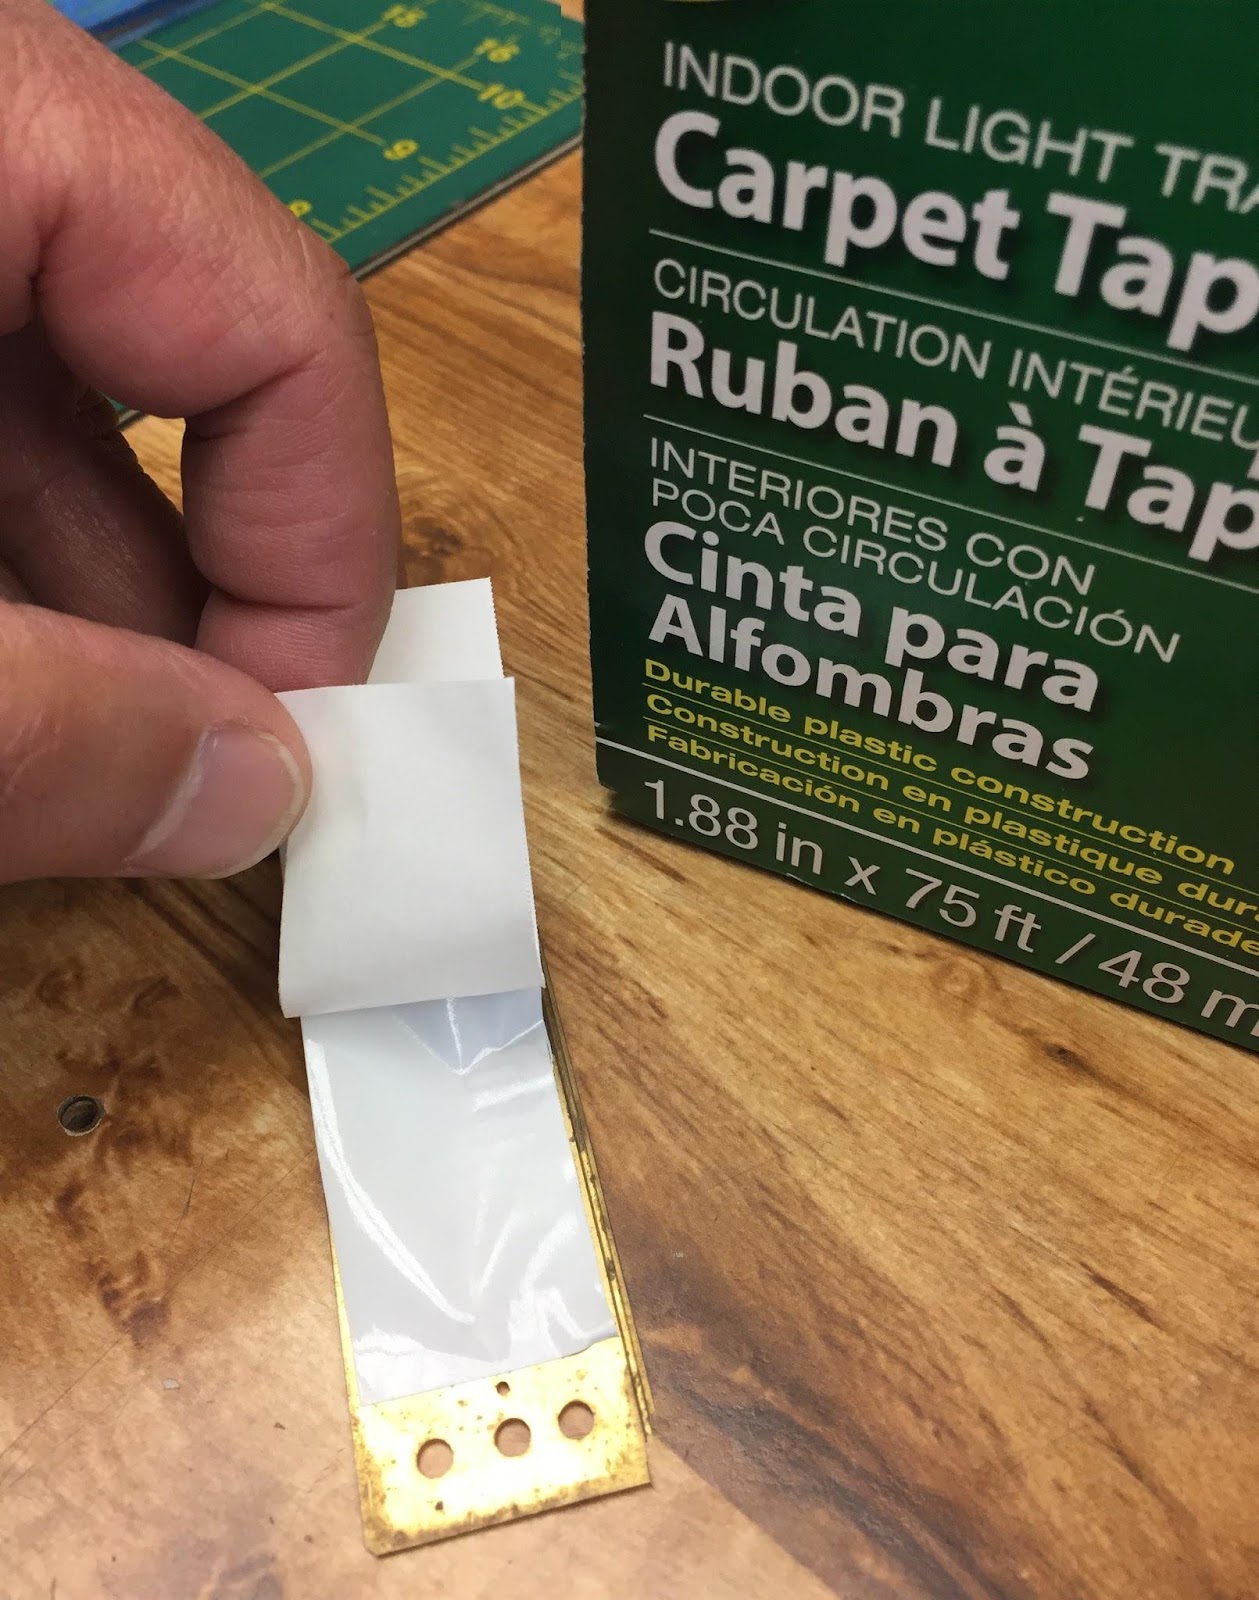
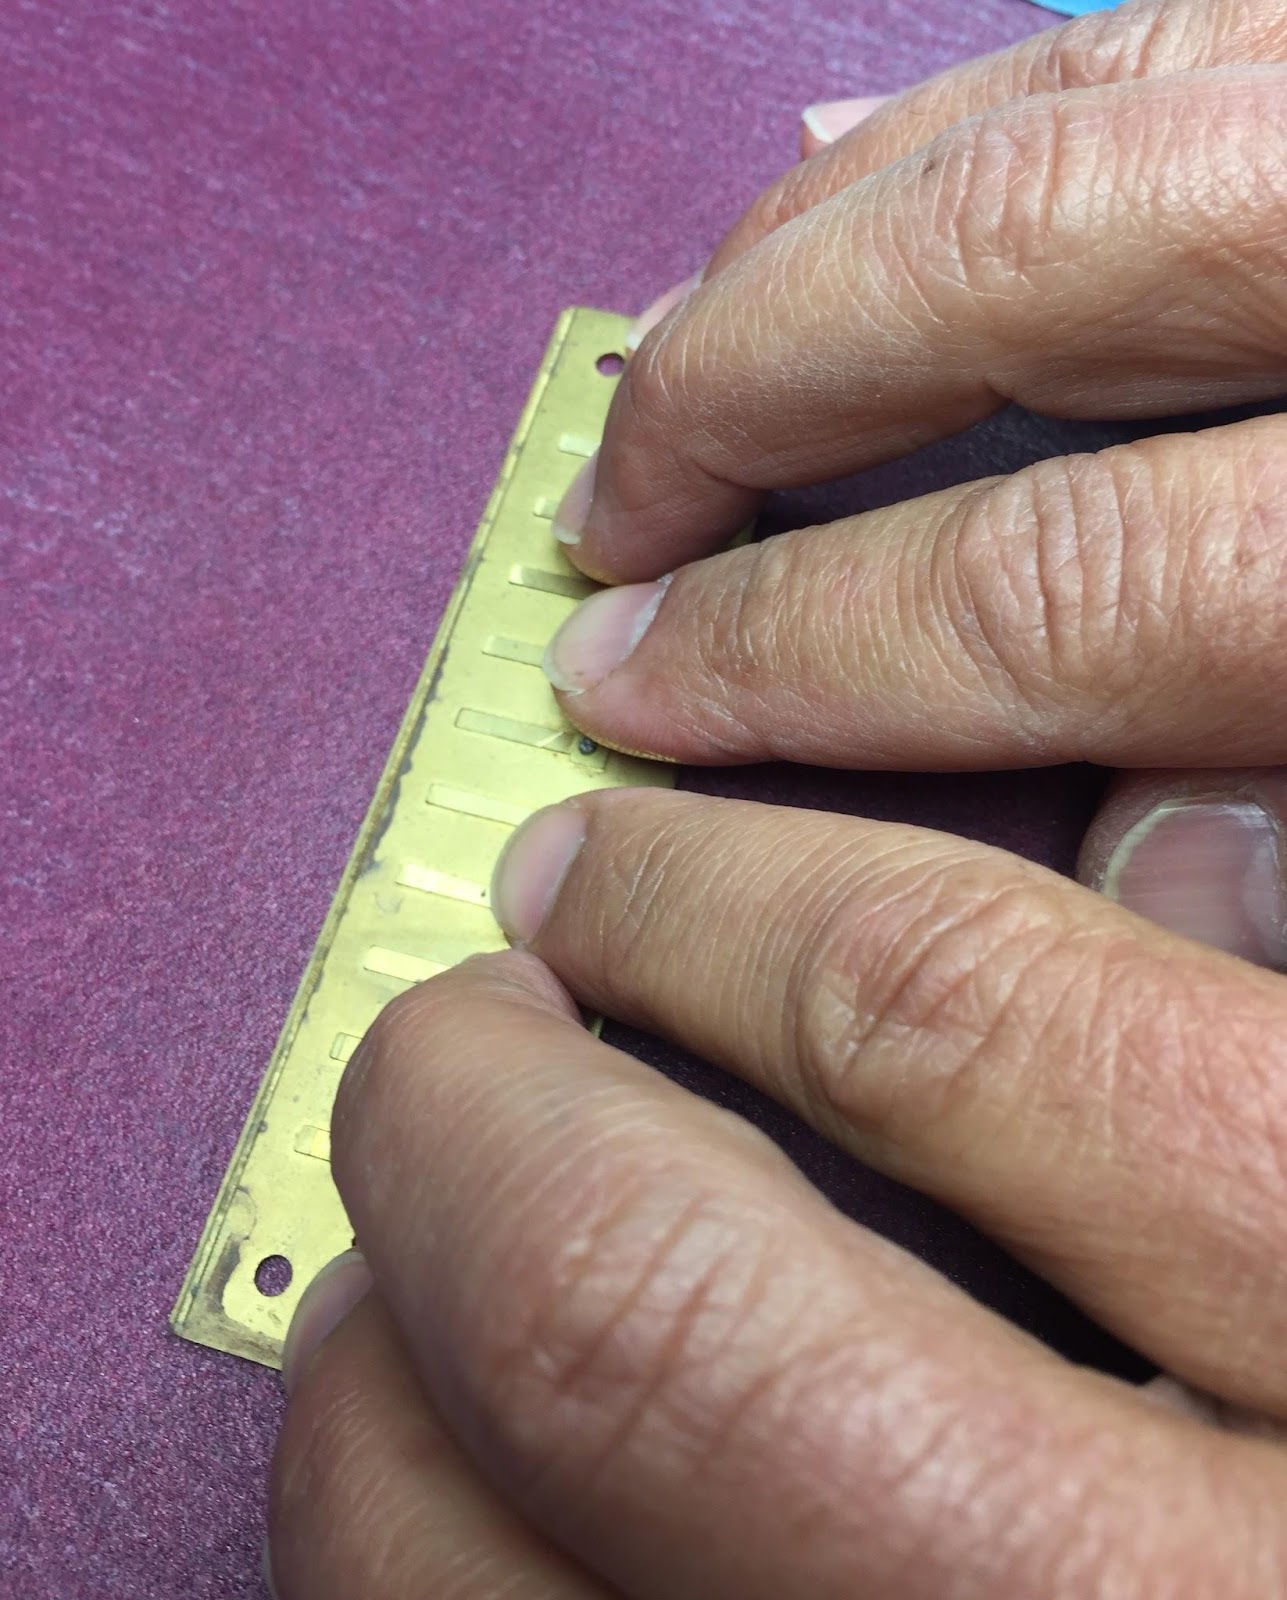
With the disc sander, the sanding surface moves, not the reed plate (as with the sanding table). This makes it necessary to safely secure the reed plate to the pads of your fingers with double sided carpet tape
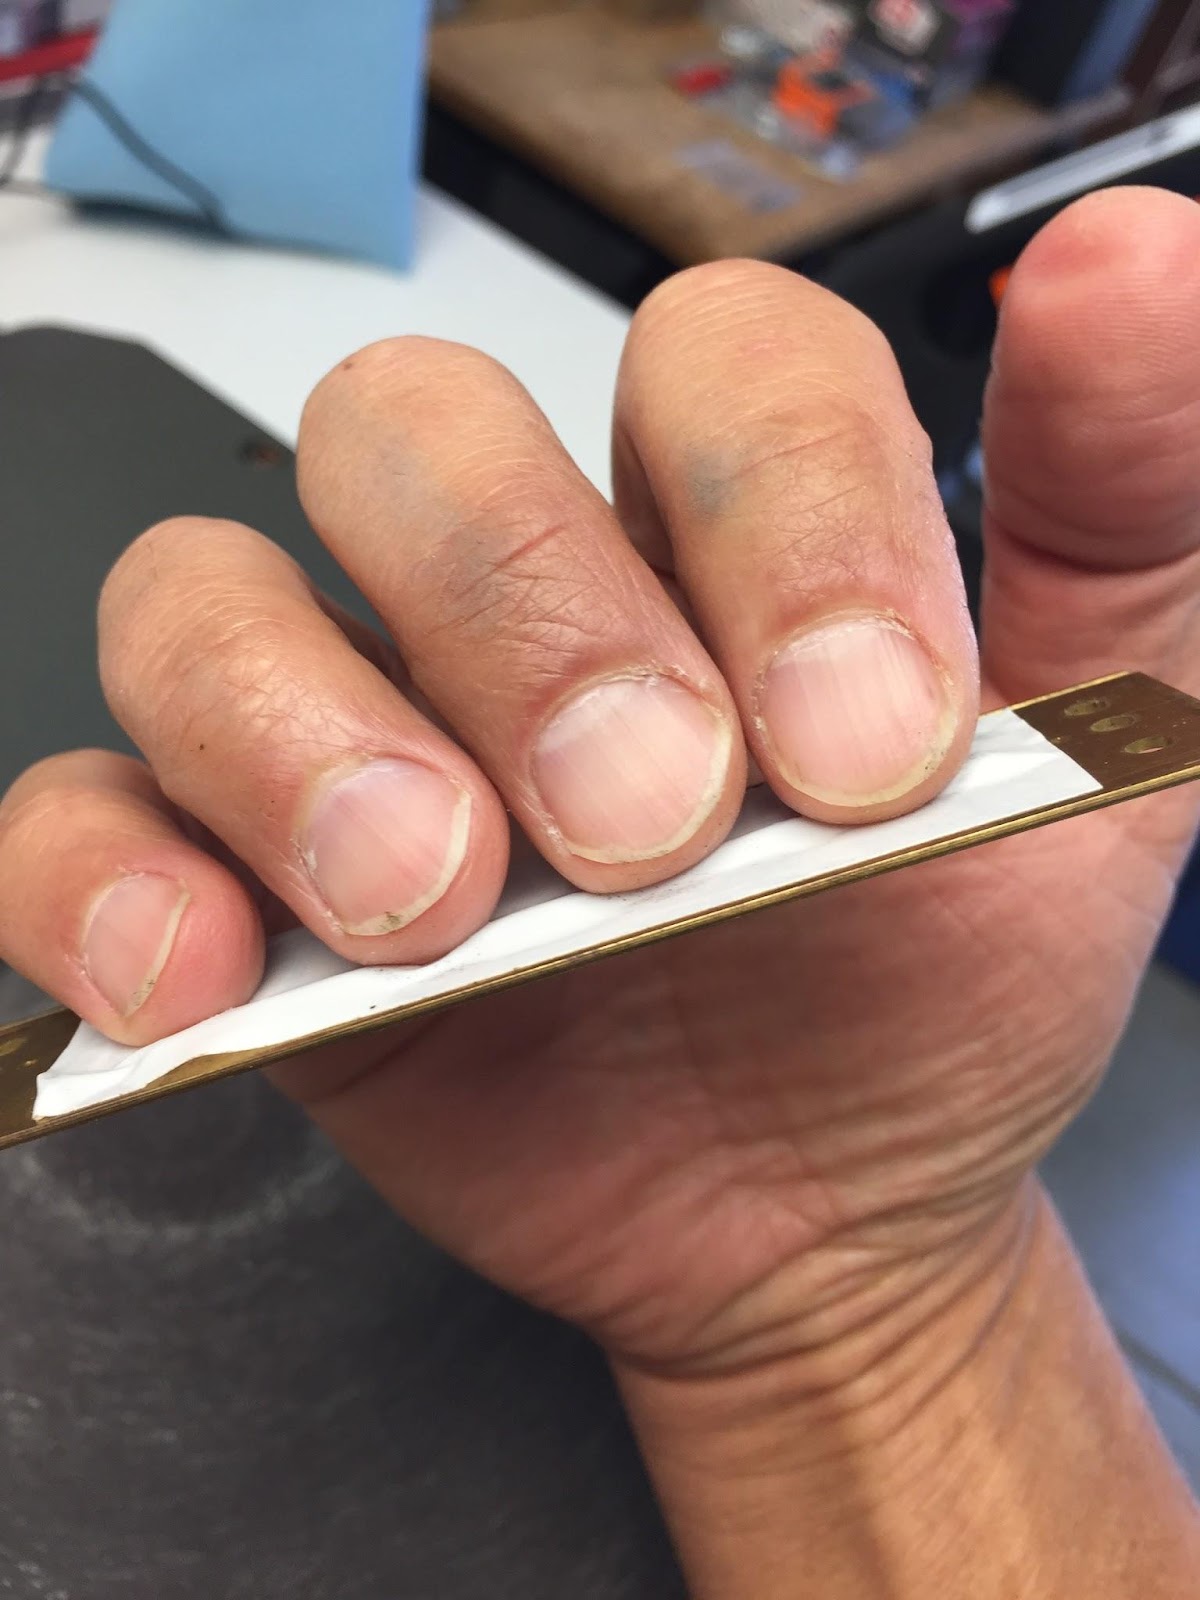
Pretty cool--huh?
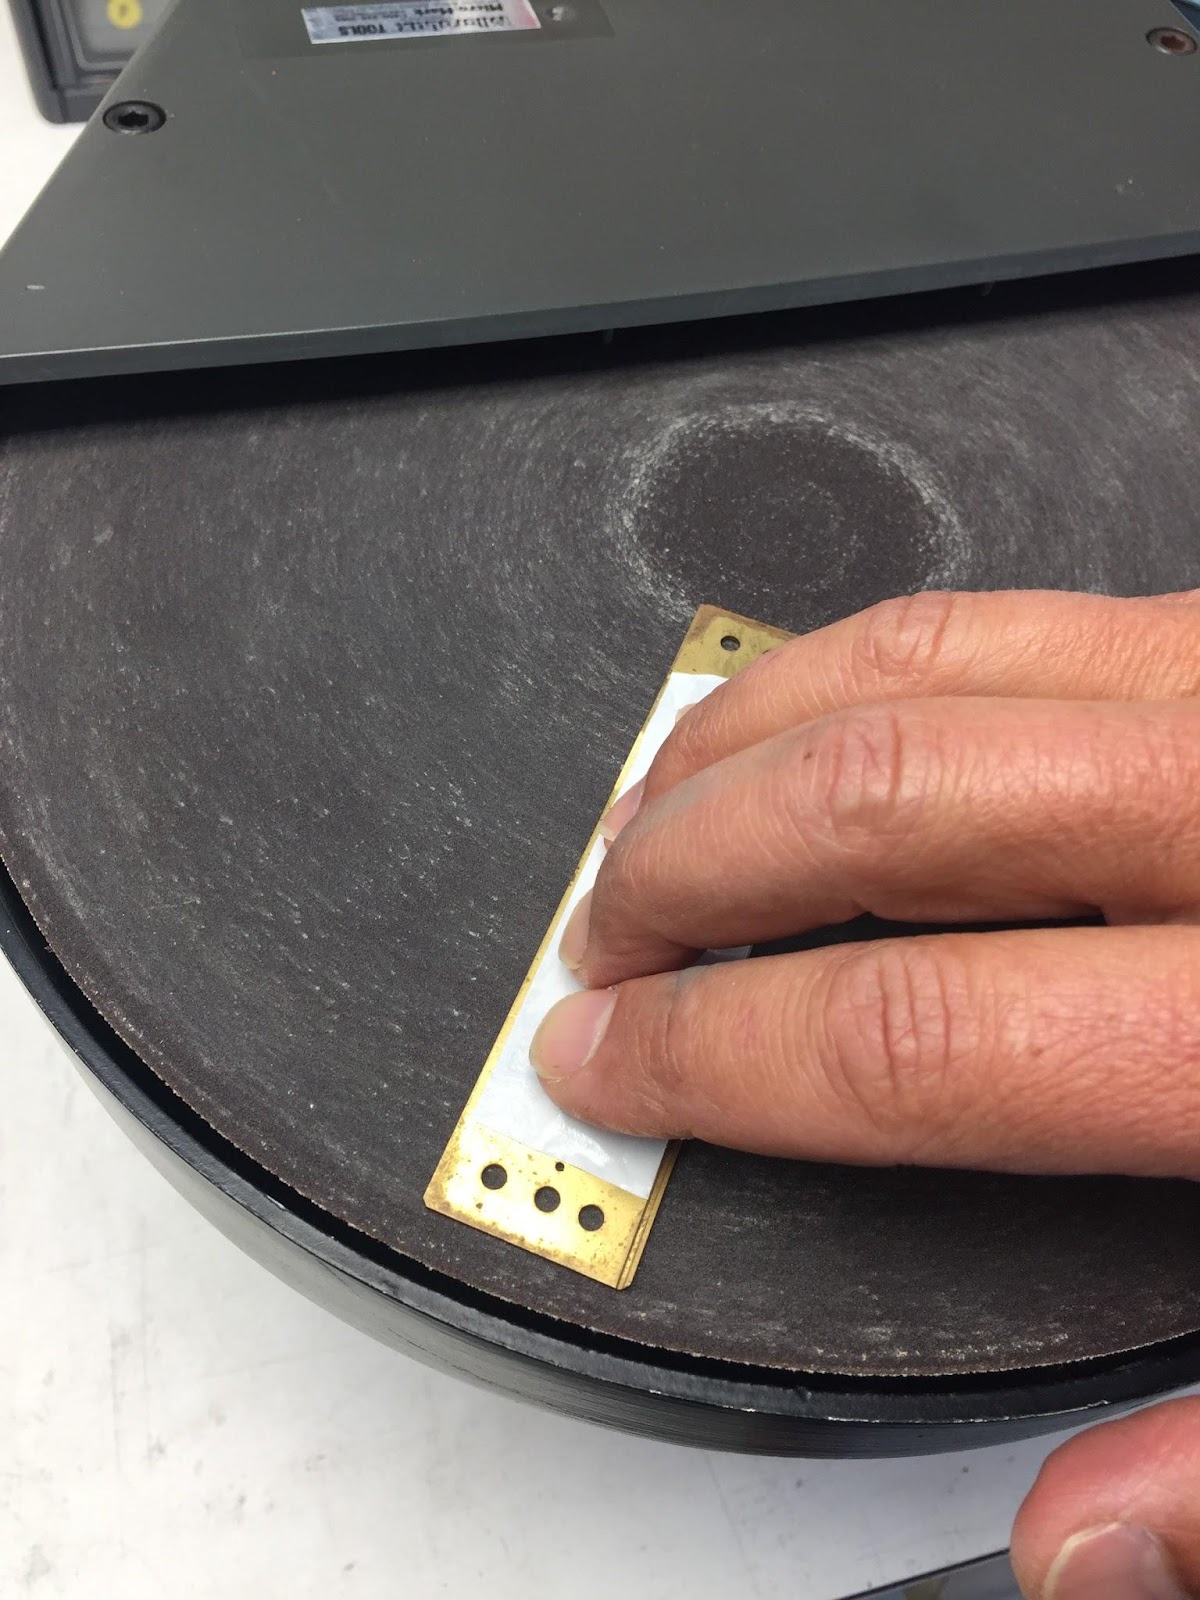
Turn on disc sander and carefully land your reed plate onto the sanding surface and apply even downward pressure
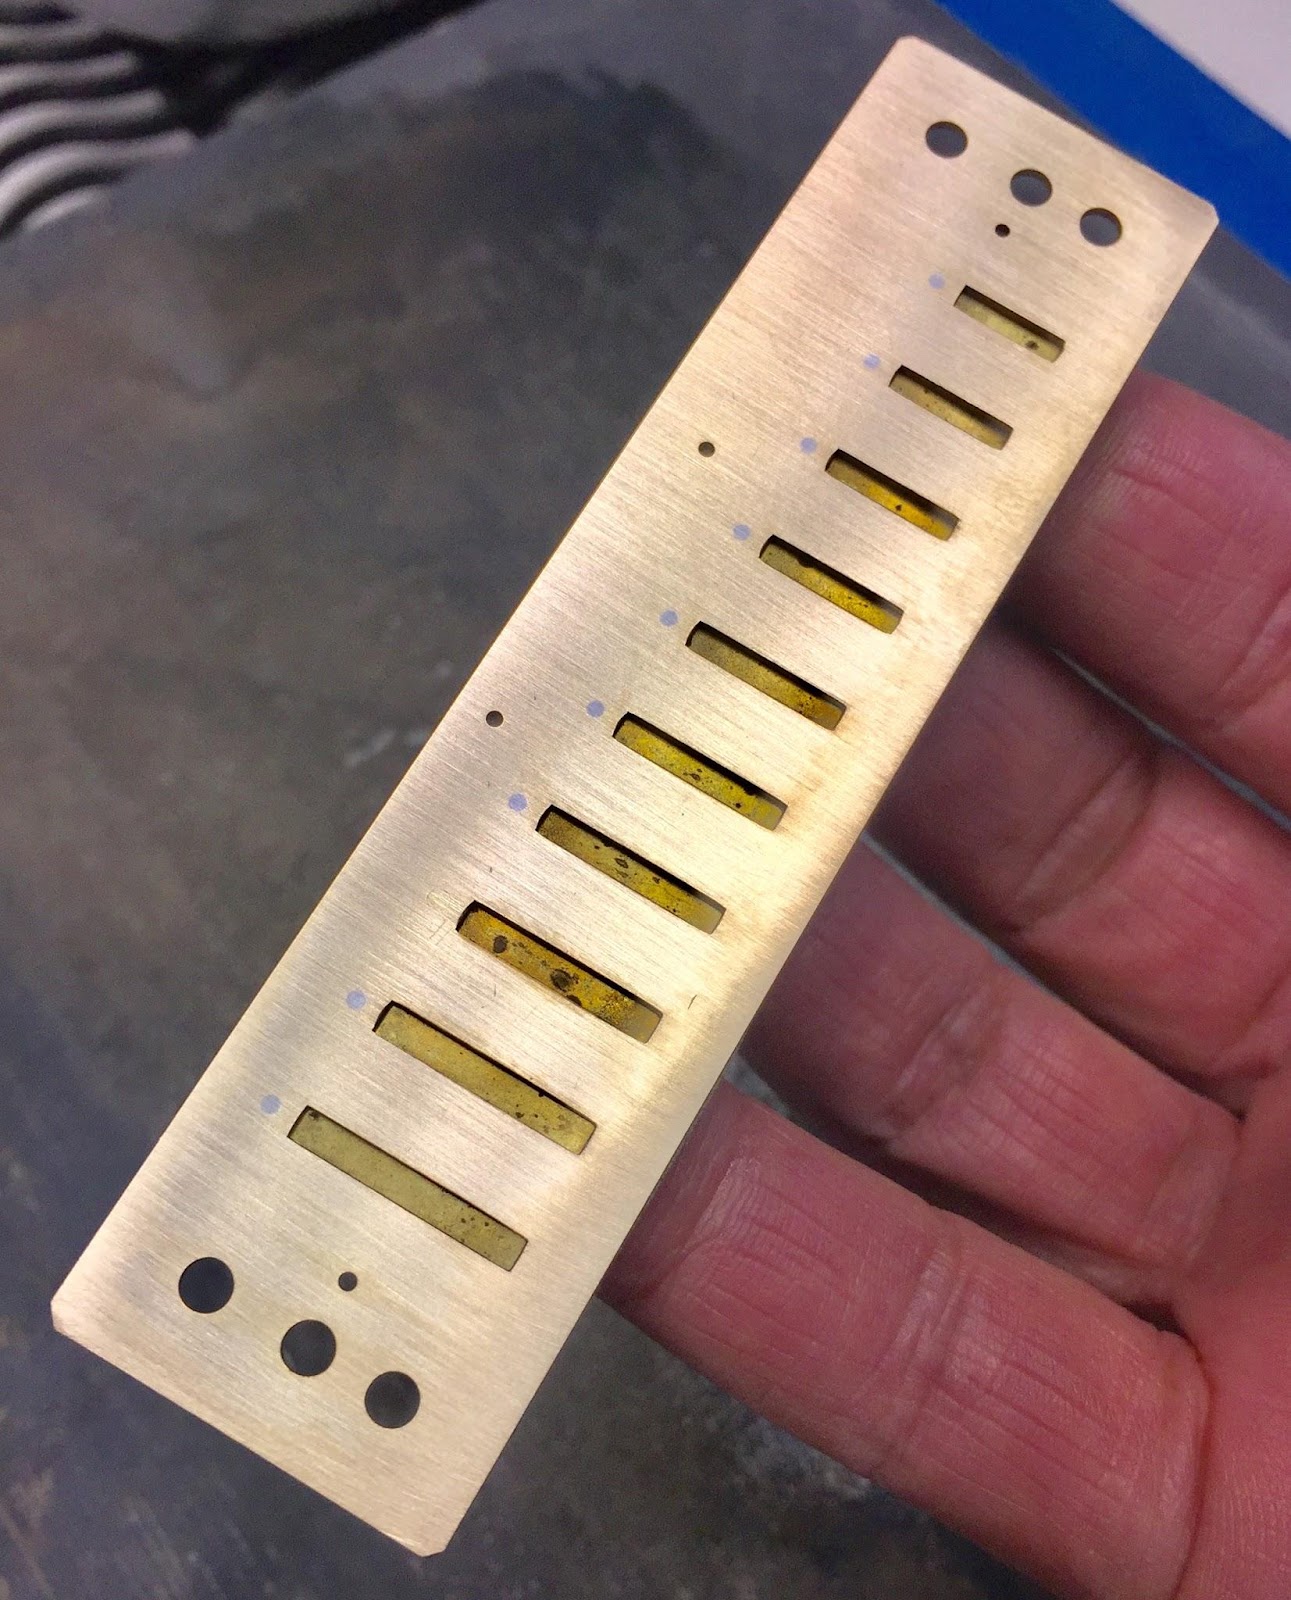
Stop and check your progress. Notice the discoloration between slots #2 and #3. This indicated that area to be sunken a tad (like a divot), as well as the ends of the reed plate bowing upward; therefore, were not touching the sanding surface on the initial pass. The goal is to have an even finish throughout the entire surface. Keep sanding …
For a super smooth and flat clean surface, slide the reed plate back and forth against 400 grit wet/dry sandpaper
Blow dry clean the sanding slurry and water. This plate is looking GOOD
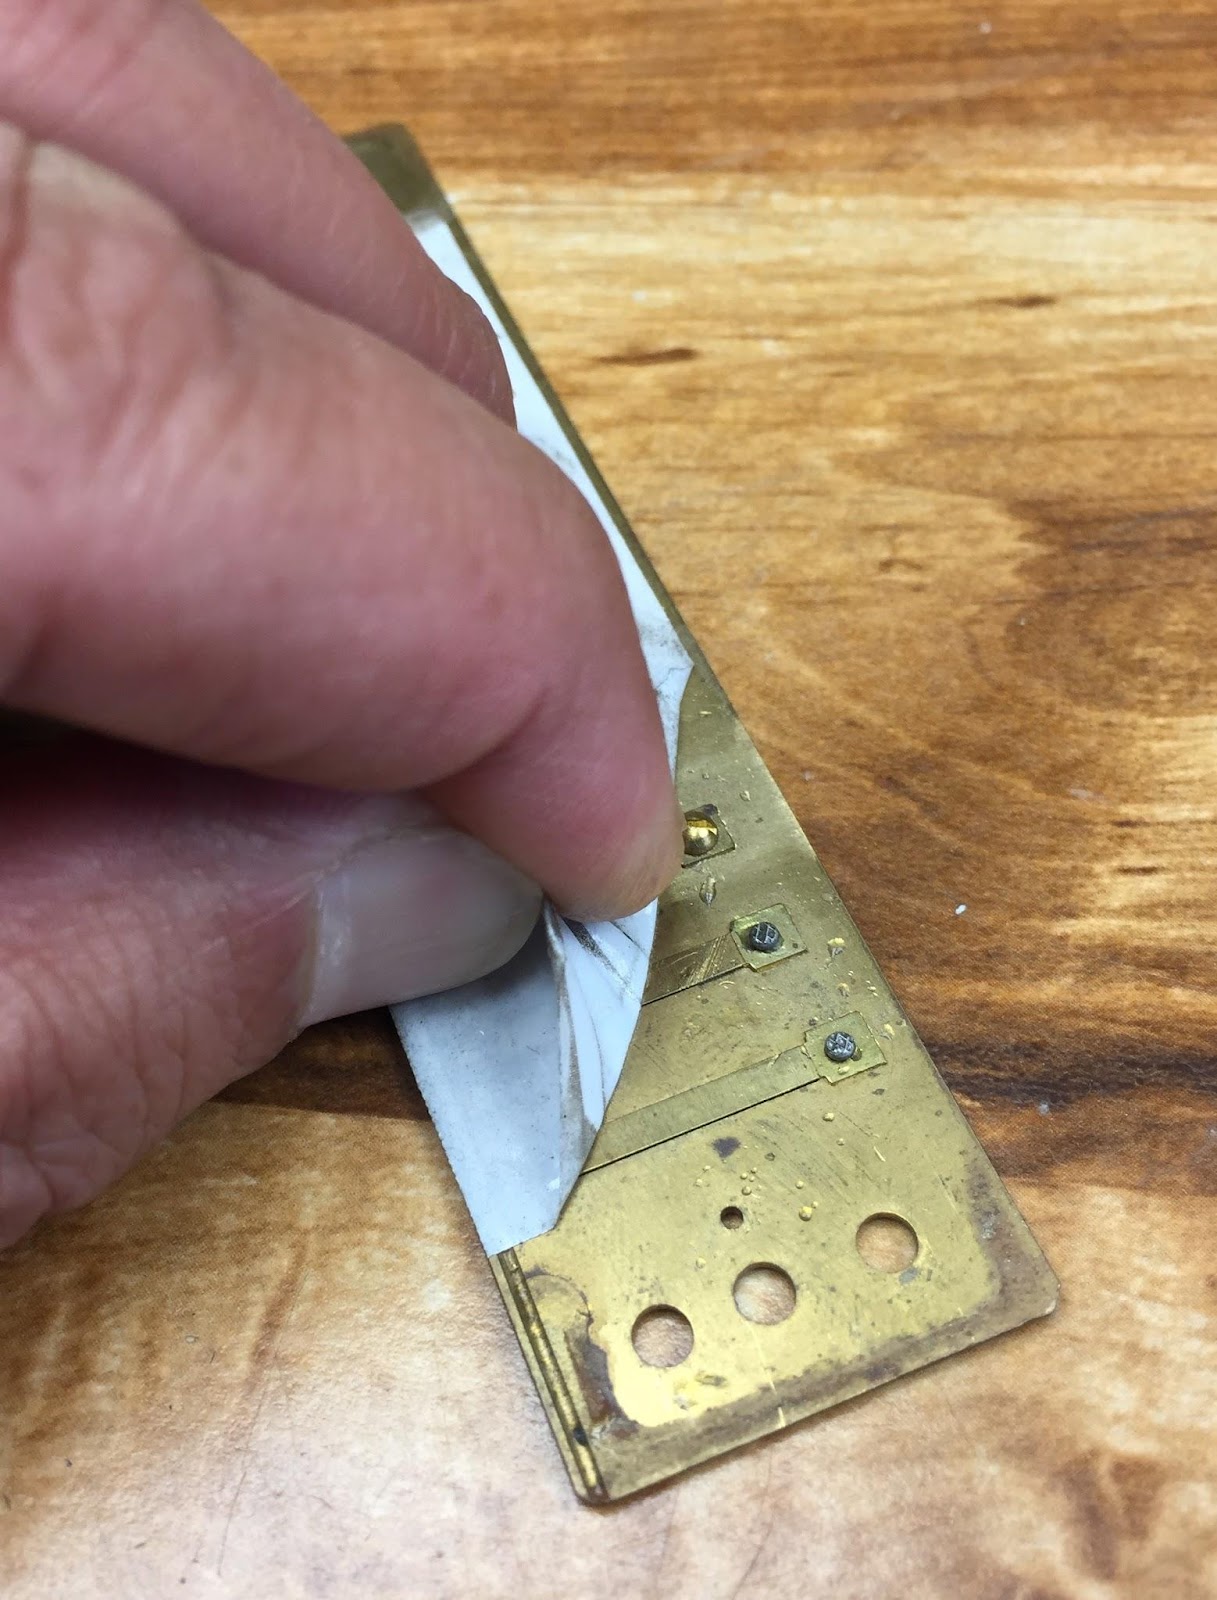
Carefully remove the carpet tape, starting from the rivet side towards the free end of the reed.
Note: Unavoidably, the flattening of the reed plate will distort the reed gapping and tuning. Be prepared to re-gap and tune all the reeds, before the resassembly process.
Your Harpsmith, Kinya
Hi BOD, good thear from you.
Yeah, you got me--for this photo shoot, I placed the reed plate into the direction of the disc rotation (actual position should be on the opposite side of the spinning disc).
Your Harpsmith, Kinya

That's a very nice result, thanks for sharing. Aren't you affraid that setting the reed plate in this direction on the disk sander, the external side will see about 5 times more sand than the inside ?
Bod