How to Replace a Reed

Hello Harp Techs,
The weak link for all types of harmonicas is the reed. Vibrating a zillion times over a lifetime of creating music, especially those reeds with excessive play, will experience metal fatigue. A hairline fracture will develop near the base, and that reed will lose its structural integrity and become unplayable (break).
Without exception, for diatonic (blues type playing) harmonica repairs, most of the reed failures that I find occur with the 4 and 5 draw reeds.
TIP: to mitigate future (4 and 5) reed fatigue, I recommend that you curb your enthusiasm on the half step 4 bend, and do not attempt to draw bend the 5, as the half step note already exists between the 5 blow and 5 draw reeds
Recently, my bench time was dedicated to reed replacements:
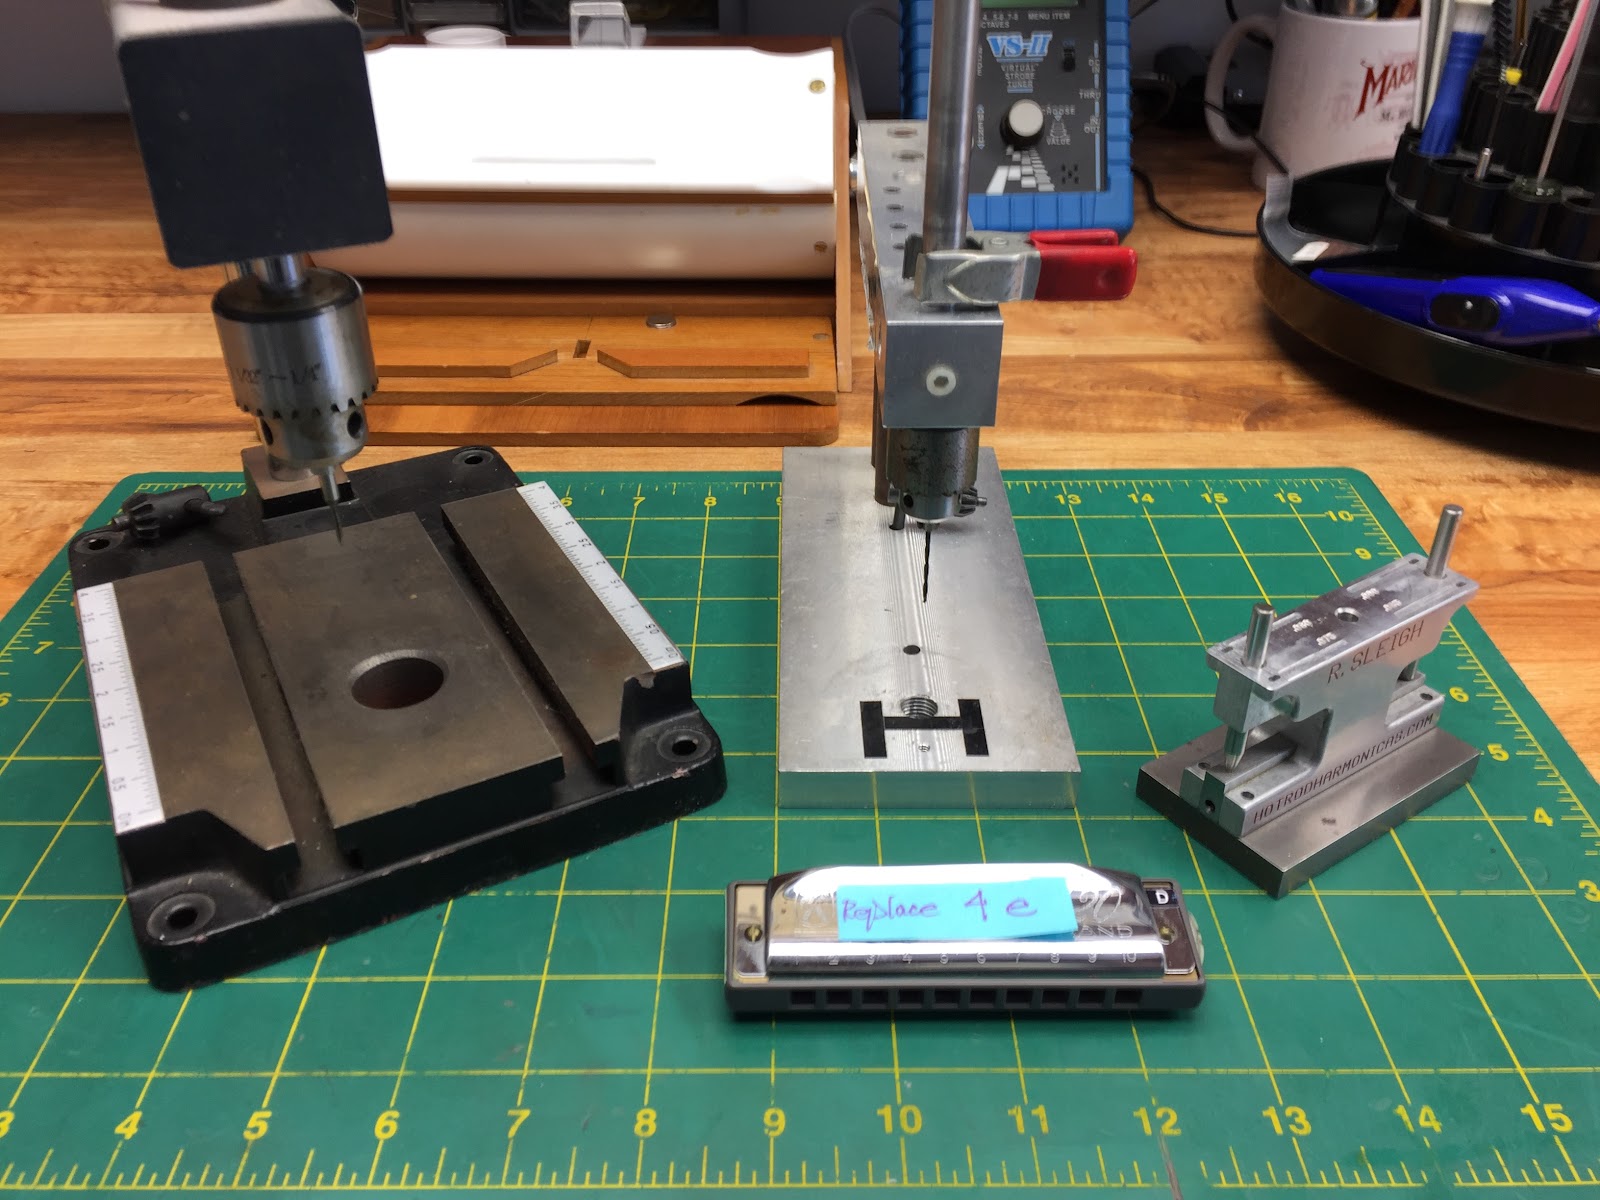
Preparing my operating table for serious reed surgery. Tools from L to R:
https://www.micromark.com/MicroLux-Tapping-Fixture_2
https://www.micromark.com/Drill-Tap-Holder-for-Press-It-Sensi-Press
https://hotrodharmonicas.com/how-to-replace-a-harmonica-reed-with-its-own-rivet/

Hohner Special 20/A with broken 4 draw reed
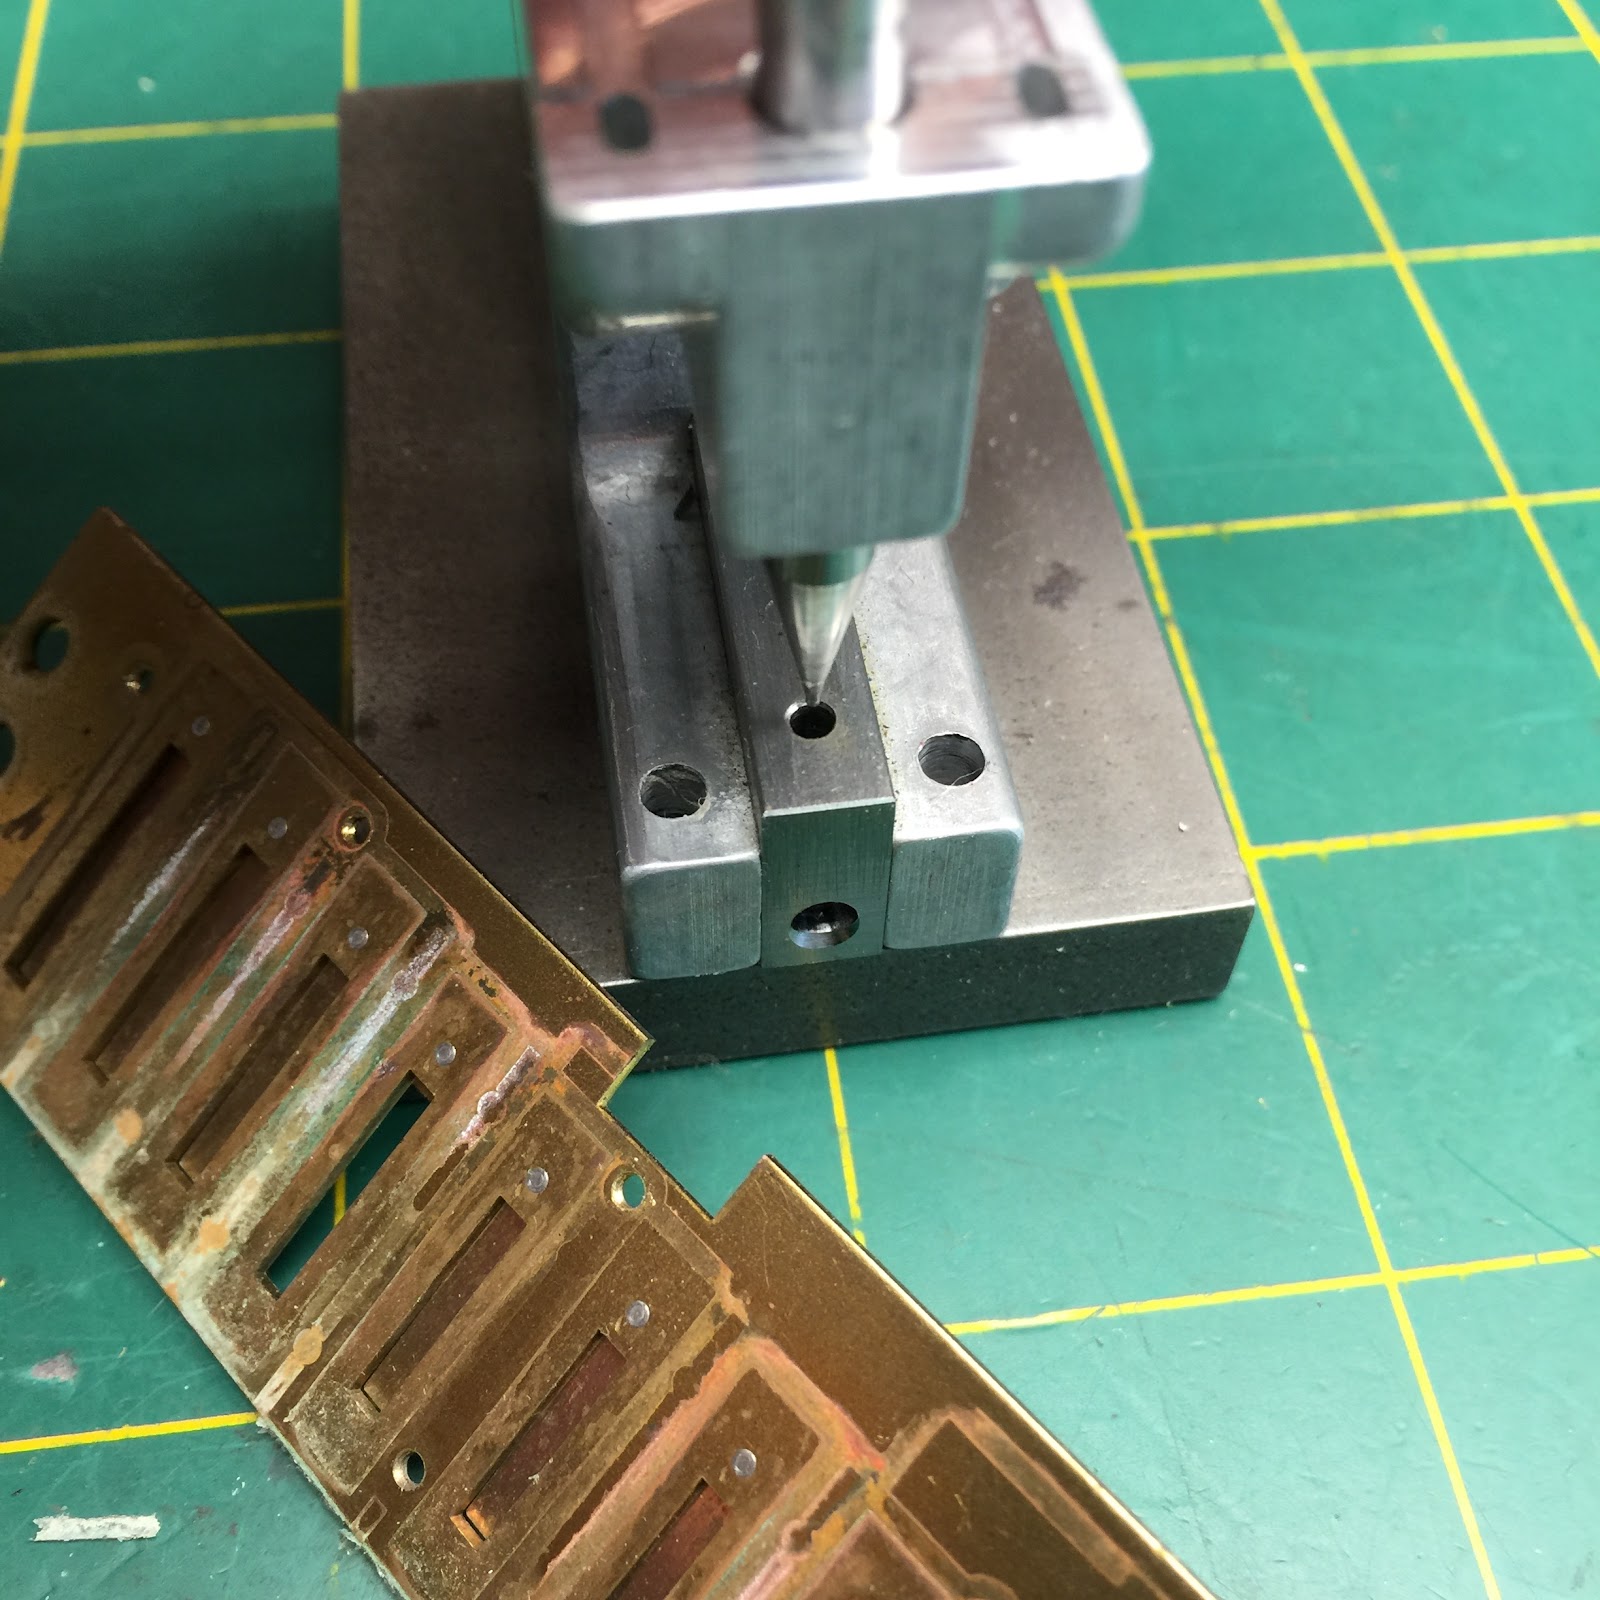
Setting up to remove reed rivet and pad with the Richard Sleigh reed rivet tool

Position the reed pad side of the rivet head over the hole of the anvil, then align the opposite end of the rivet under the striking pin, then hit the pin with a lightweight hammer
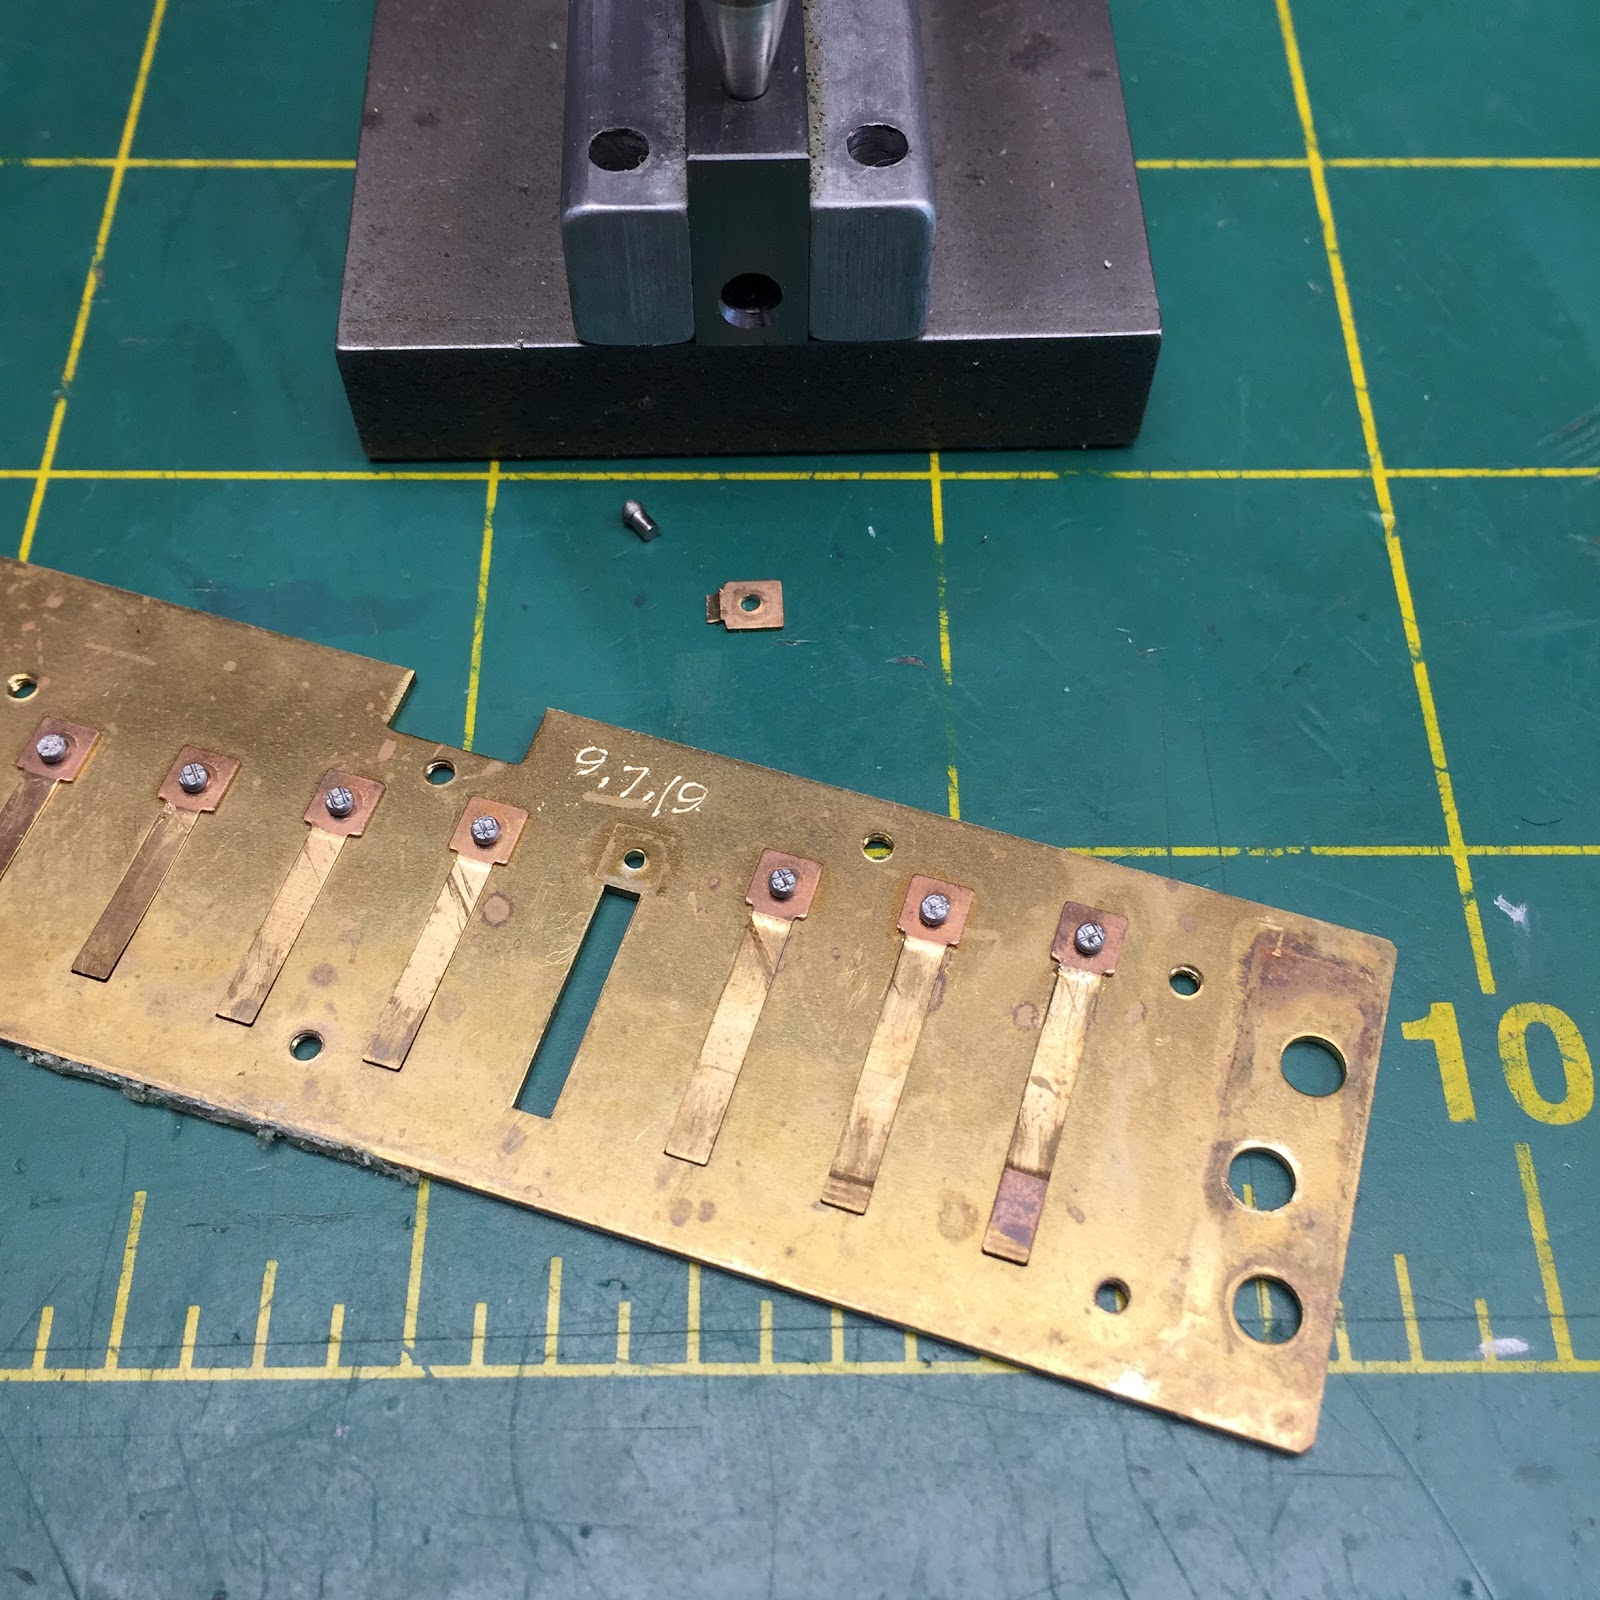
This photo shows the removal of the broken reed (pad) and rivet

With a No.54 bit, drill a pilot hole into the hole left behind by the rivet
https://www.micromark.com/20-piece-Drill-Bit-Set-41-60

Next, with a No. 0-80 tap, thread the reed plate
https://www.micromark.com/Tap-Drill_3?tapsanddies=39
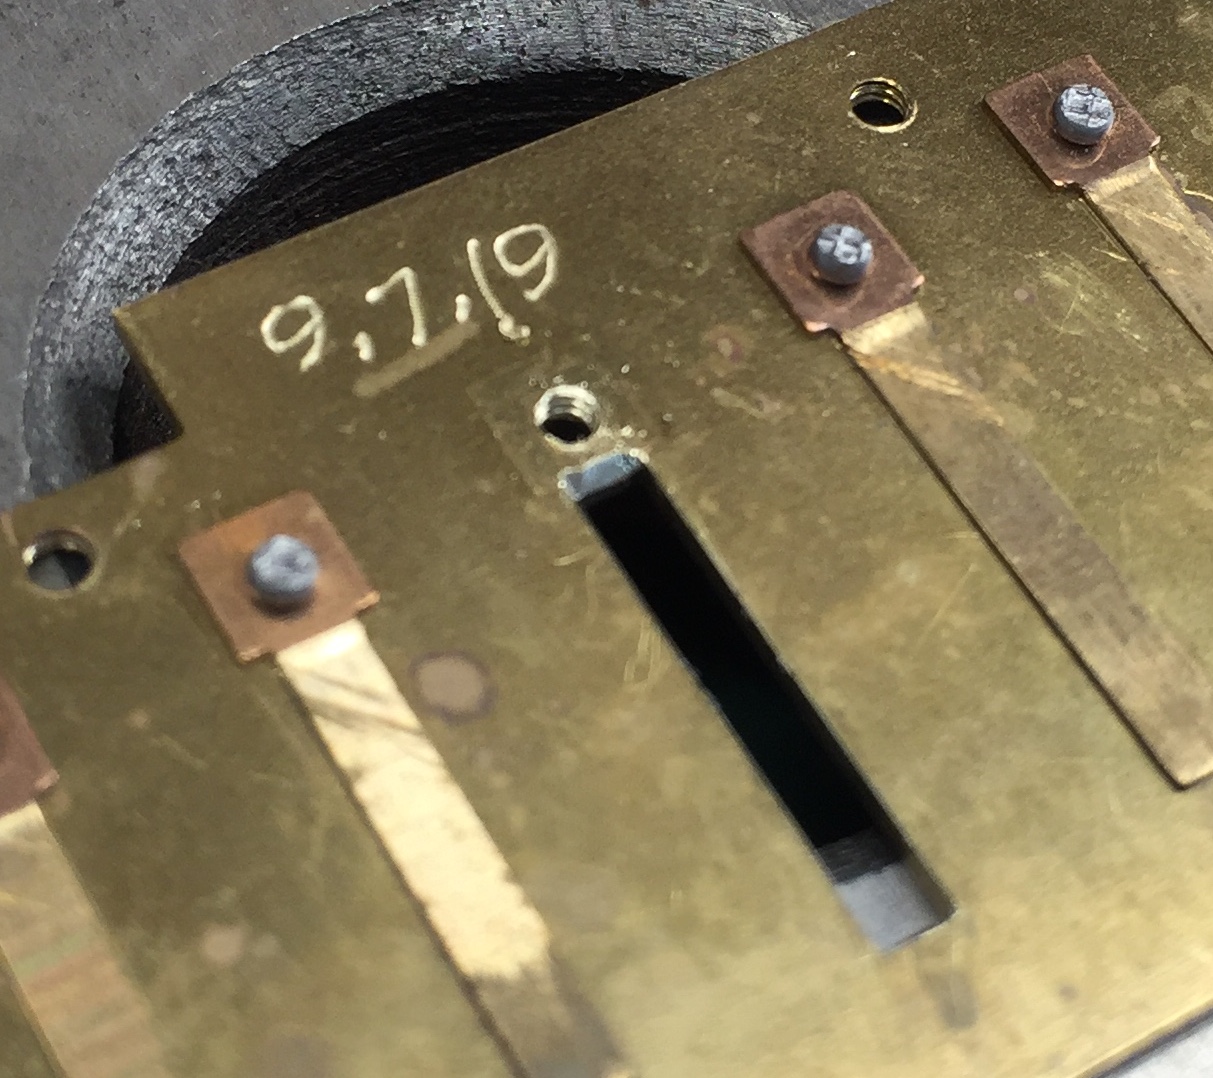
This photo shows the threads cut into the rivet vacated hole
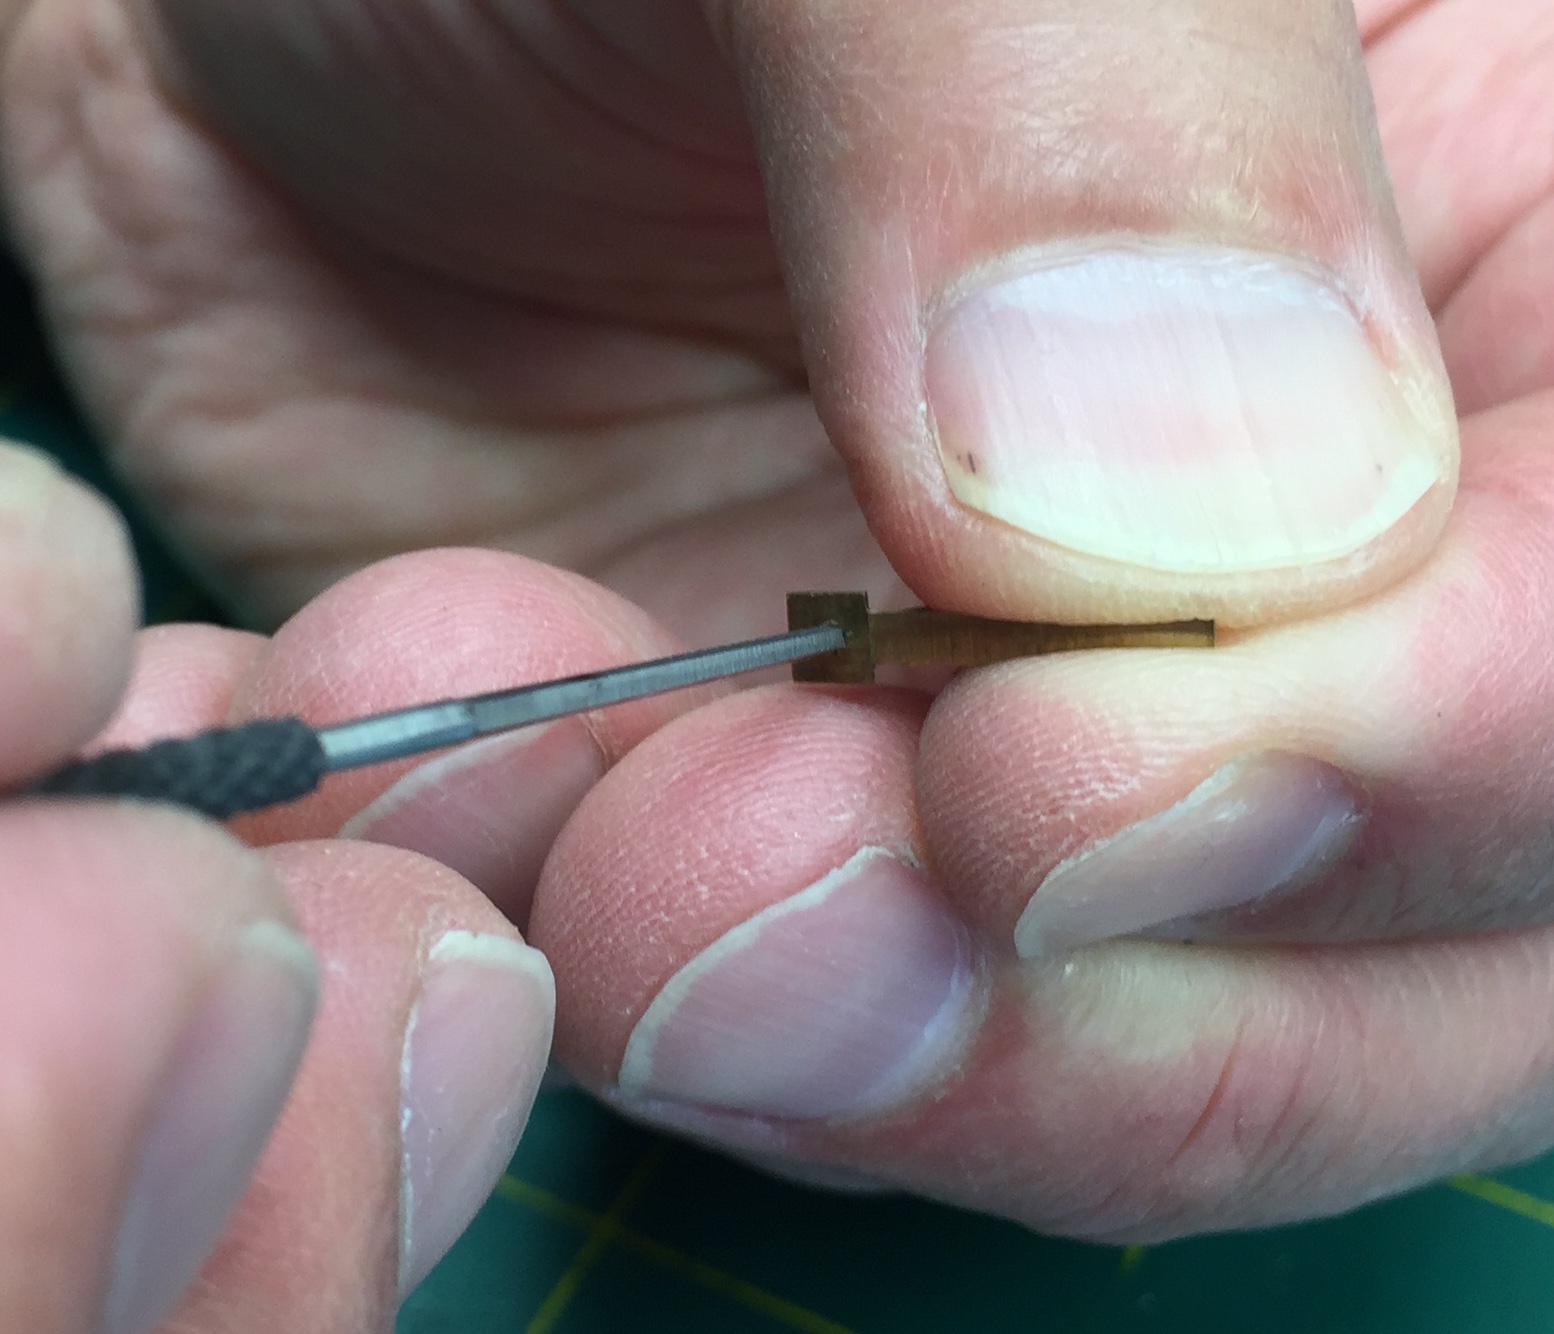
Insert the reaming tool into the hole of the reed rivet pad, then twist the tool clockwise until the hole size is large enough to freely pass a 0-80 machine screw through it
https://www.micromark.com/Micro-Size-Precision-Reamers-Set-of-6
https://www.hohnershop.com/single-reeds/
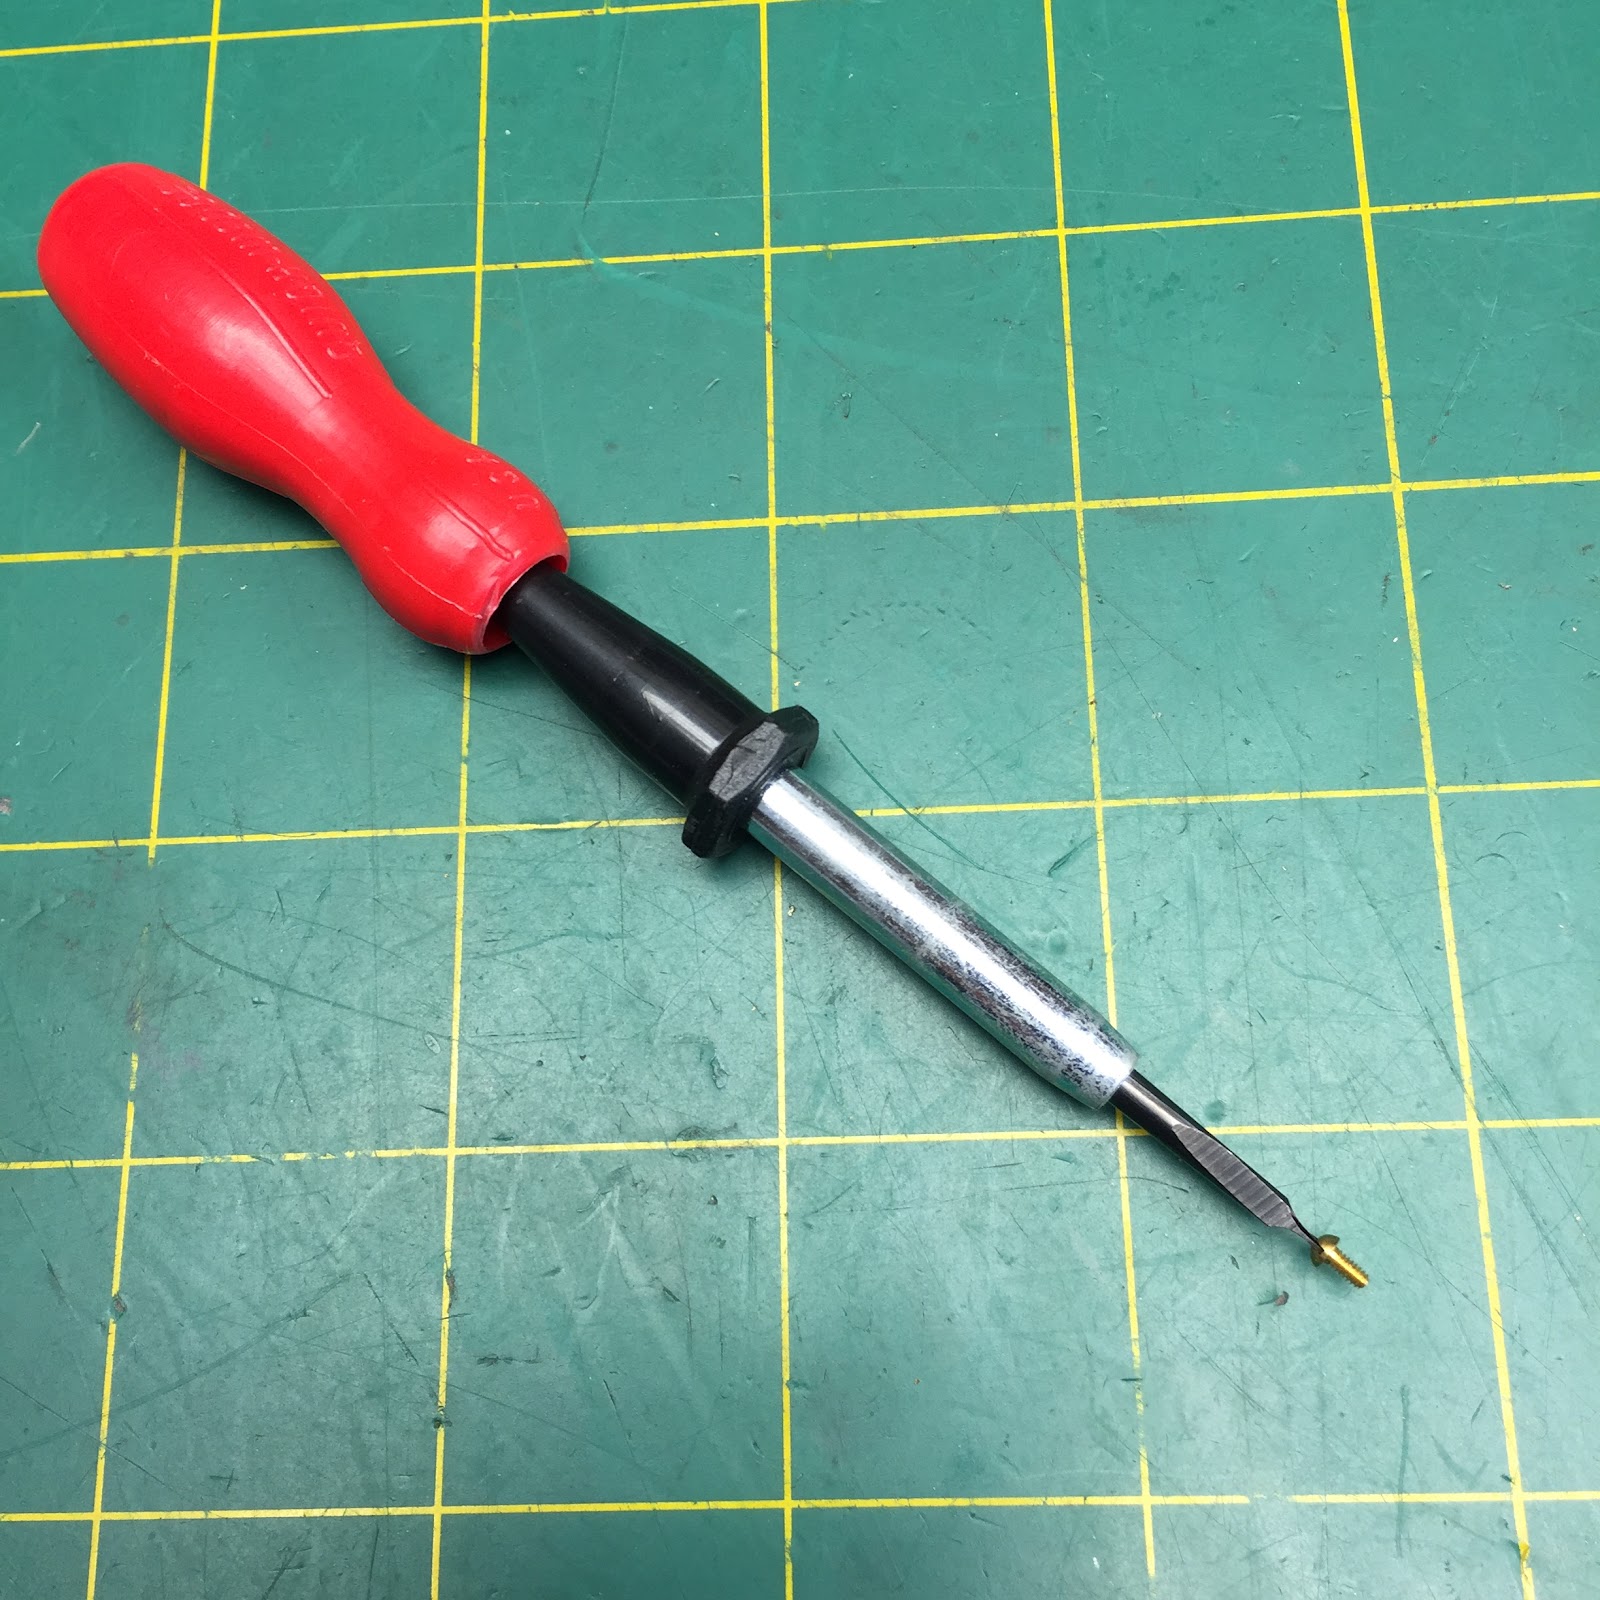
https://www.micromark.com/Quick-Wedge-Screwdriver-Screw-Starter

Screw launcher can easily hold the miniature 0-80 machine screw/washer
https://www.micromark.com/Round-Screws-Package-of-25?Screwbladesize=63
https://www.micromark.com/25-Washers-00-90?screwsize=2
https://www.hohnershop.com/single-reeds/

Insert the machine screw through the reed pad and attach to the reed plate. Before the final tightening, make certain the reed is evenly aligned within the slot. There should not be any side and front reed contact within the slot. This will inhibit proper vibration, causing the reed to “click and clack”, sound flat, and/or not play at all.

Trim off the excess machine screw shank with precision model rail nipper track cutter https://www.micromark.com/Rail-Nipper-Track-Cutter
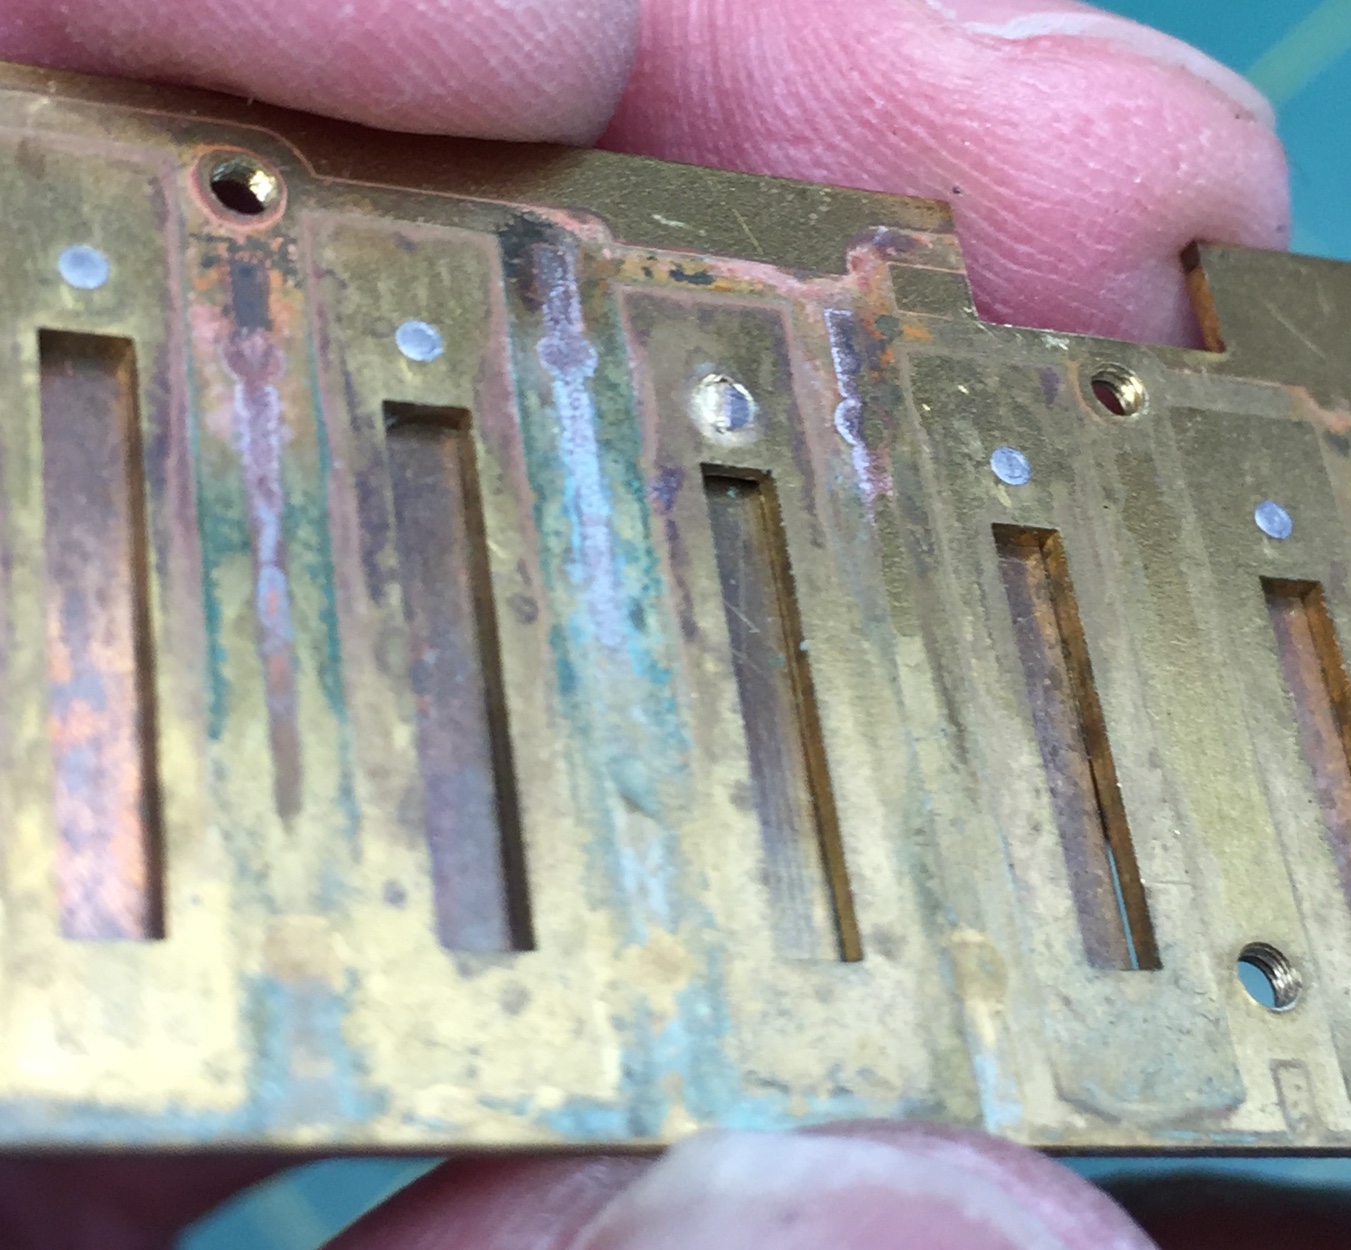
Notice how the excess shank of the machine screw was cut clean. Also notice the corrosion of the mating surface of this draw reed plate. Anything less than a perfectly flat reed plate surface will compromise the “air tightness” of the instrument and diminish the playability of the harmonica. I didn’t want to miss the opportunity to refinish the mating surface of this draw reed plate
Stay tuned for my next installment on the reed plate refinishing process. Until then, I recommend reviewing Harp Tech Series #5 on Reed Replacement https://www.bluesharmonica.com/harp_tech_study_5_reed_replacement
Your Harpsmith, Kinya
Hello Sanbshinboi-San
I purchased my Wen 10"/5-speed Bench Top Drill Press from Home Depot. The laser beams will mark dead center and the onboard LED light will provide good (not great) illumination of your work. This model usually retails in the $152 range. The 8"/5-speed WEN model without the laser and LED light retails around $89.
Keep in mind for reed work, the drill press will not be necessary ;o)
Your Harpsmith, Kinya

Hello Kinyasan
I take it you drilled out the rivet hole by hand with the Micromark drill/tap holder? Am I correct ? If so the amount of material must be very small and brass is soft so that would work.
Thanks
Sanshinboi
Hai! That is correct--I've done hundreds of reed replacements this way--works perfect every time.
Having written that, some Harp Techs advocate not drilling a #54 pilot hole, but instead use the hole left behind by the rivet. In this case the next smaller size, #0-90 machine screw, and/or cell phone or Suzuki screws will be used and will eliminate the need to drill any pilot hole. However, for me, the #0-90 is a tad too small to comfortably handle.
Your Harpsmith, Kinya
Sanshinboi-san, although difficult to make the hole (threads) perfectly straight, you can use hand held Ball Head Pin Vise to hold the drill bit and tap. This will initially save money by not having to purchase the expensive stationary tools. https://www.micromark.com/Ball-Head-Pin-Vice

Your Harpsmith, Kinya
Kinyasan,
When I was a machinist I'd take a piece of flat stock metal and drill a straight hole slightly large than the tap diameter.I jwould then use it over the hole to be tapped to start the tap straight lots of machinists did this. I already have the pin use # 21104 in your picture above hopefully I a piece of 3/8" flat stock would work. The local DIY ( hardware store ) has a in store drill press that I can use! Lots of fun stuff here!
Thanks
Sanshinboi
BRILLIANT!
Your Harpsmith, Kinya

Kinya Sensei,
Great tutorial! My goal for next year is to tool up for next year. Do you have any recommendation for a small worktop drill press? Thanks for the tutorial lookin forward to doing this some day. Have a Happy Thanks Giving.
Arigatou!
sanshinboi