Crossover Comb Restoration

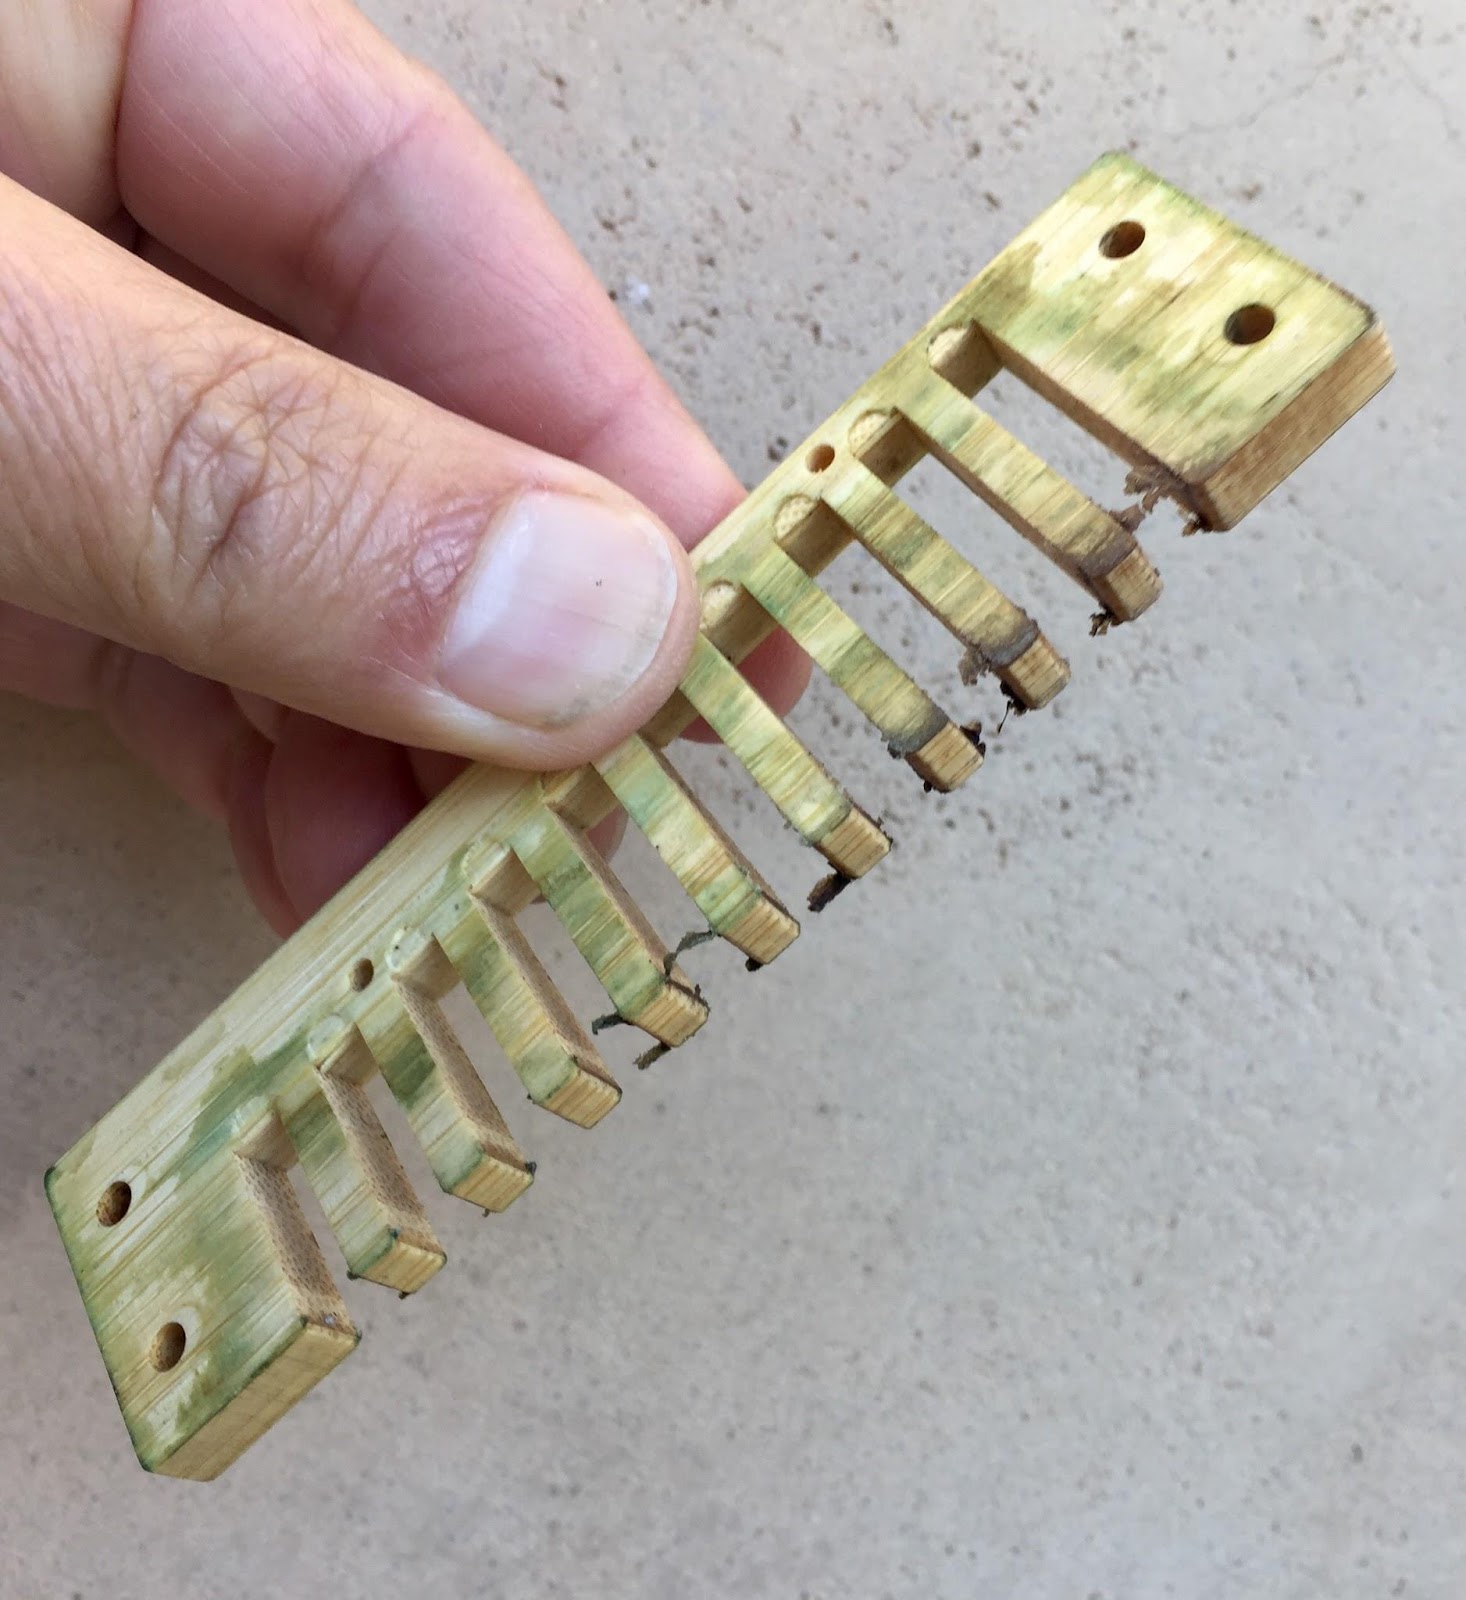
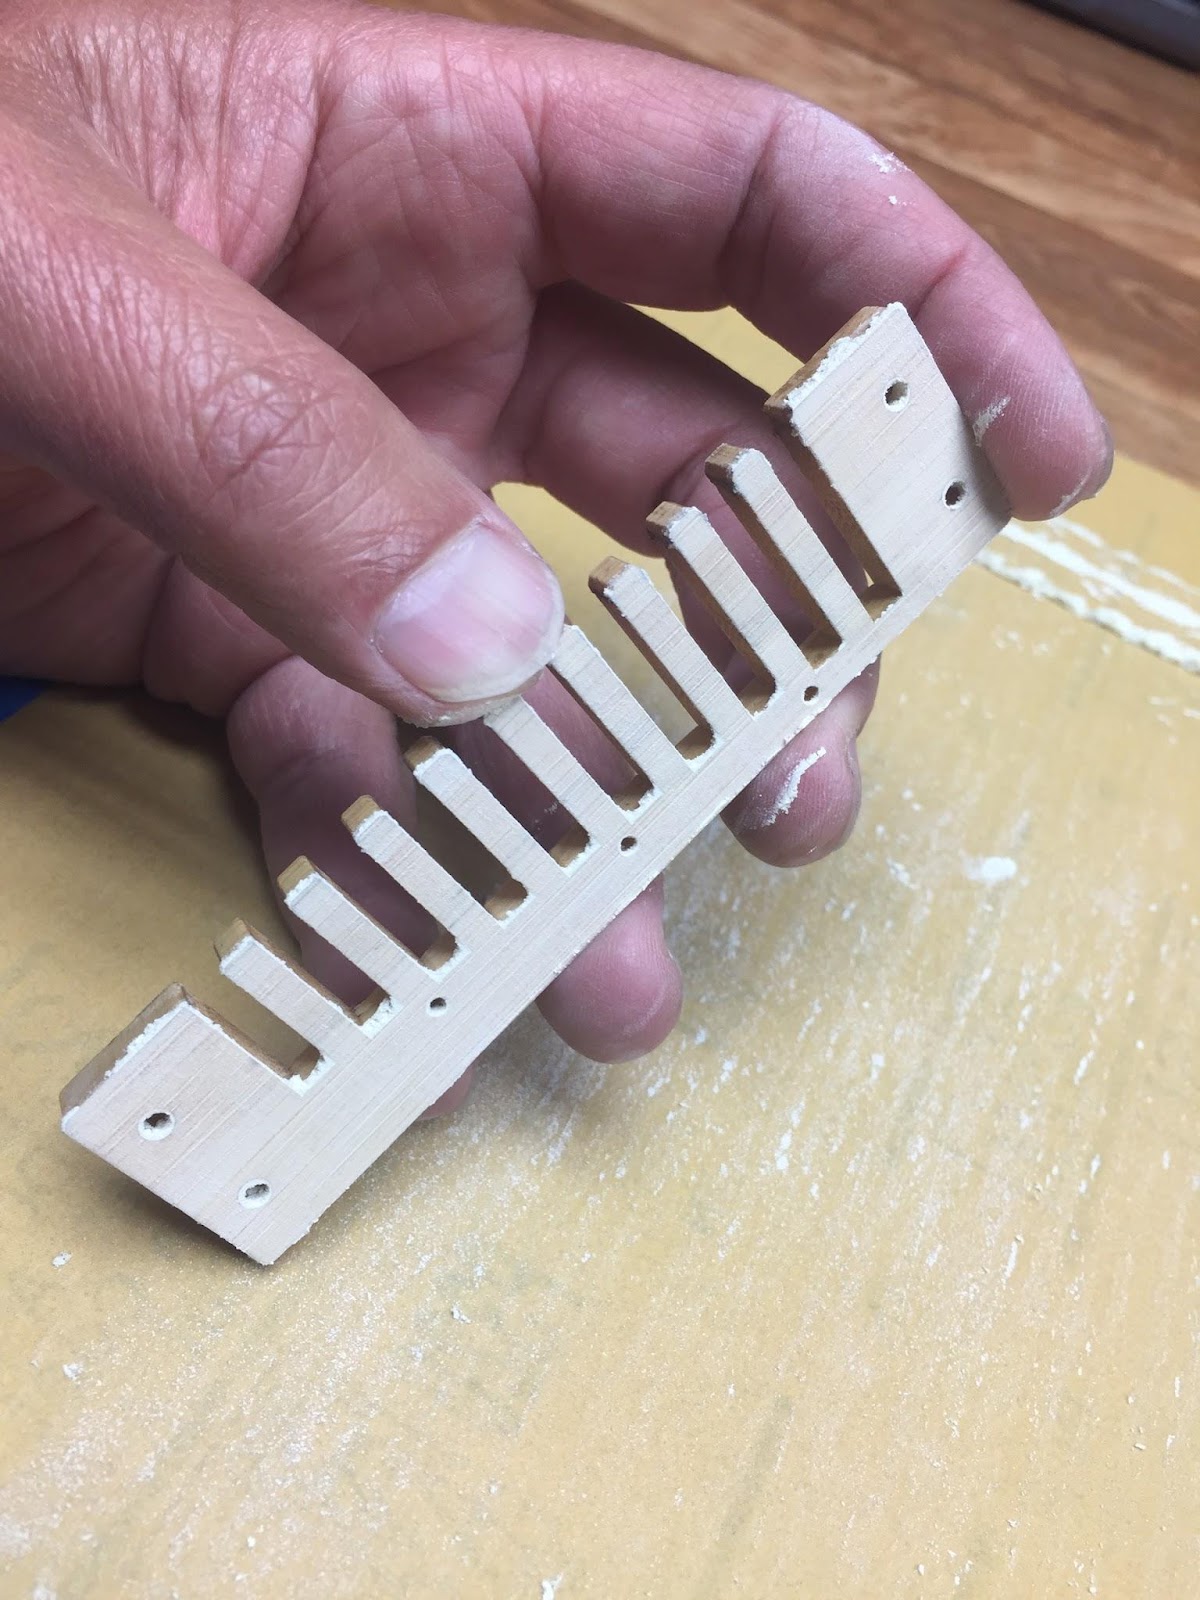
"Ewww GROSS"! Is typically what I hear after showing the customer what their Hohner Crossover comb looks like, stripped of it's reed and cover plates. "Don't despair", I tell them, we can make this better than new.
I have developed a technique--unlike “free-hand” sanding--where this restoration process can make the comb flatter than new (read: airtight). Here are proven steps for restoring bamboo and wood based harmonica combs:
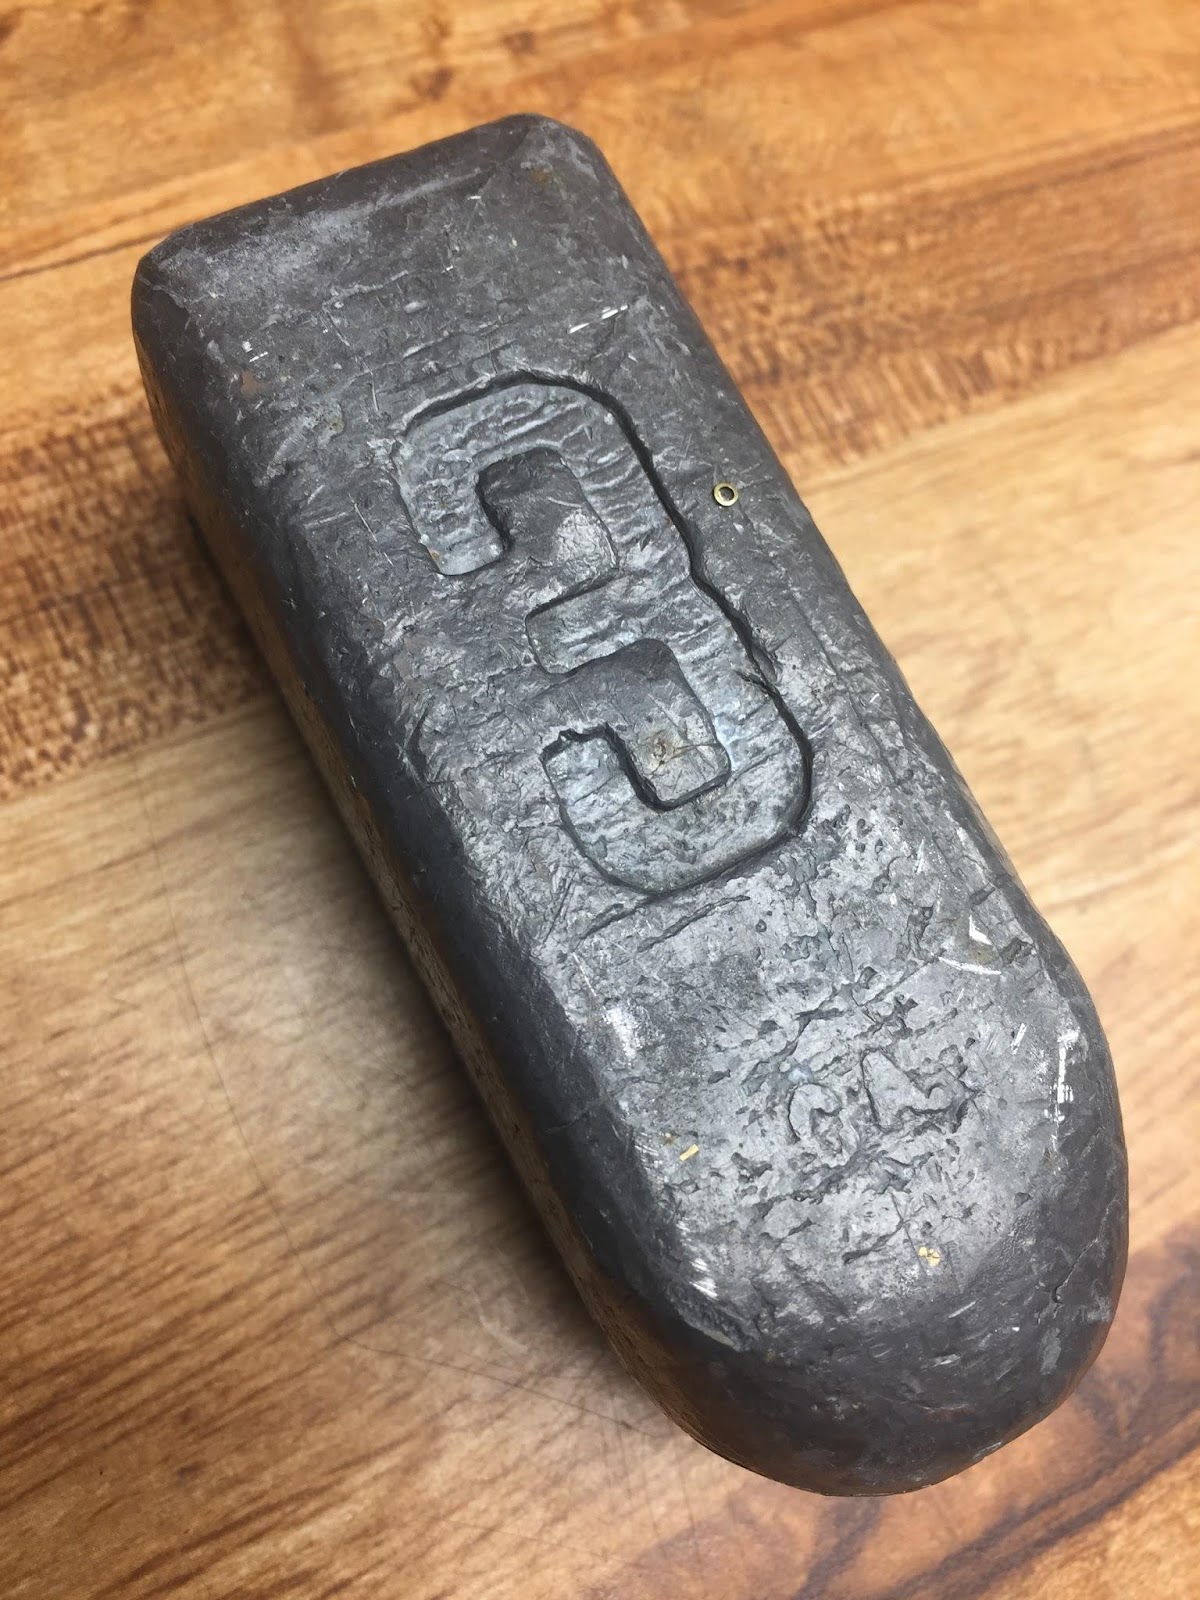
STEP 1: Obtain a 3lb fishing weight, and
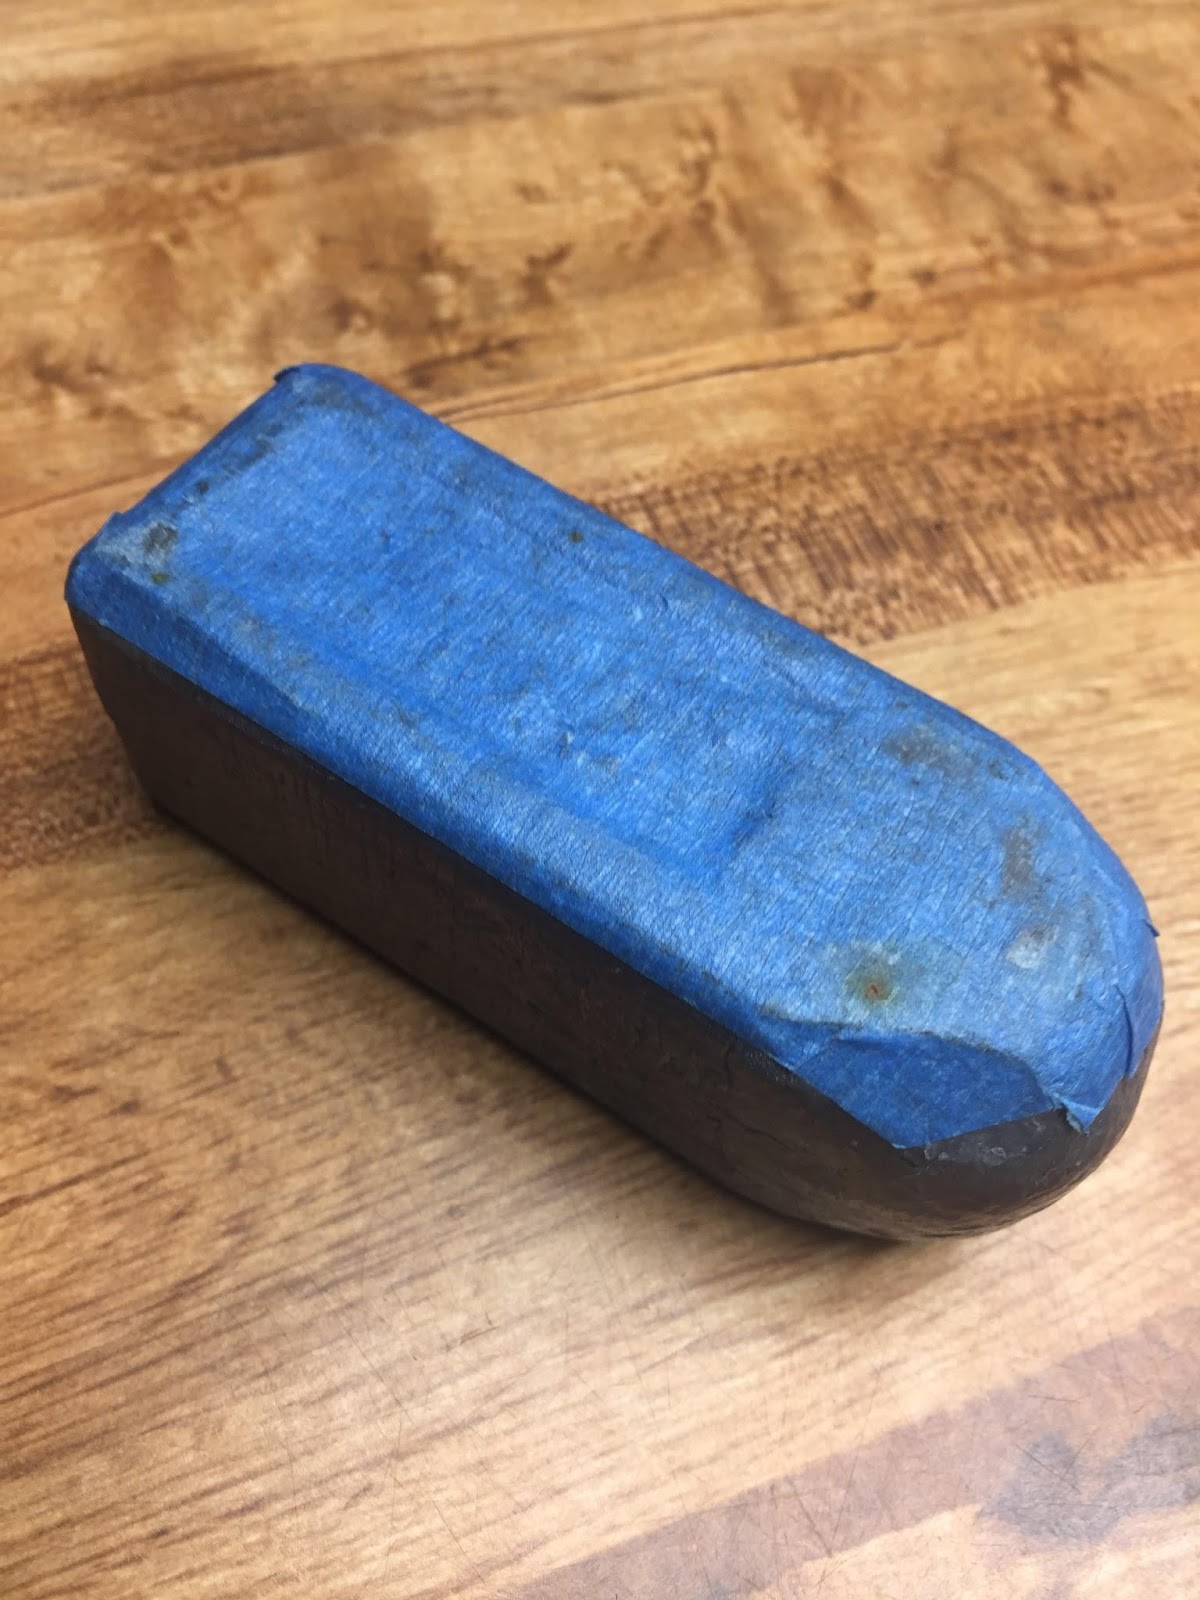
STEP 2: Apply a layer of Painter’s Blue tape onto one side of the weight--this will prevent marring the surface of the comb
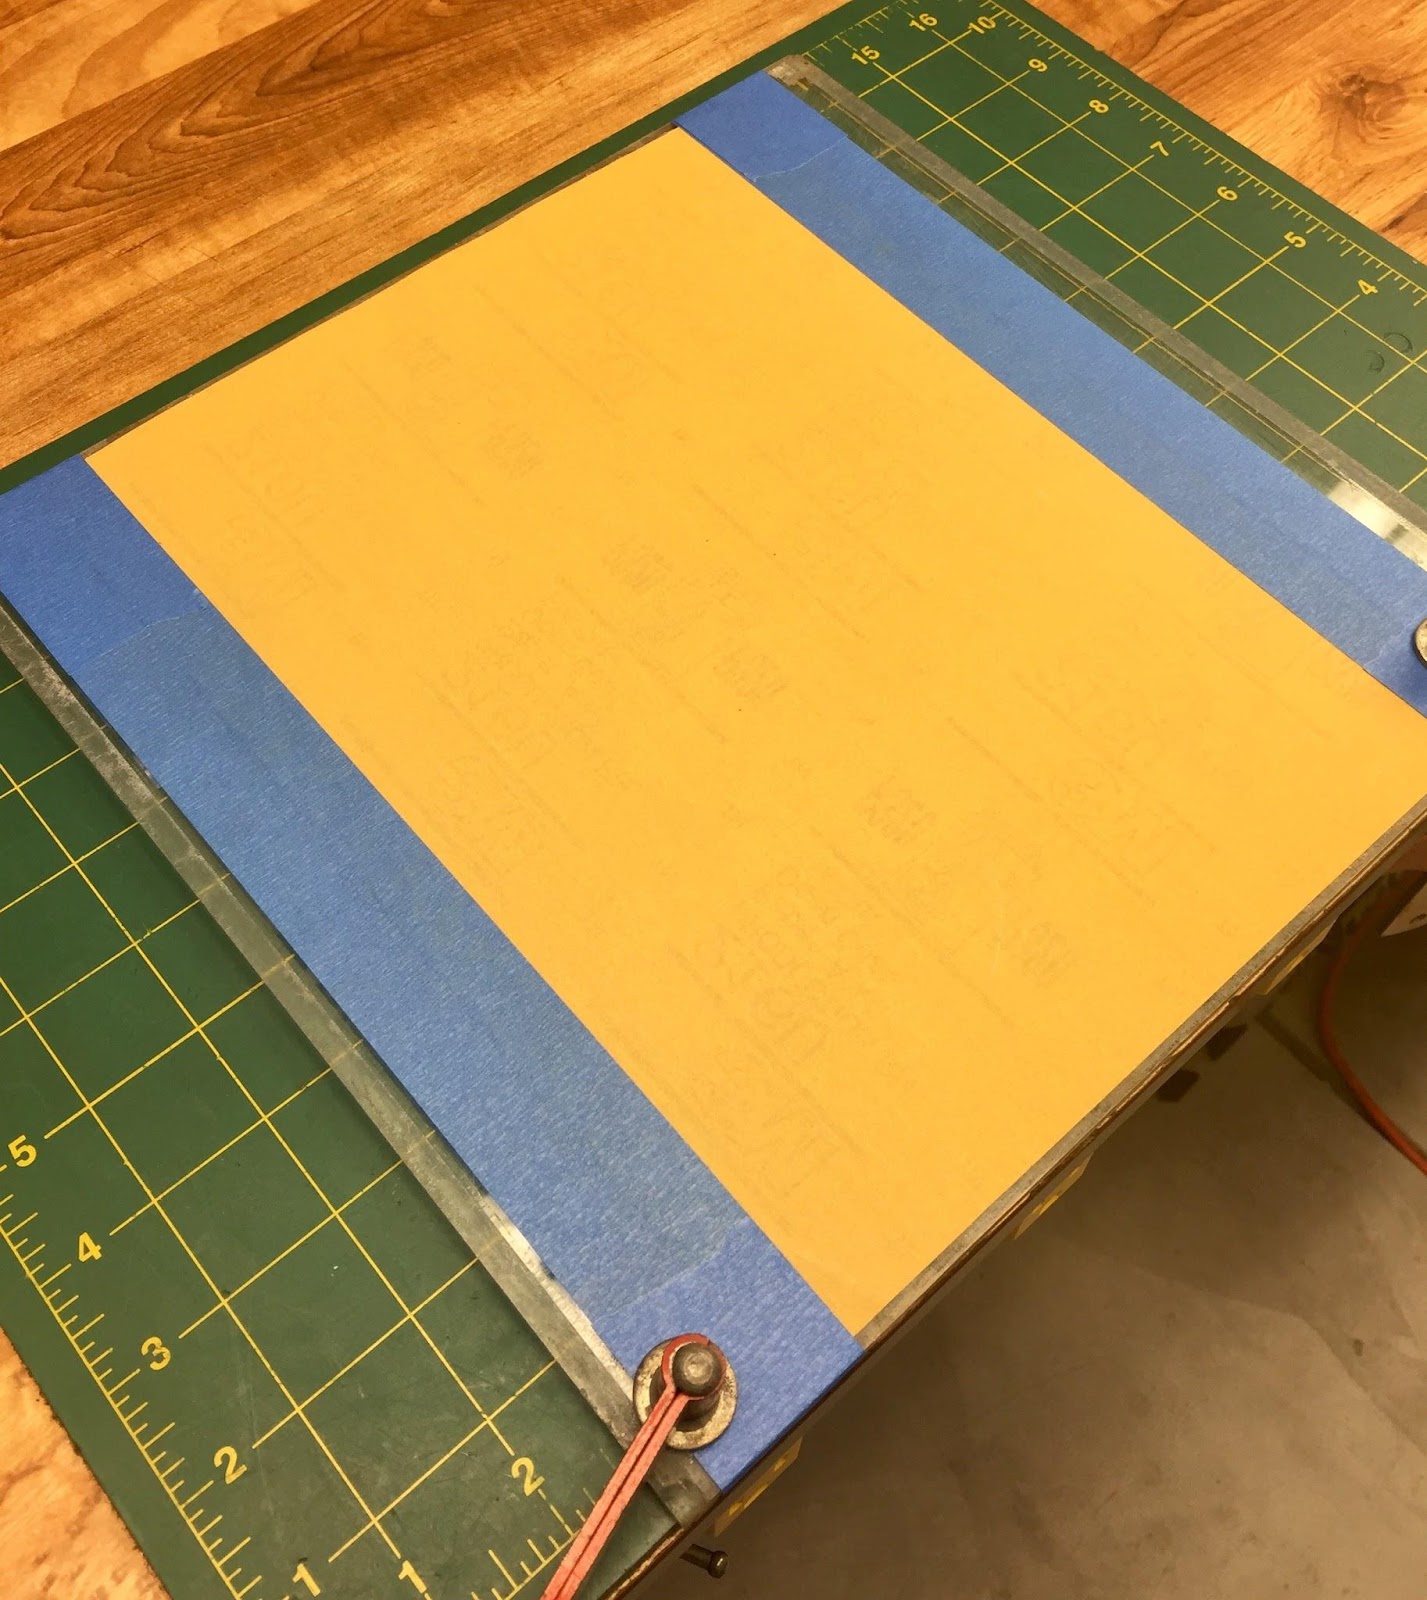
STEP 3: Again with Painter’s Blue tape, secure a clean sheet of Fine grit sandpaper (specifically for fine woodwork) onto a flat surface (shown here is acrylic). Next, clamp the sanding table onto your work surface.
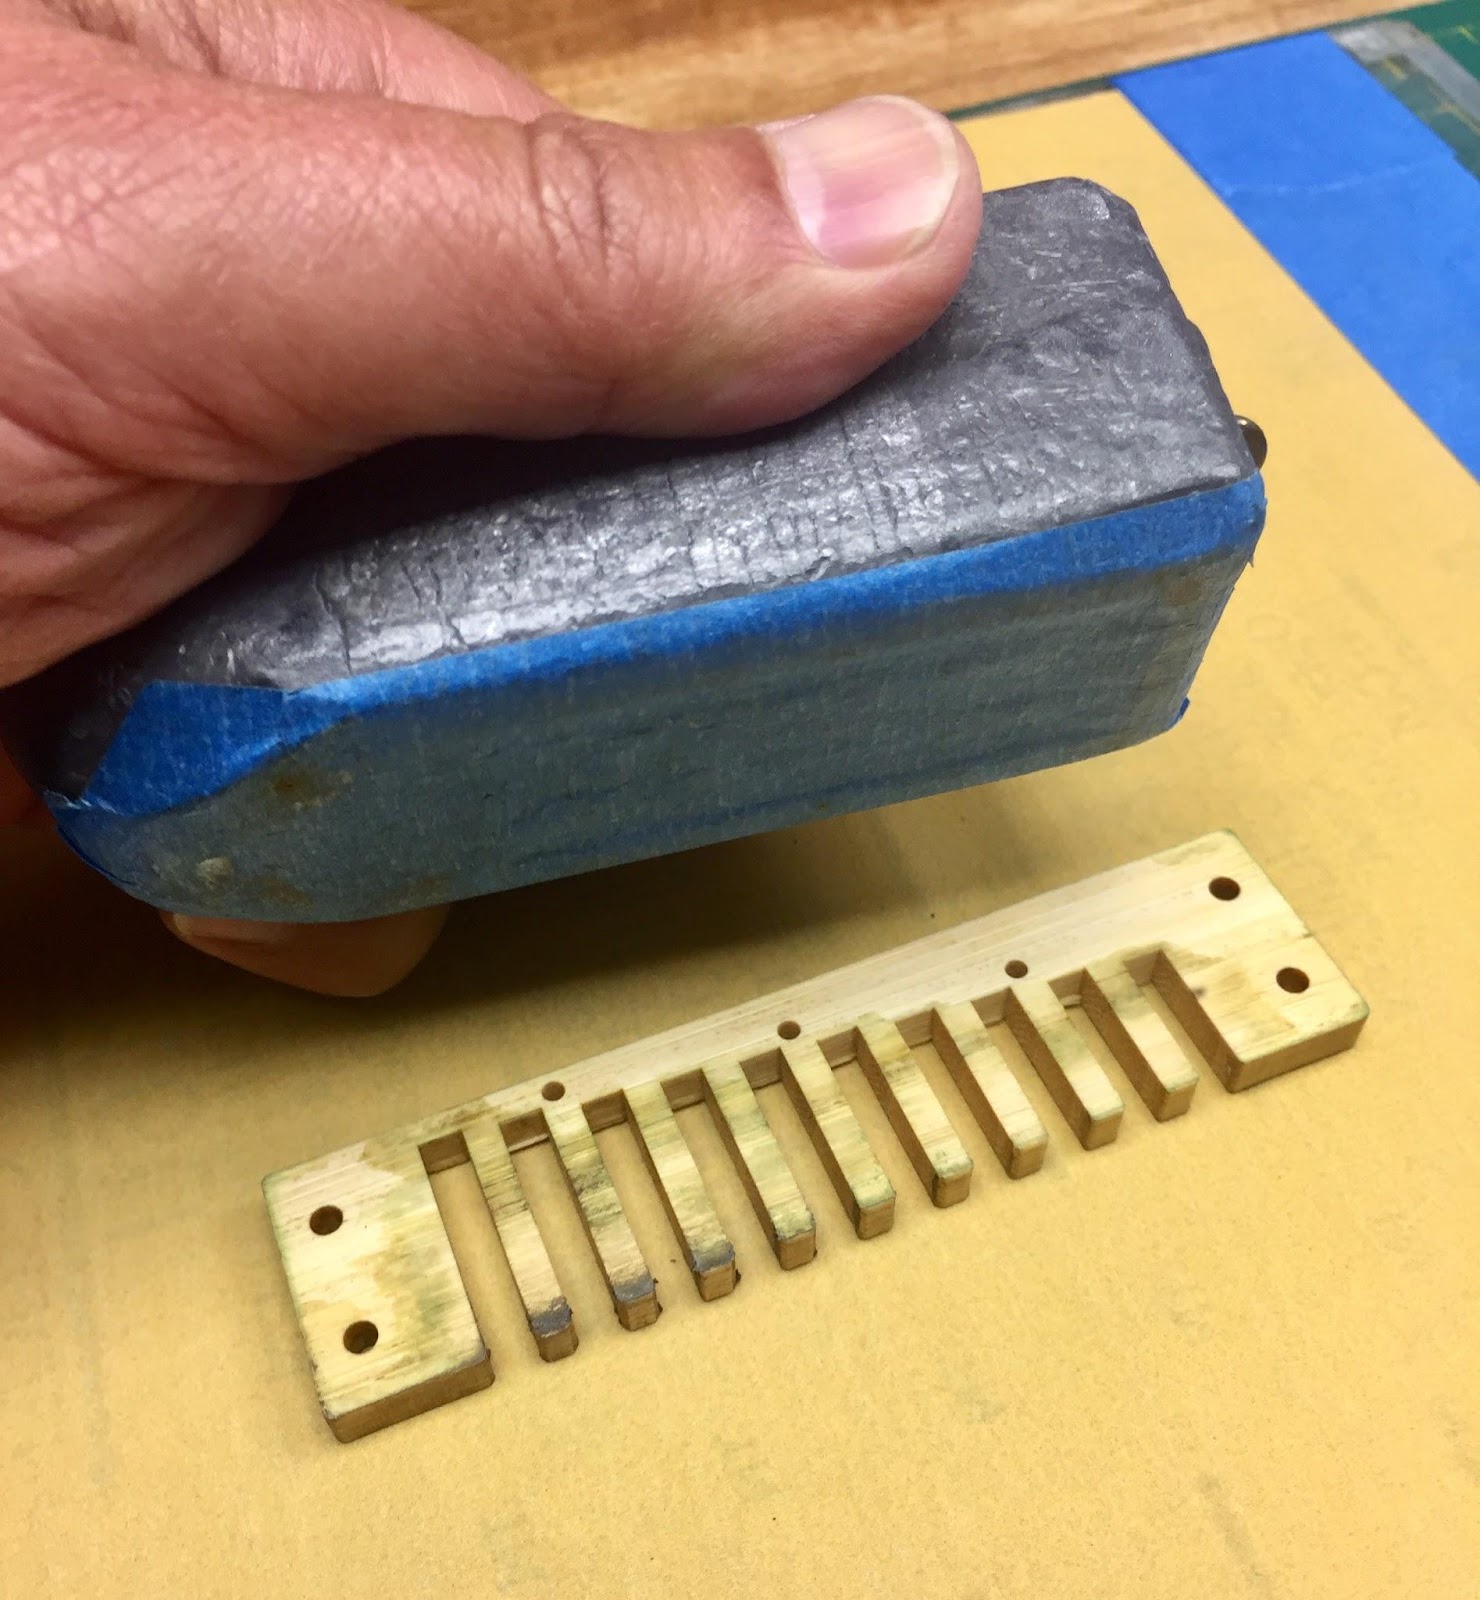
STEP 5: Gently center the weight on top the comb
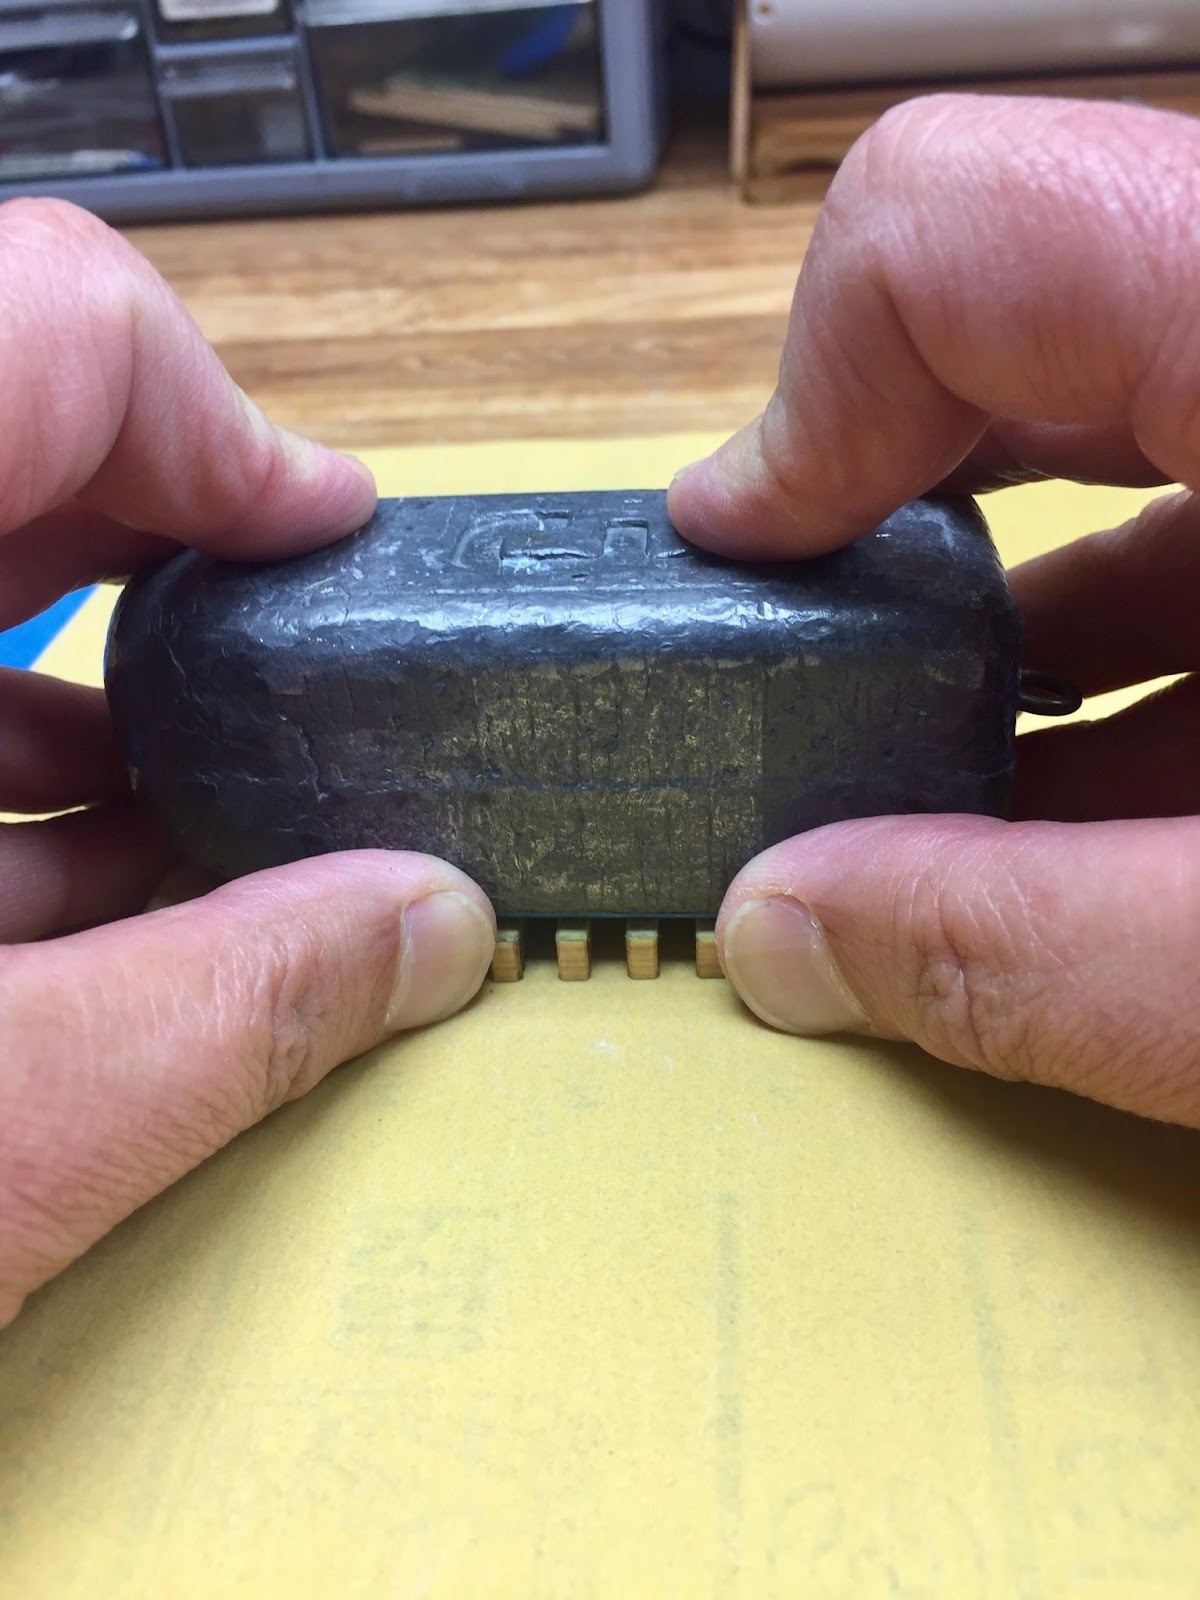
STEP 6: Using your fingers to clamp, push and pull the comb forward and back a few times. DO NOT APPLY DOWNWARD PRESSURE--LET THE WEIGHT DO THAT.
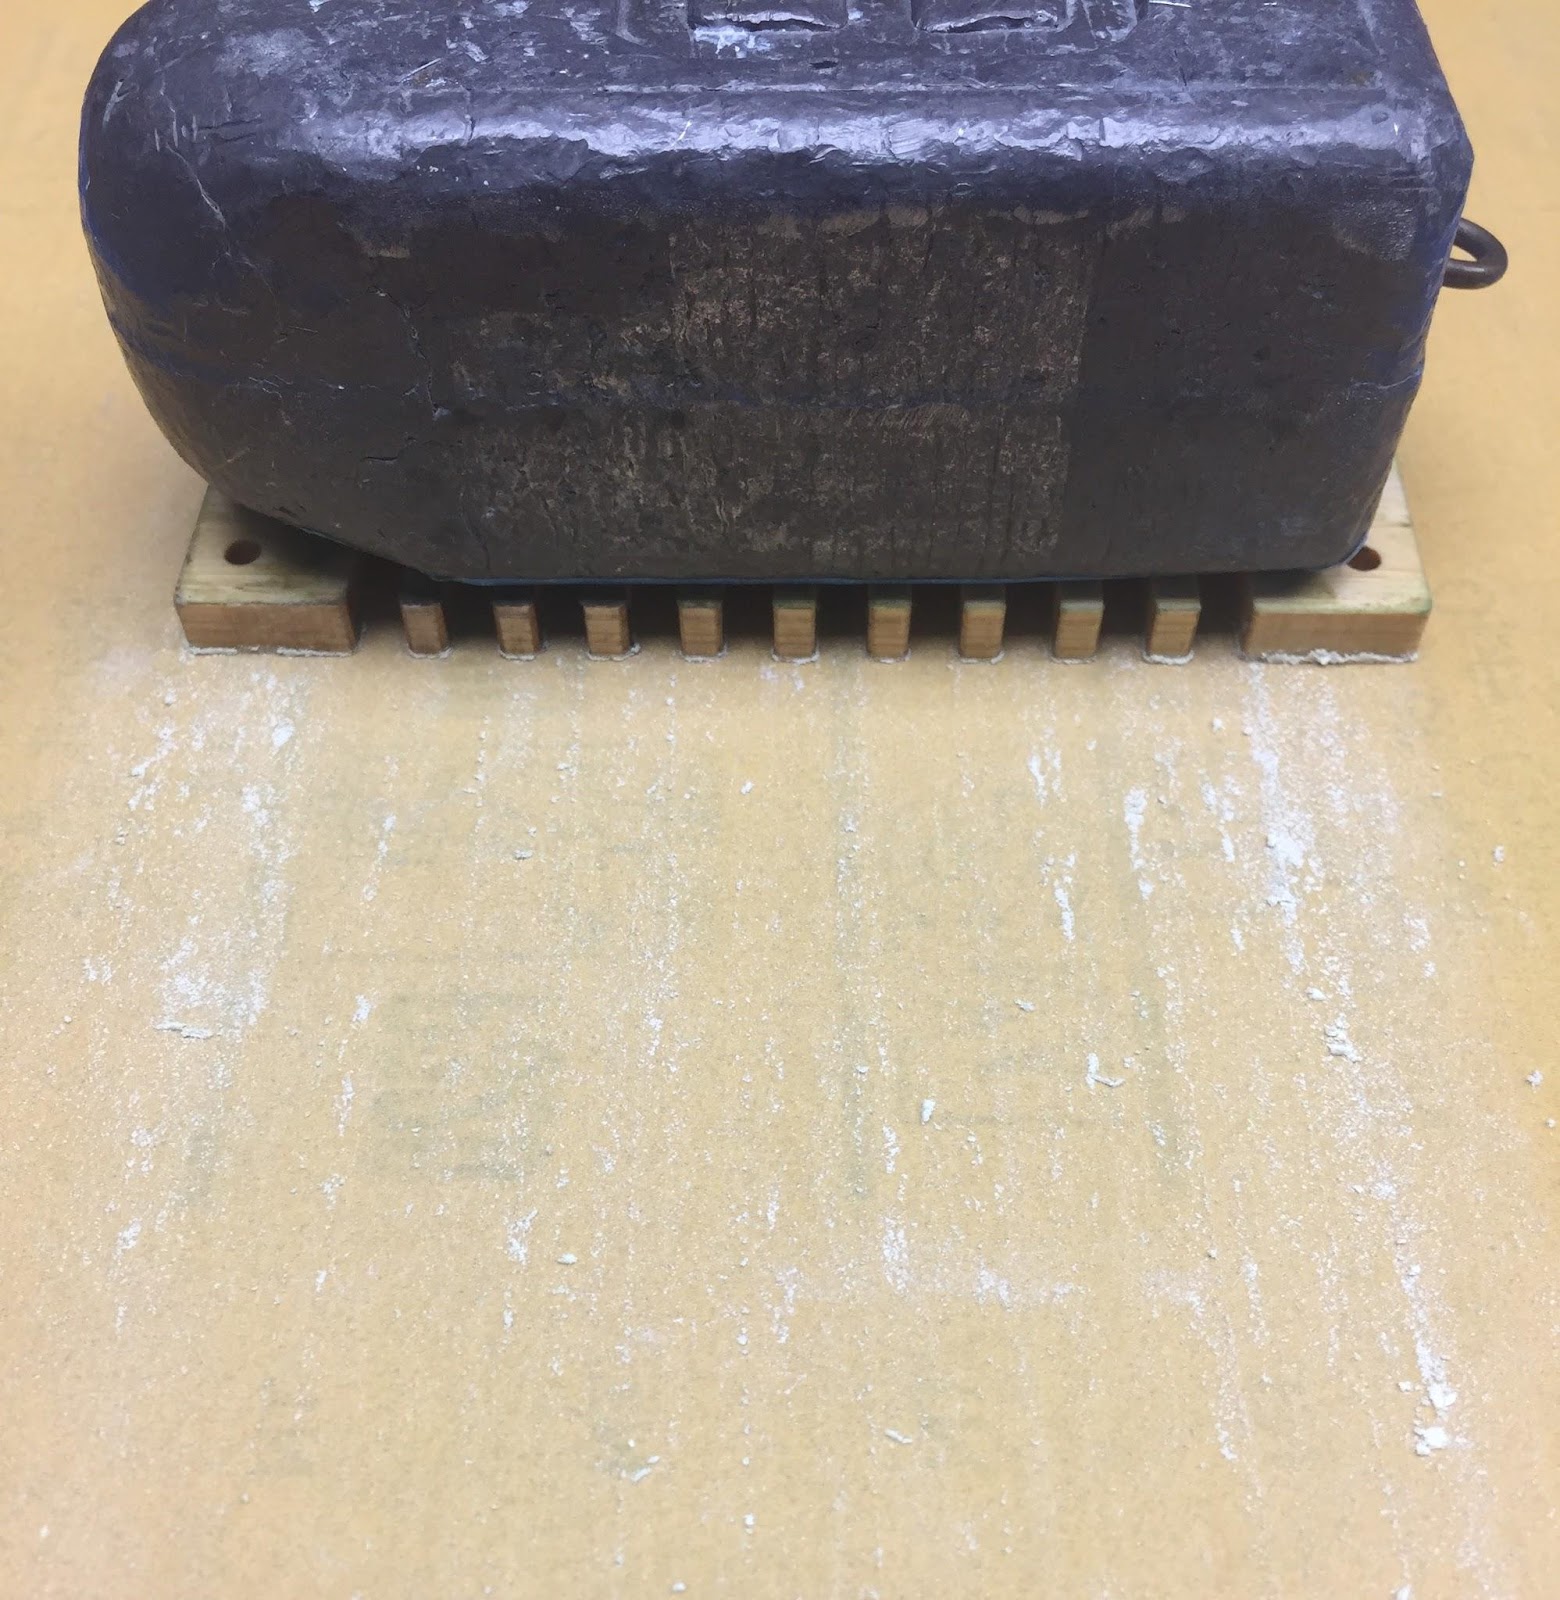
STEP 7: Examine the sawdust left on the surface of the sandpaper, notice how there is a greater build up of sawdust from the comb ends? This is because there is a slight bow to the comb, making the ends touch the sandpaper first on the first few passes. (Referring back to the opening GROSS photo, the contaminated parts of the comb was a result of moisture (saliva) seeping through the crevices of the combs and reed plates).
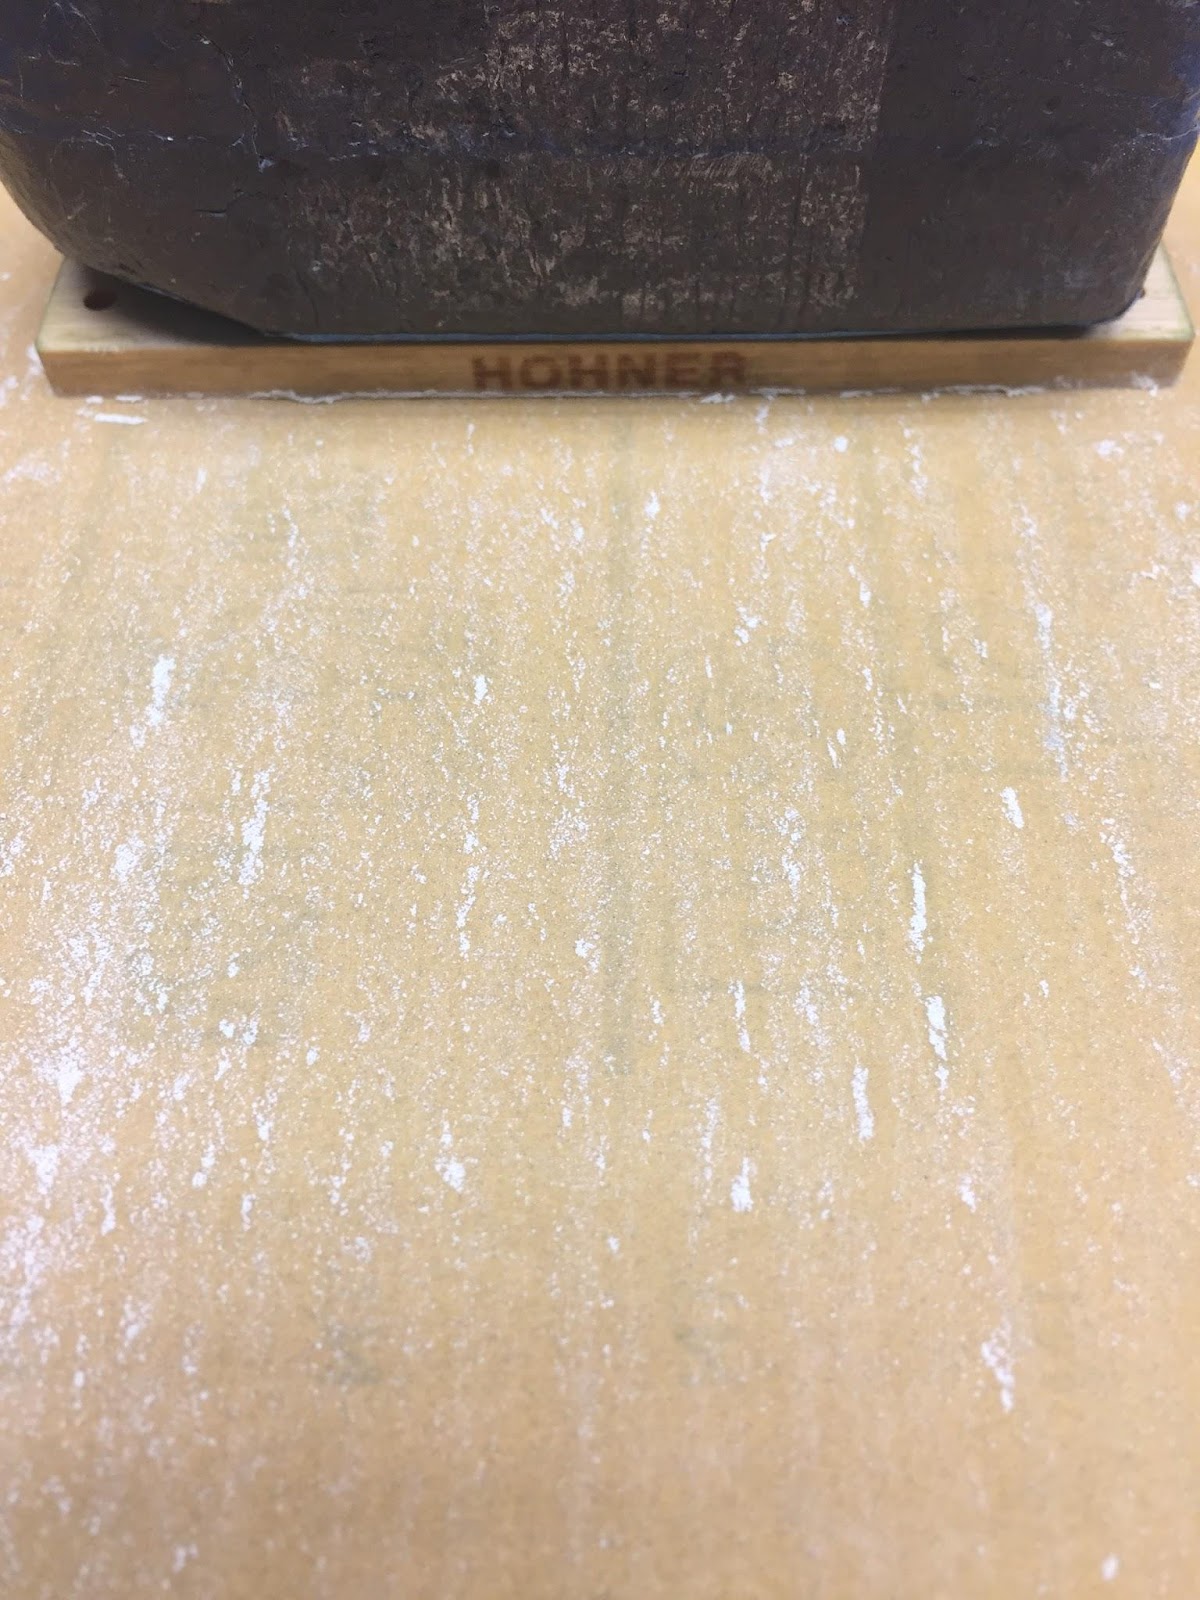
After a few more passes, notice how the build up of sawdust had become more consistent across the sandpaper
The layer of sawdust left on the comb is even
STEP 9: Balance the mouthpiece on top of the sandpaper and gently slide forward and backward a few passes
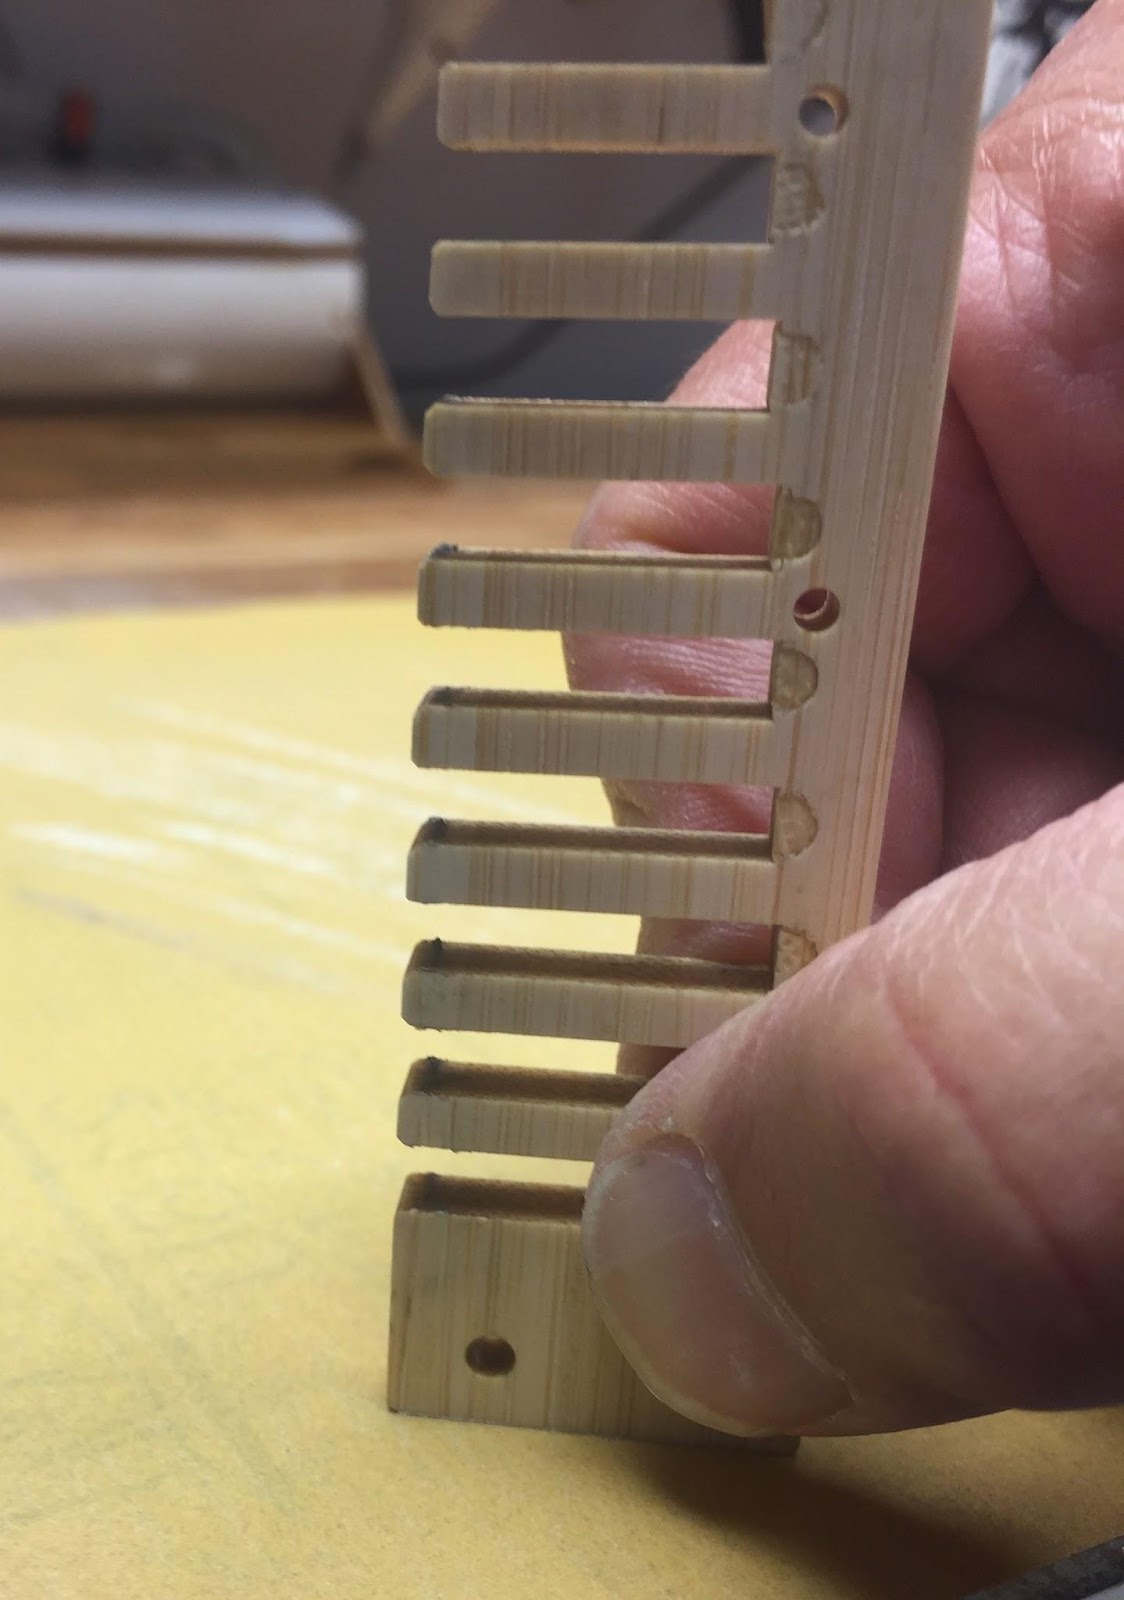
STEP 10: Repeat the previous step on the ends of the comb
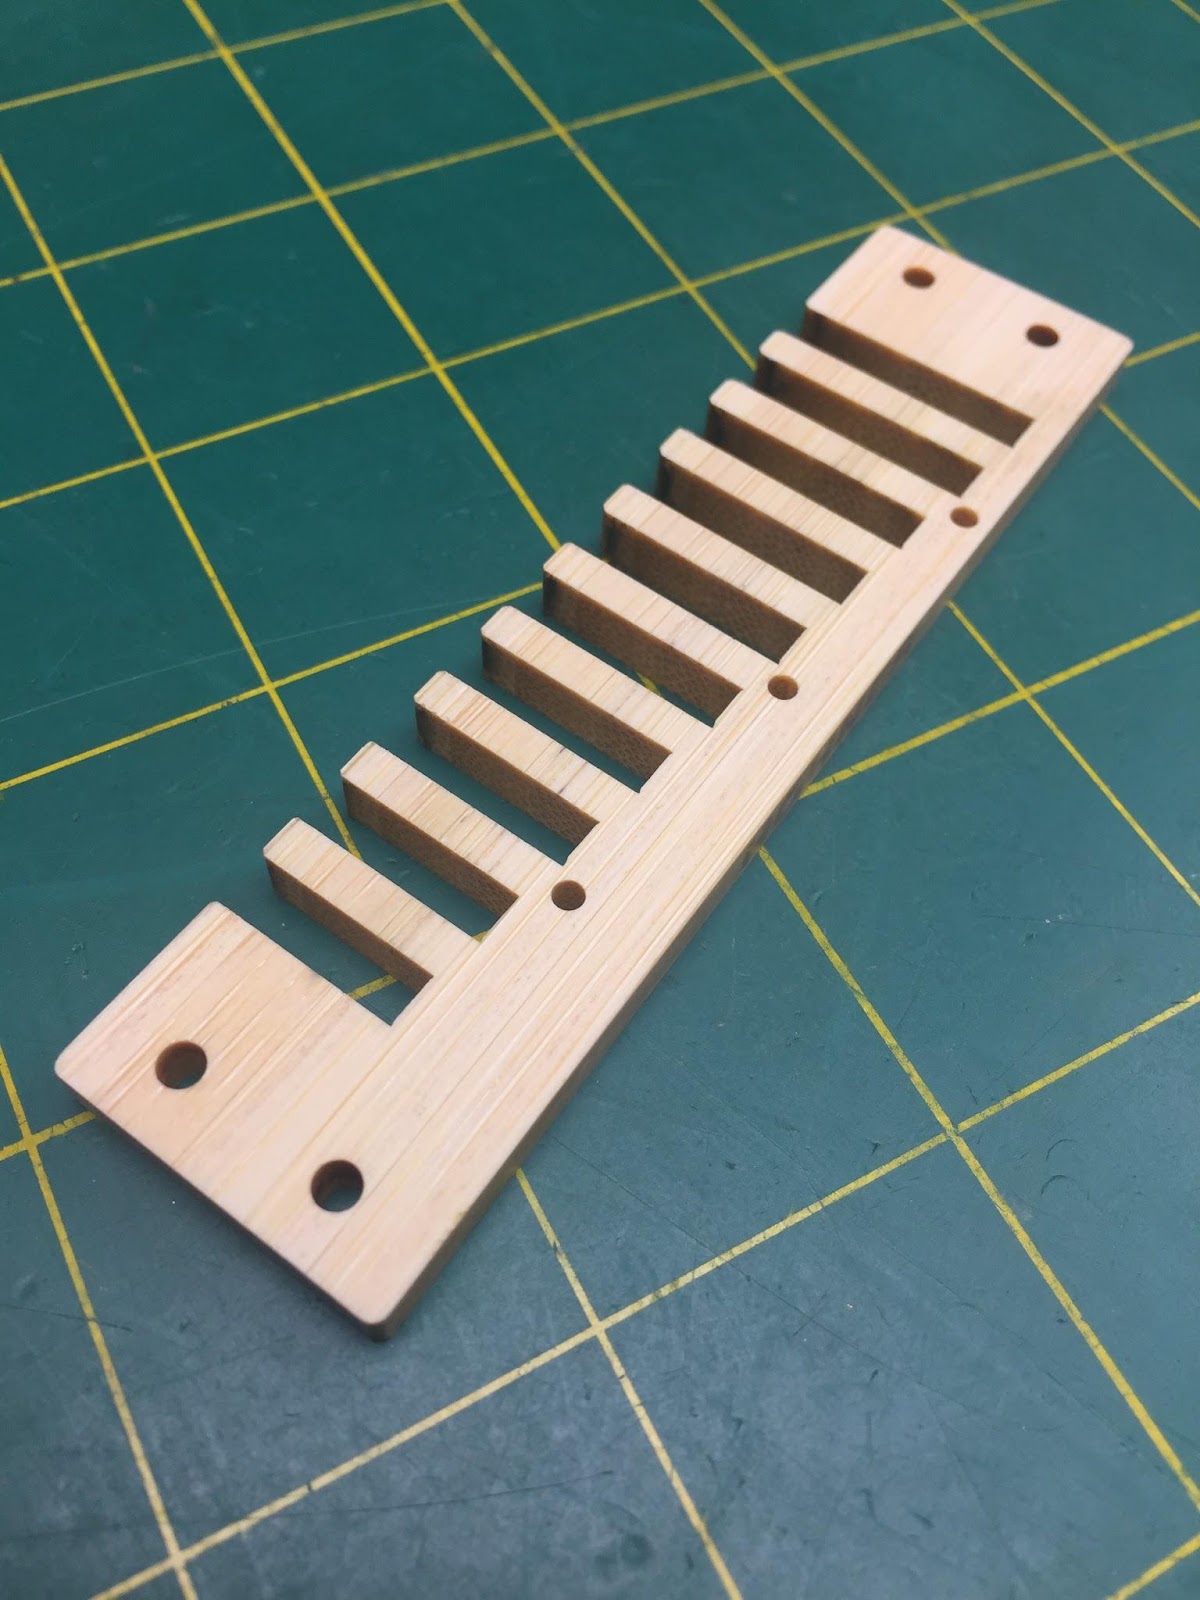
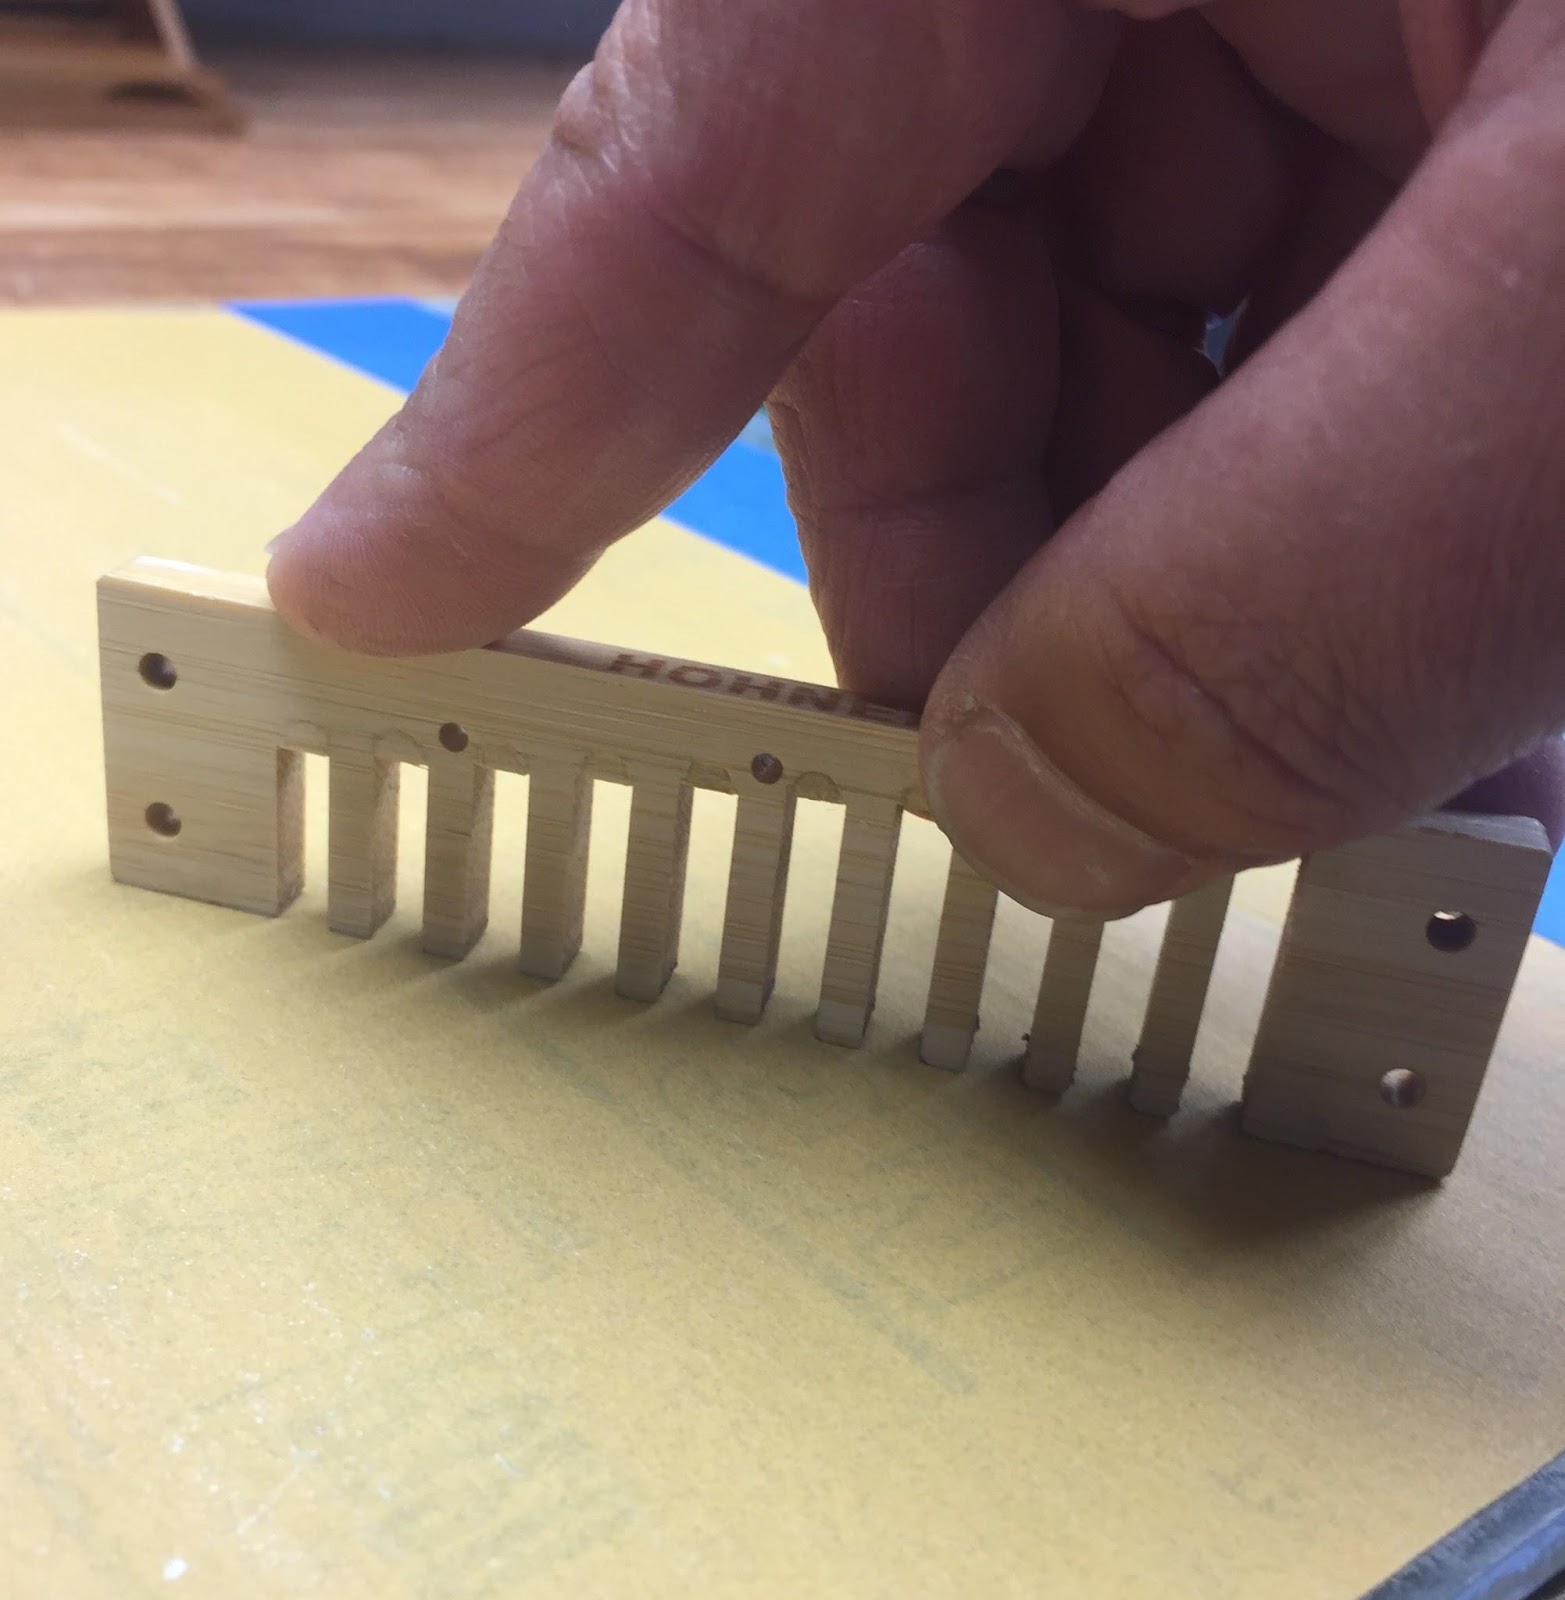
STEP 11: Blow off the sawdust from the comb, and wipe all surfaces with a damp paper towel. This will not only clean the comb, but allow any rough grains to pop up--then be sanded down. This “seasoned” comb is now better than new. Re-attach the reed plates and cover plates. Now go make some music!
Your Harpsmith, Kinya
Thanx Winslow!
Kinya

 Got a Crossover in that really leaked. I took the comb out and it looked much like yours. Very nasty. This is after a bit of sanding just to work on it. That groove had to have come from the factory like that as there was lumps of sealer in the grooves. This harp got a custom comb. I have filled the grooves on this comb and put some MB reed plates on it to see how it will hold up with the wood filler.
I have really enjoyed the harp tech series. Keep up the good work.
.....Mike
Hi Mike, it's good to hear from you.
Yikes! Looks like the Grand Canyon running through your comb! Please keep us updated on this "case".
Your Harpsmith, Kinya

Hi Guys,
Comments for both Kinya and Winslow, but first I’d like to thank both of you for all you contribute here on bluesharmonica.com, I’ve learned much from you.
Kinya, I used to make and repair/service high end wooden Flutes and Recorders, so I feel your pain with regards to the nastiness that lurks inside of used harps - I’ve seen plenty of Recordacoccus in my day, lol.
Regarding the fishing weight, I love the idea! That said, my own observation is that it takes less than 3lbs to bend a harmonica comb, so I can see where this could cause problems getting a warped comb truly flat, since the weight will flatten the comb to some extent when placed on the comb before you even begin sanding, then will spring back to its warped state once sanded “flat”. As a general woodworking principle, one would not apply enough pressure to bend the piece being sanded, unless one likes to go in circles..... lame orbital sander pun there. I assume you are checking the comb on a truly flat surface after sanding, so how are you avoiding the bending issue while the comb is weighted?
It also drives the machinist in me nuts that the fishing weight doesn’t evenly apply the weight to the entire surface of the (flexible) comb, because this can potentially magnify the bending problem, but I realize we aren’t lapping space shuttle parts here, lol. Kinya, have you ever considered having a machinist make you some blanks out of bar stock that exactly conform to the outline of each type of comb you commonly need to flat sand? This would solve the bending problem, because the bar stock could be relatively light, and would also solve the problem of even weight distribution over the surface of the comb. Would serve double duty as a reverence flat surface for testing flatness of the comb before, during and after sanding, as the bar stock would be milled perfectly flat all around. Sadly, I no longer have access to machine tools, or I’d make us both a few blanks for various combs. Perhaps you could convince a machinist you know to make you one to try? (Greg H, possibly?)
One could obviously also use an aluminum, brass or demonstrably flat corian or acrylic comb of the same type on top of the comb being sanded, as a less perfect but more easily available alternative.
I know, I know, the fishing weight is cheap, easy, and available. And if you are getting truly flat combs using the fishing weight, no reason to change and it could be a great idea for others as well. Just not sure how you’re avoiding the bending issues.
Winslow, excellent idea regarding marking the surface to be sanded, this a very helpful technique used by both machinists and woodworkers. That said, paint, crayon and sharpie are all bad choices for wood, as all will go well below the surface of the wood, forcing you to sand far more material off than is necessary desireable. The paint and sharpie will wick their way into any porous surface, like unfinished wood and bamboo, and the paint will also clog your sandpaper, plus also potentially redeposit some of that paint back on/into the freshly sanded surface. Crayon is even worse as it is waxy and will get driven into the pores of the wood, and what crayon does comes off into the sandpaper will clog your sandpaper even worse than paint.
Pencil is the way to go and is what woodworkers use because, with a light touch, the graphite stays essentially on the surface of the wood, and it will not clog your sandpaper or redeposit, saving you sanding time, money, and hassle.
Also, the pencil shading doesn’t need to be solid, just make closesly spaced lines on every part to be sanded, you can do this with a single continuous, closely spaced wavy line on each place that needs to be marked.
Sharpie can be an excellent choice for fully sealed combs that need to be sanded after the sealant is applied, provided the poly or whatever has fully cured.
OK, that’s about enough outta me!
Loren
He Loren, Fabulous idea with the graphite! I will apply this strategy on the next restoration project.
Your Harpsmith, Kinya
Here is the result of the grand canyon comb. A harp Richter tuned. I use it for chasing foxes so it gets a fair amout of slobber. That shoud test out the "fix". I forgot to take a picture of the repaired comb.

The problem.... It got broken in shipping.

Next I glued and clamped it with some doner reed plates.

Here it's finally dry.

Final result...... I love this harp. G. All used parts. Spent way too much time on it, but it sure is fun to play.

Woops, except the screws. I did buy new Crossover screws. I really like them.
........Mike
Well done sir! (we should send all our broken combs to you ;o)
Your Harpsmith, Kinya
Very cool process, thanks!
Just a suggestion, you might want to run your sanding weight on a piece of sand paper to insure it's flat. Those cast weights aren't the truest and they'll have a lot of dings and dents that can mess things up for this application. This would insure you aren't sanding a twist or high spot in the comb. I'd even glue a piece of acrylic or something on it after that so you're getting even pressure on all the parts of the comb.
Thanks again!
Eric
Great tip Eric.
Your Harpsmith, Kinya

You can paint the surface of the comb with a sharpie or, better, a crayon.
Rub the painted surface on the backside of the sandpaper and the high spots will be where the paint rubs off. This gives you an idea where the problem areas are.
You can also paint the surface before sanding. When all the paint comes off, the surface is flat.