Sometimes the Sequel is Better than the Premier

Hello Harp Techs. A few months ago I wrote on this forum, about Don Makowski-Dee’s Fine Tuned Instrument’s innovative glue-free windsaver. For Chromatic and “valved” Diatonic harmonica players, this was a phenomenal idea. Gluing anything has always been a bummer for me ;o(
The first samples (Gen 1) that I tested were constructed with a thick felt material, mylar and weak adhesive. When compared to Seydel and Hohner windsavers, although convenient, the Gen 1 windavers were “spongy”, lacking the required air tightness in the closed position. Of course this compromised the playability of my instrument.
Don’s persistence to build a better windsaver paid off, the Gen 2 are a significant improvement. Lighter and thinner materials and stronger adhesive proved the new generation of windsavers to be a winning combination.
Taken it to the Bench
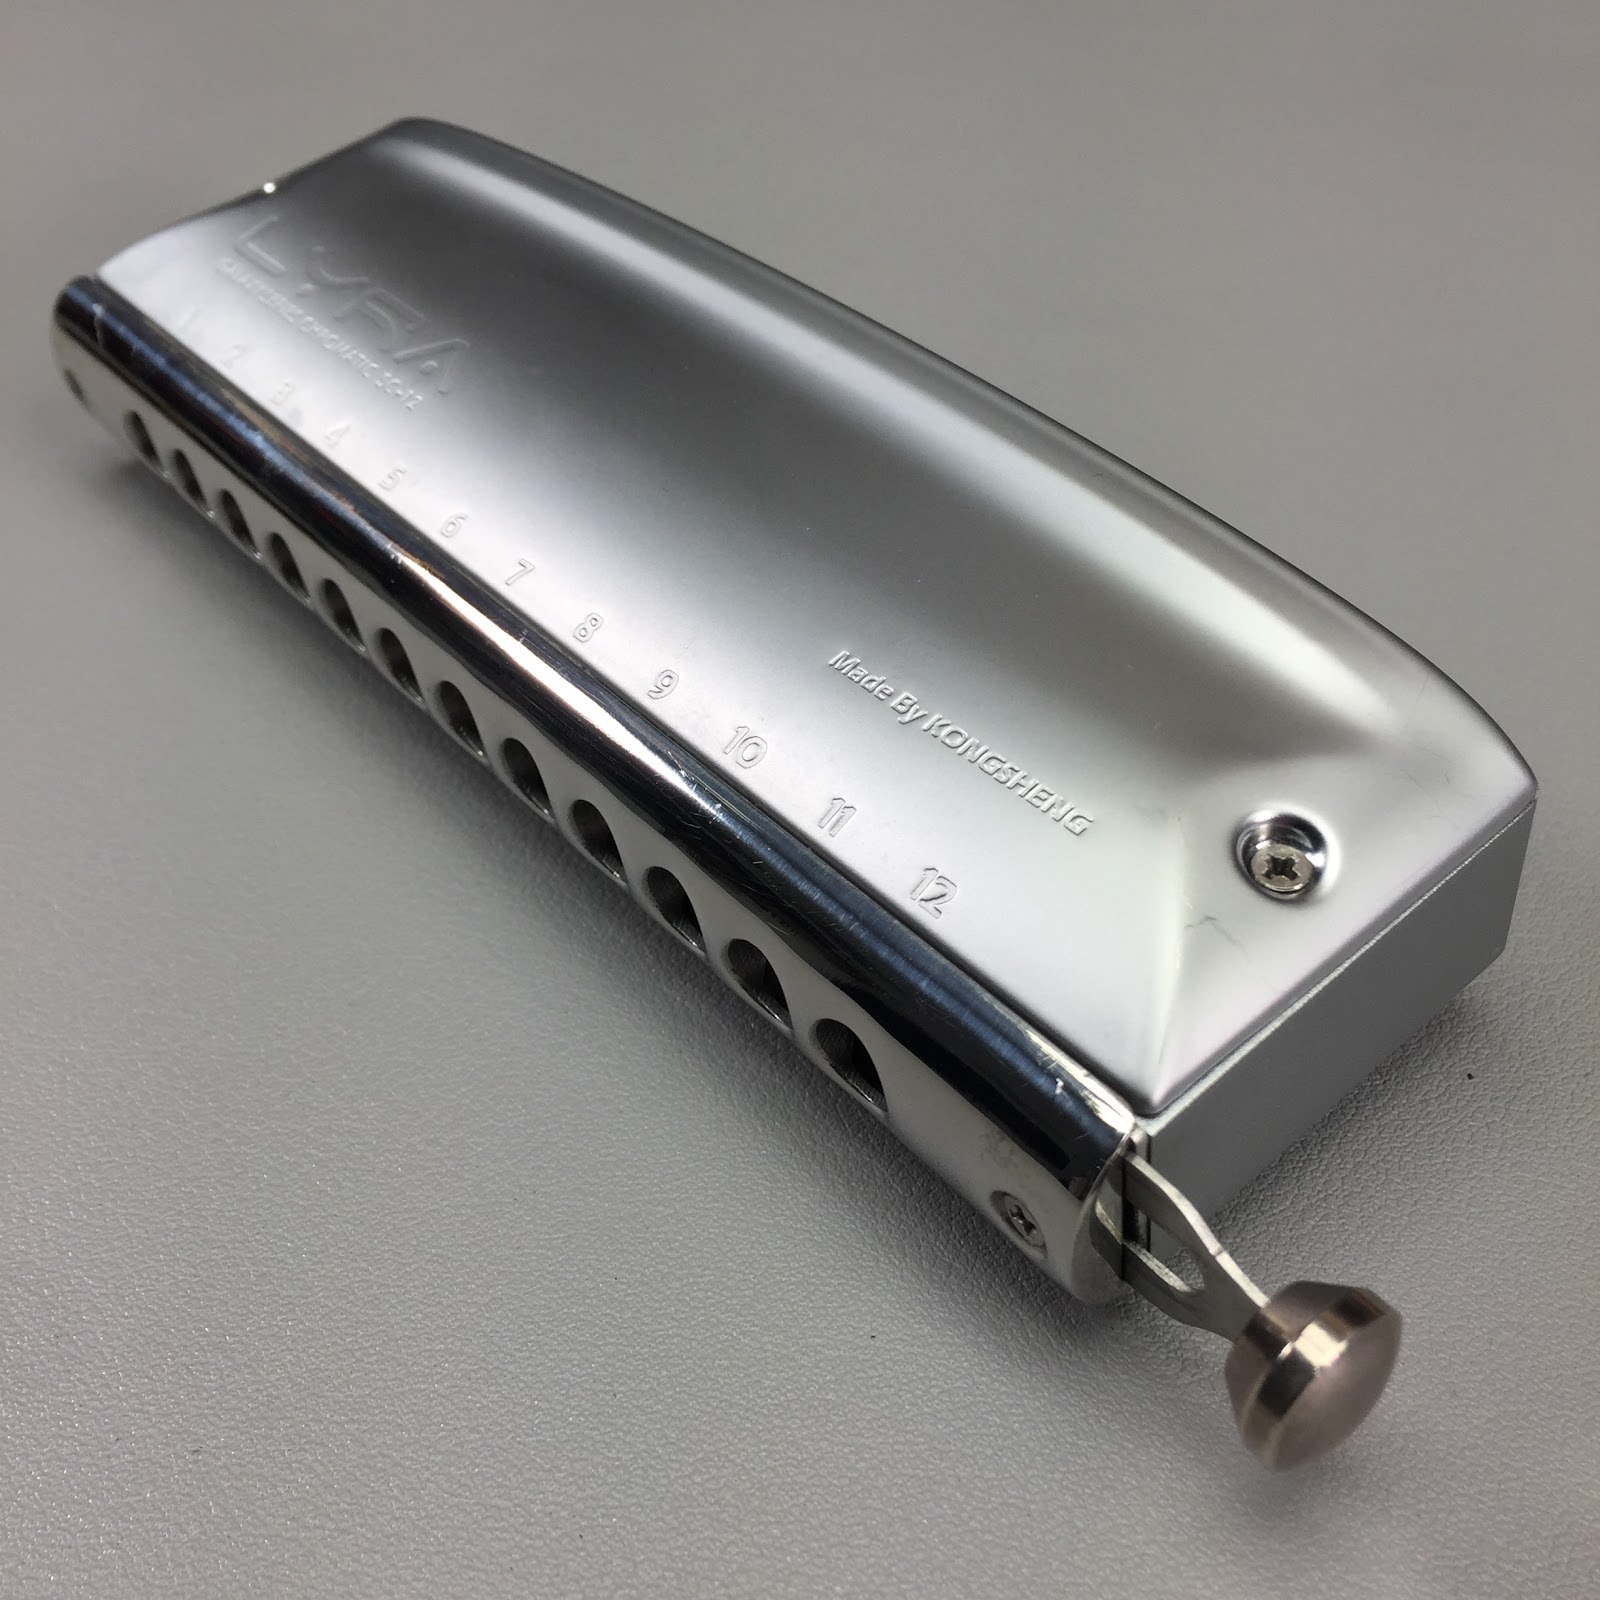
For continuity, I decided to use the same harmonica that I used for the review of Gen 1
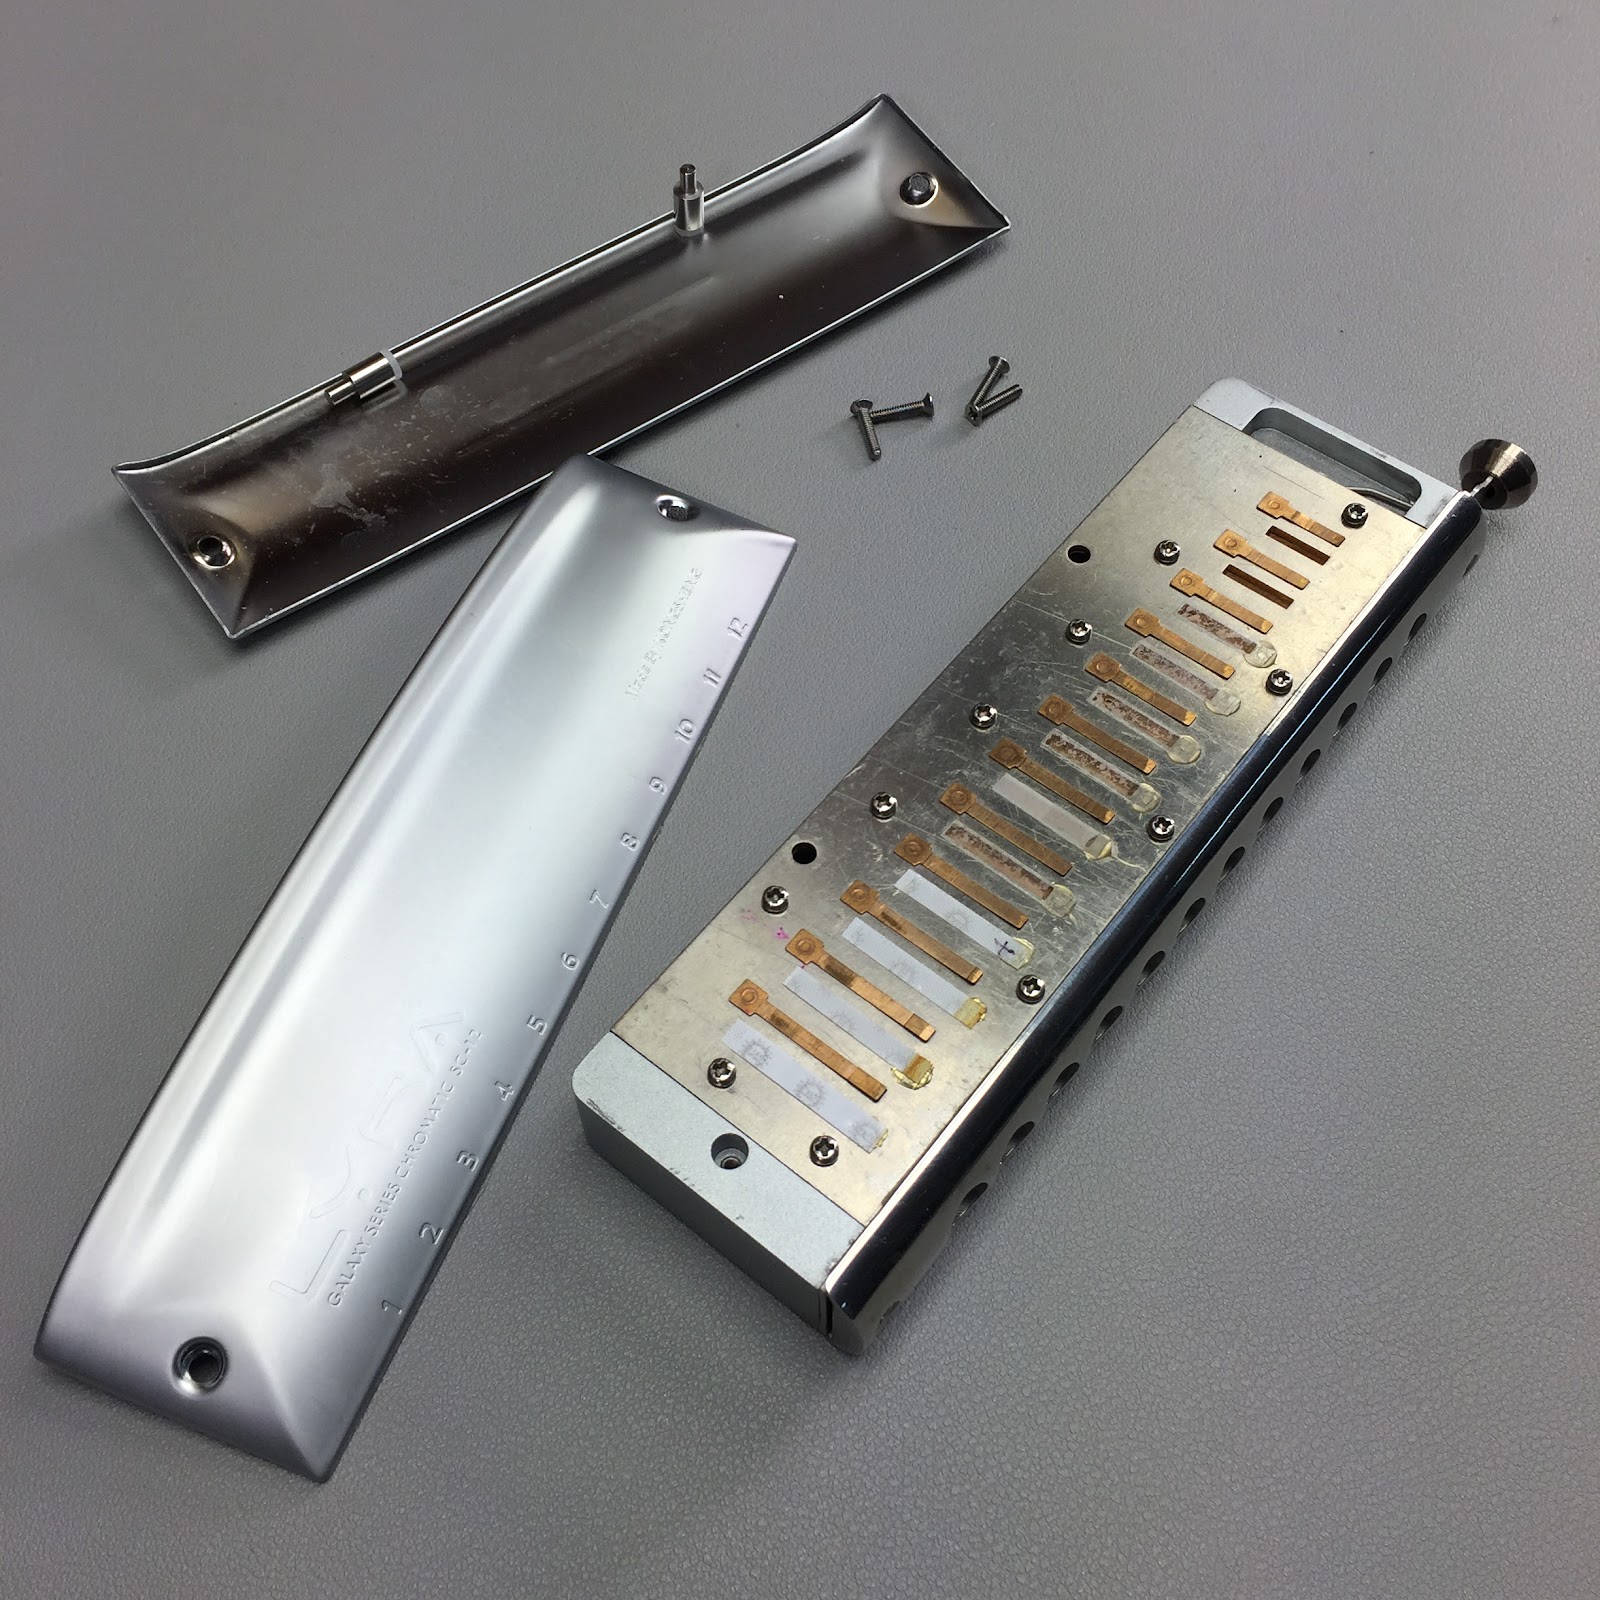
Remove the cover plates and reed plates from the comb
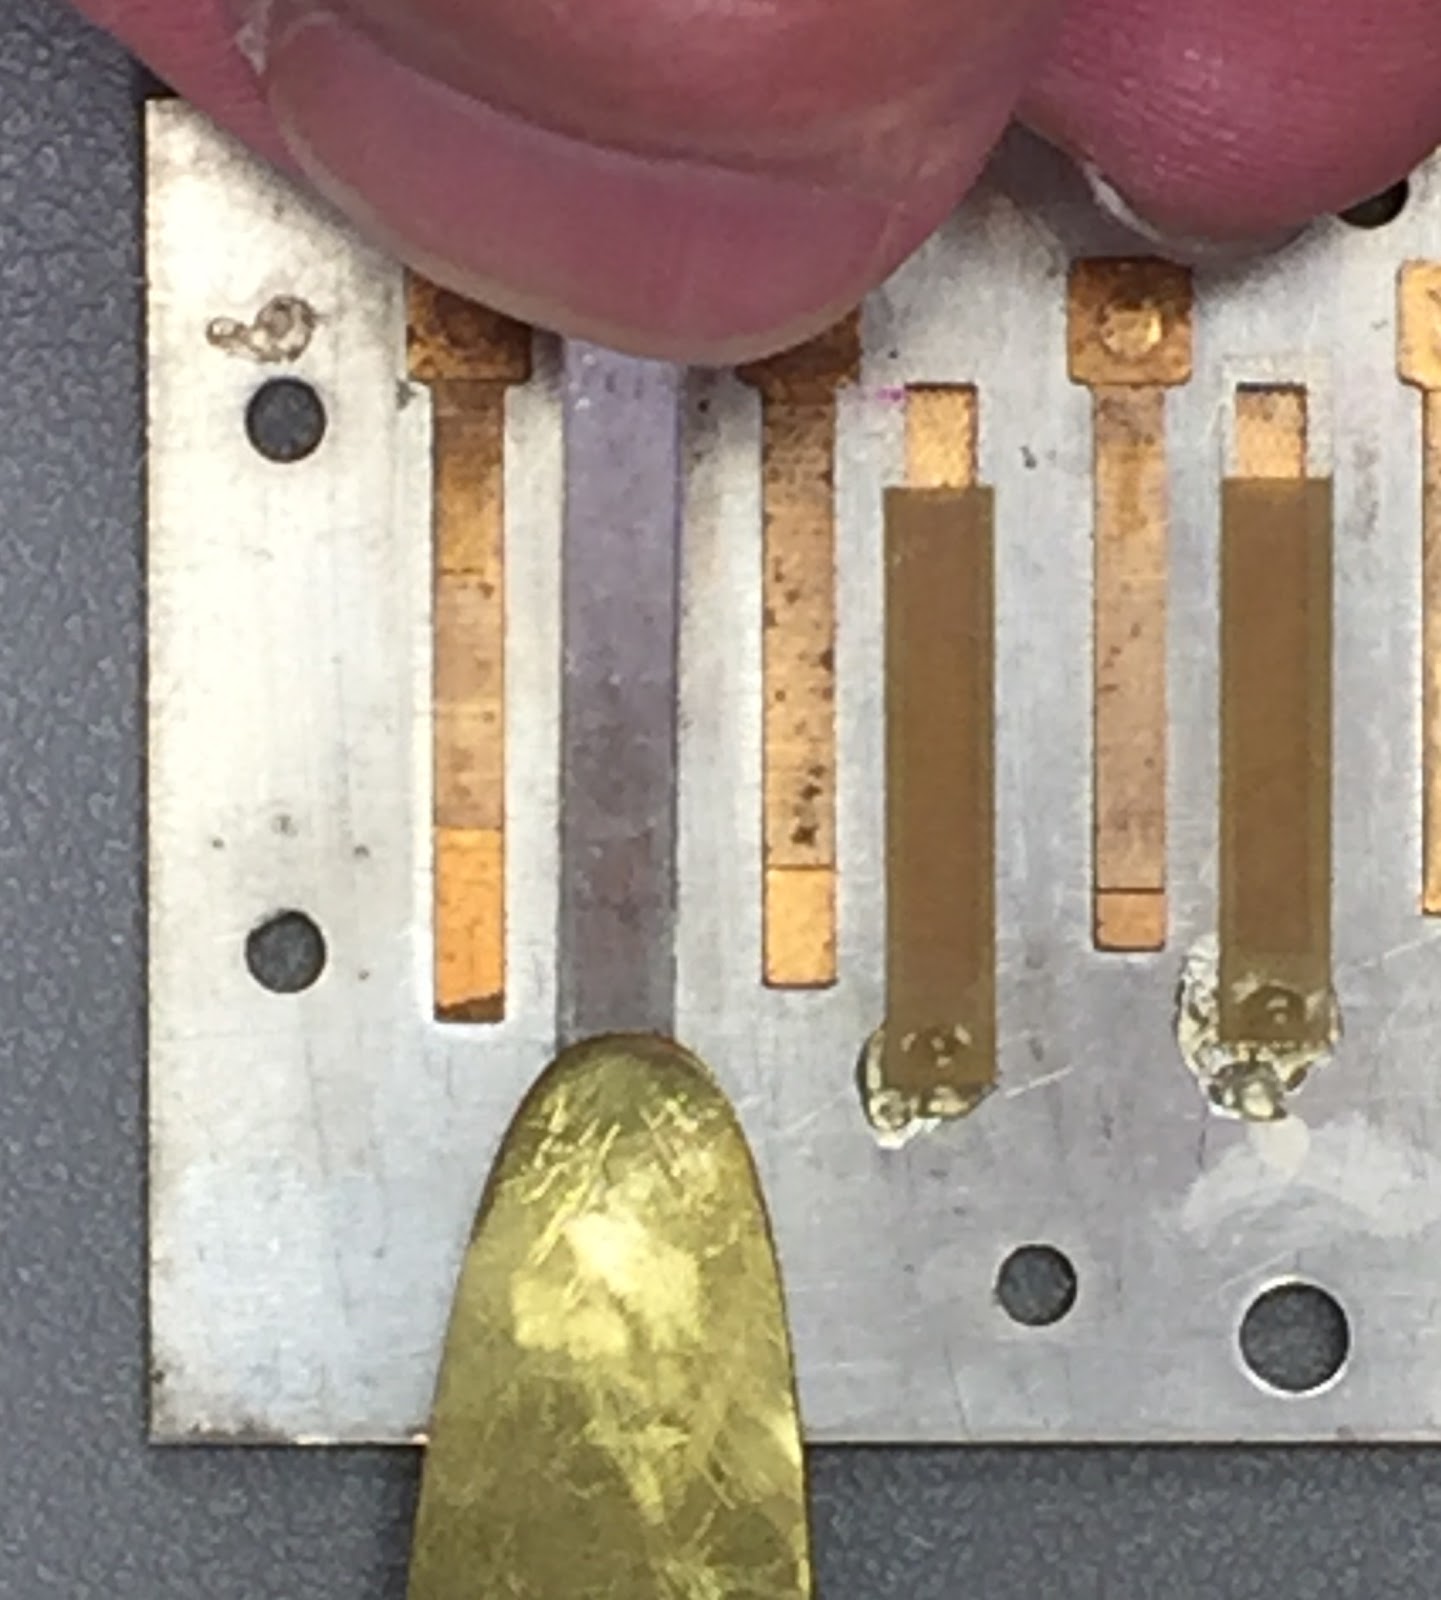
For the previous shoot-out I installed Hohner windsavers over draw slots #1, 2, 3, 4
Over the blow reed slots, I installed Seydel windsavers
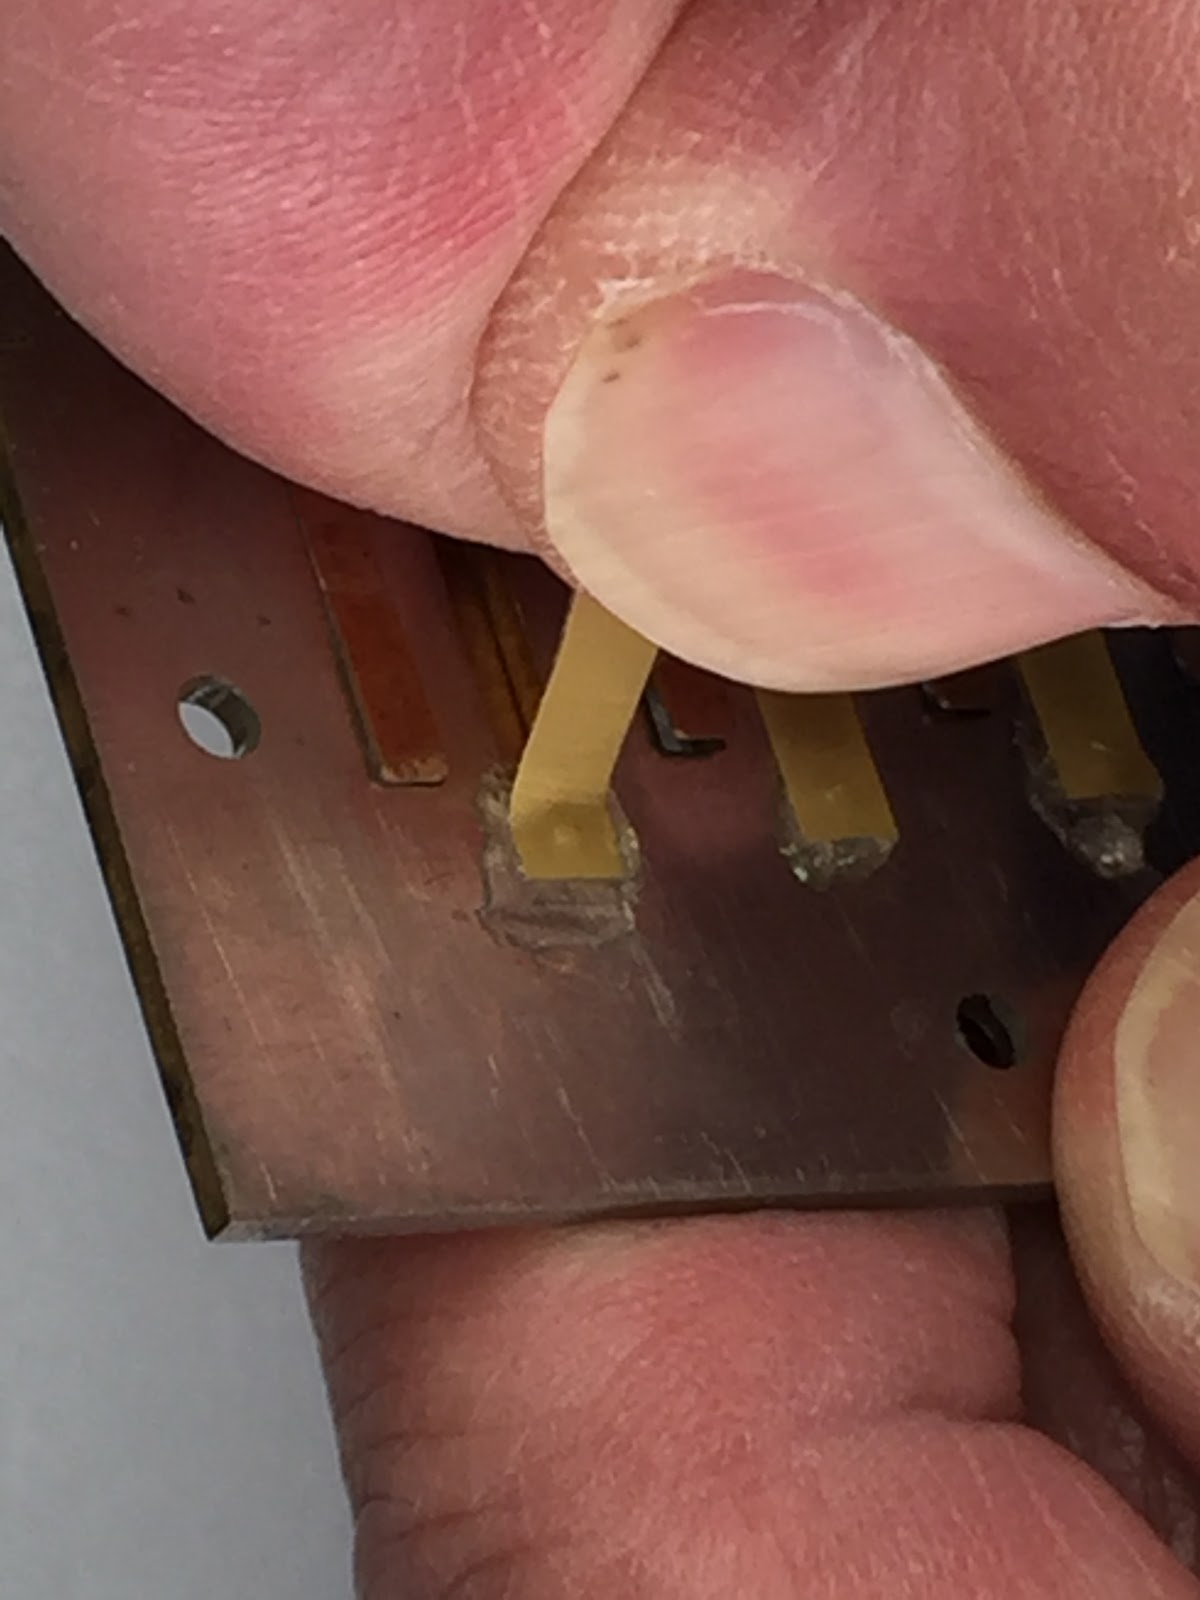
Carefully pinch the free end of the windsaver and pull upward and back
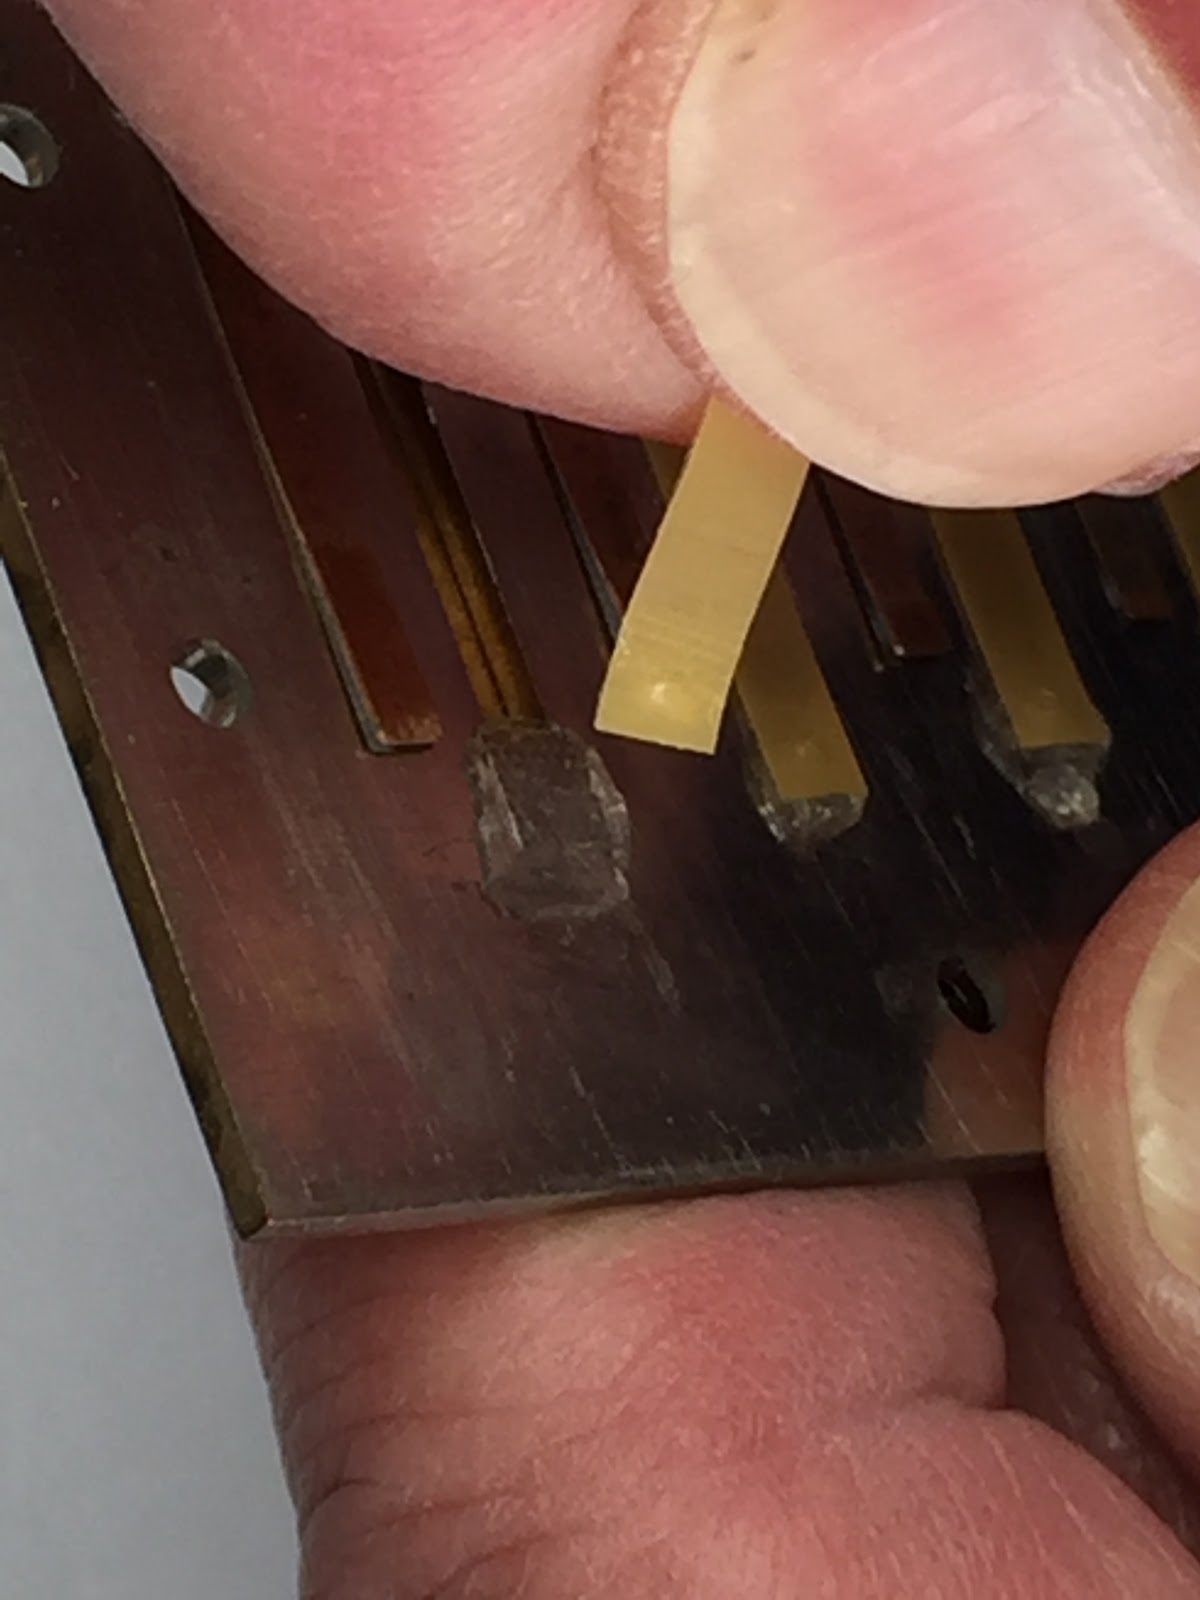
The windsaver will easily give way
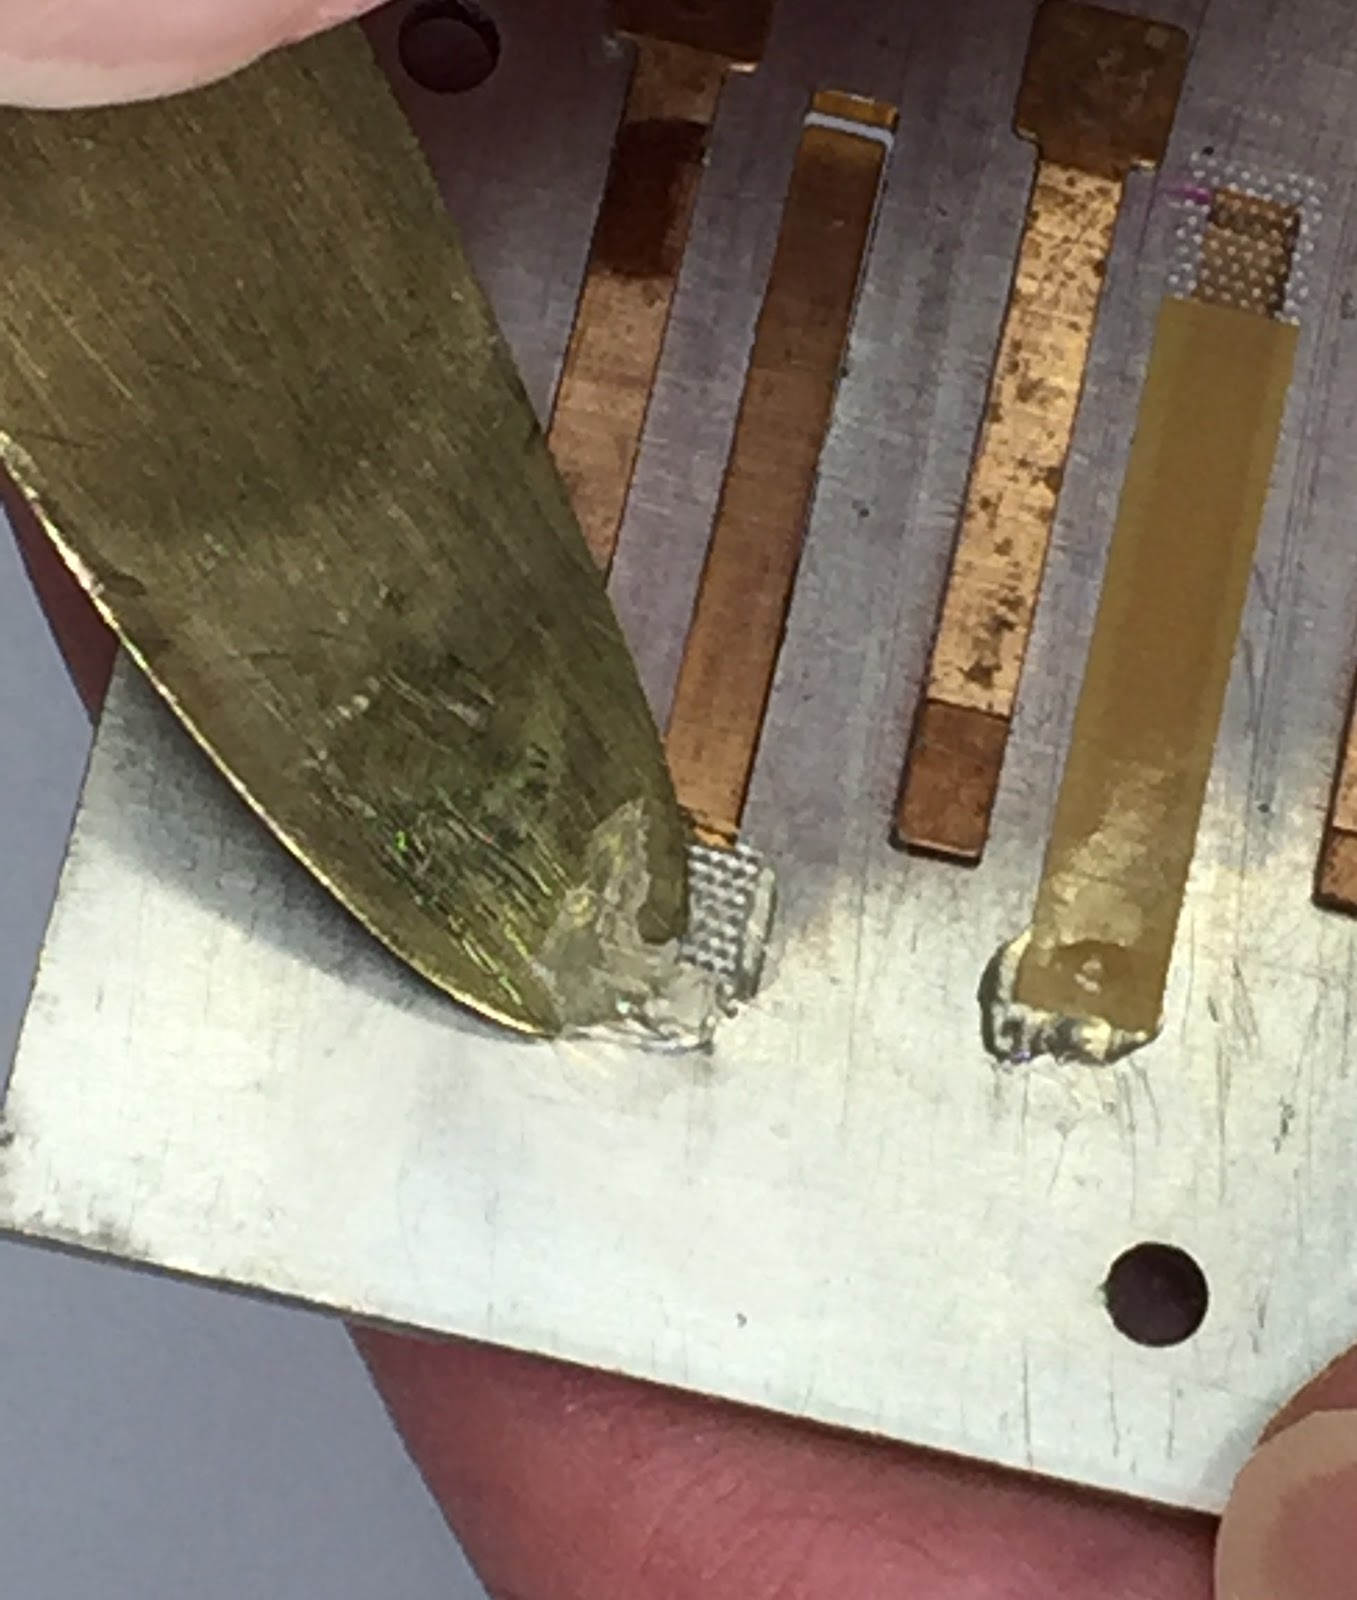
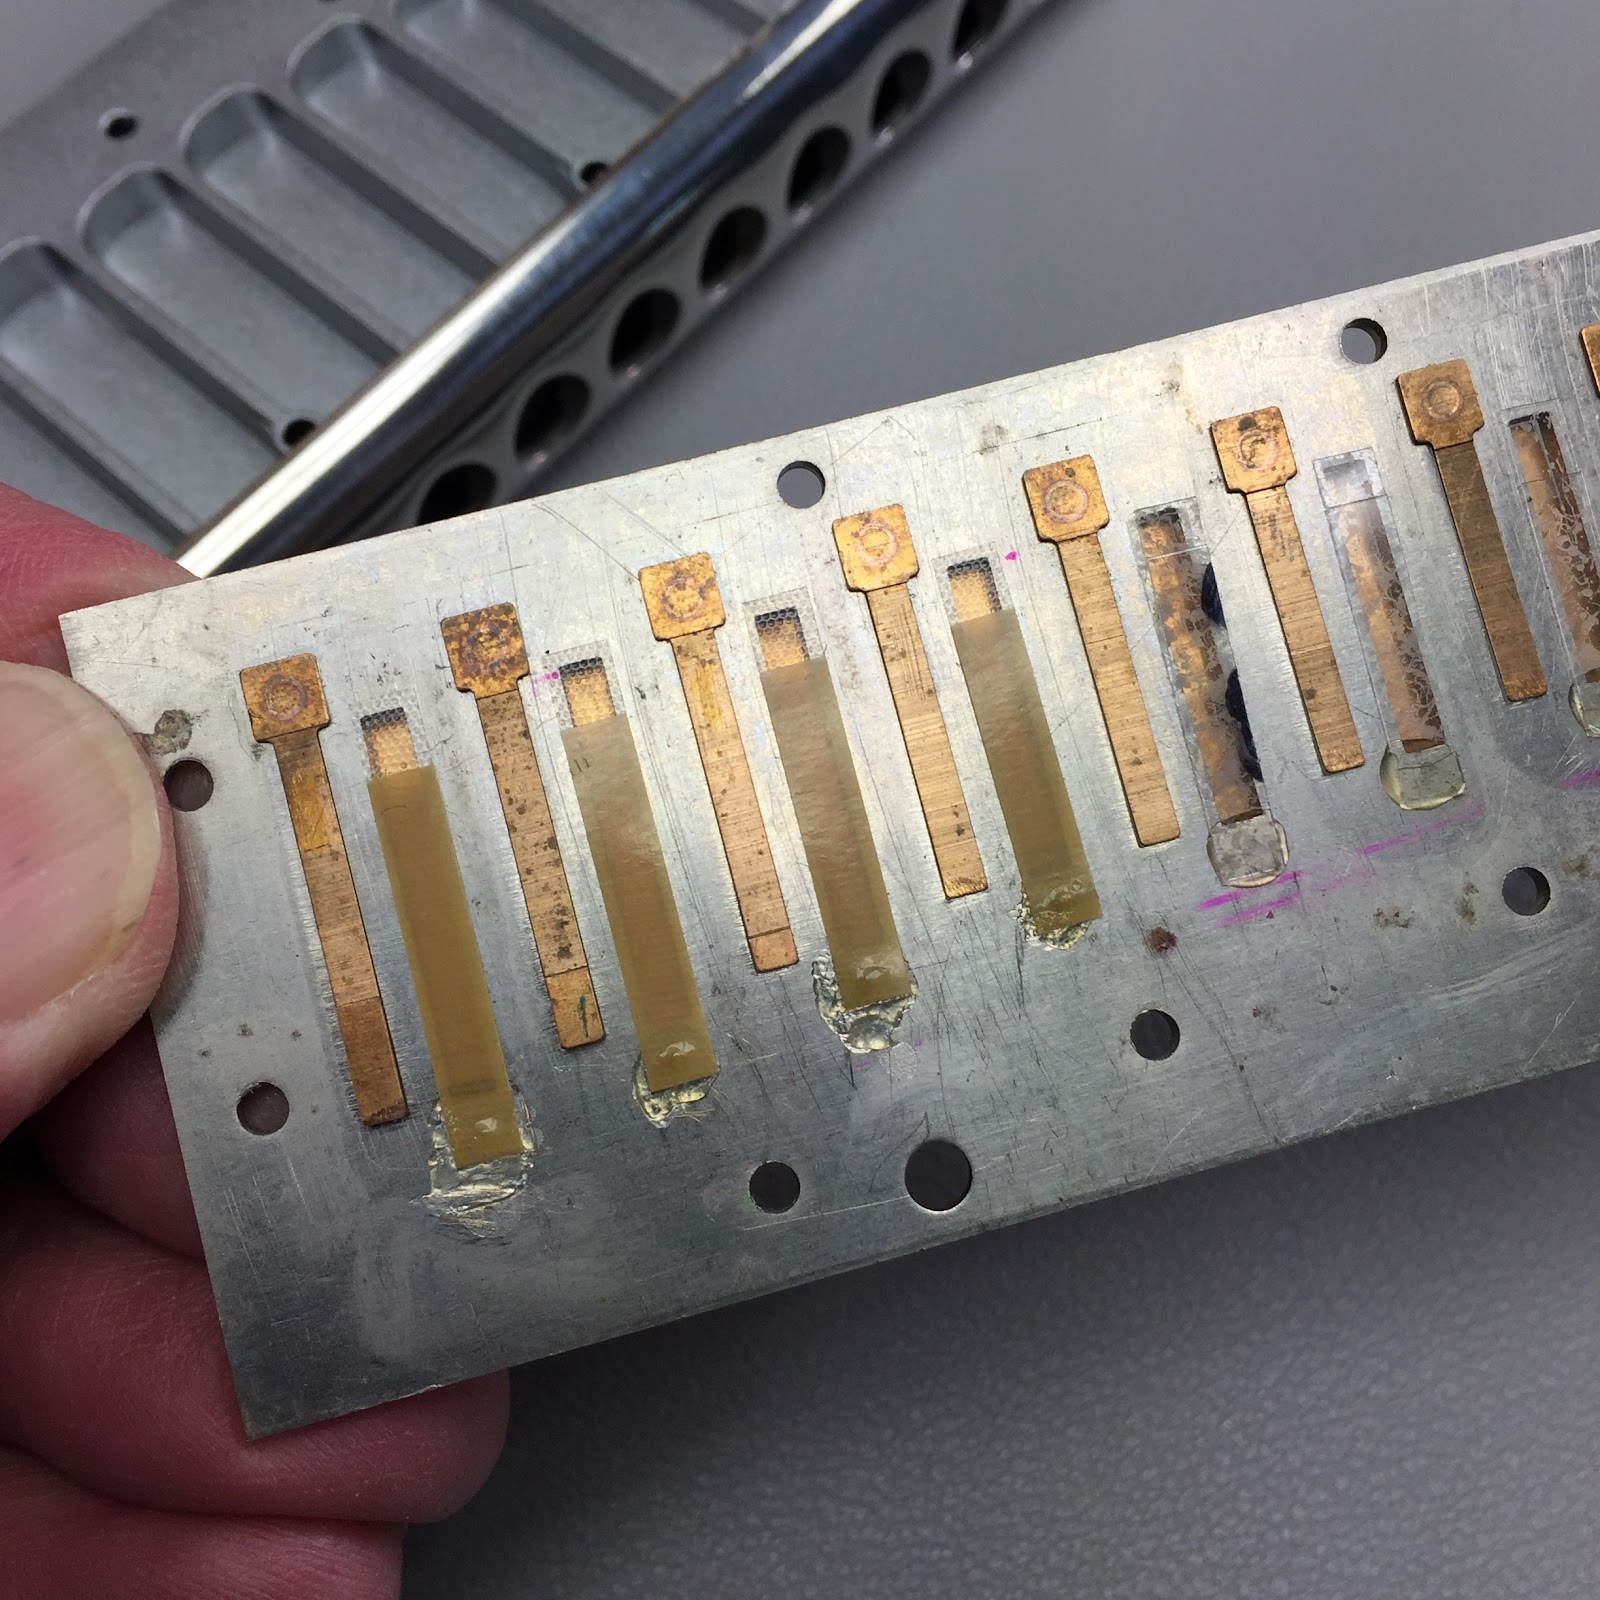
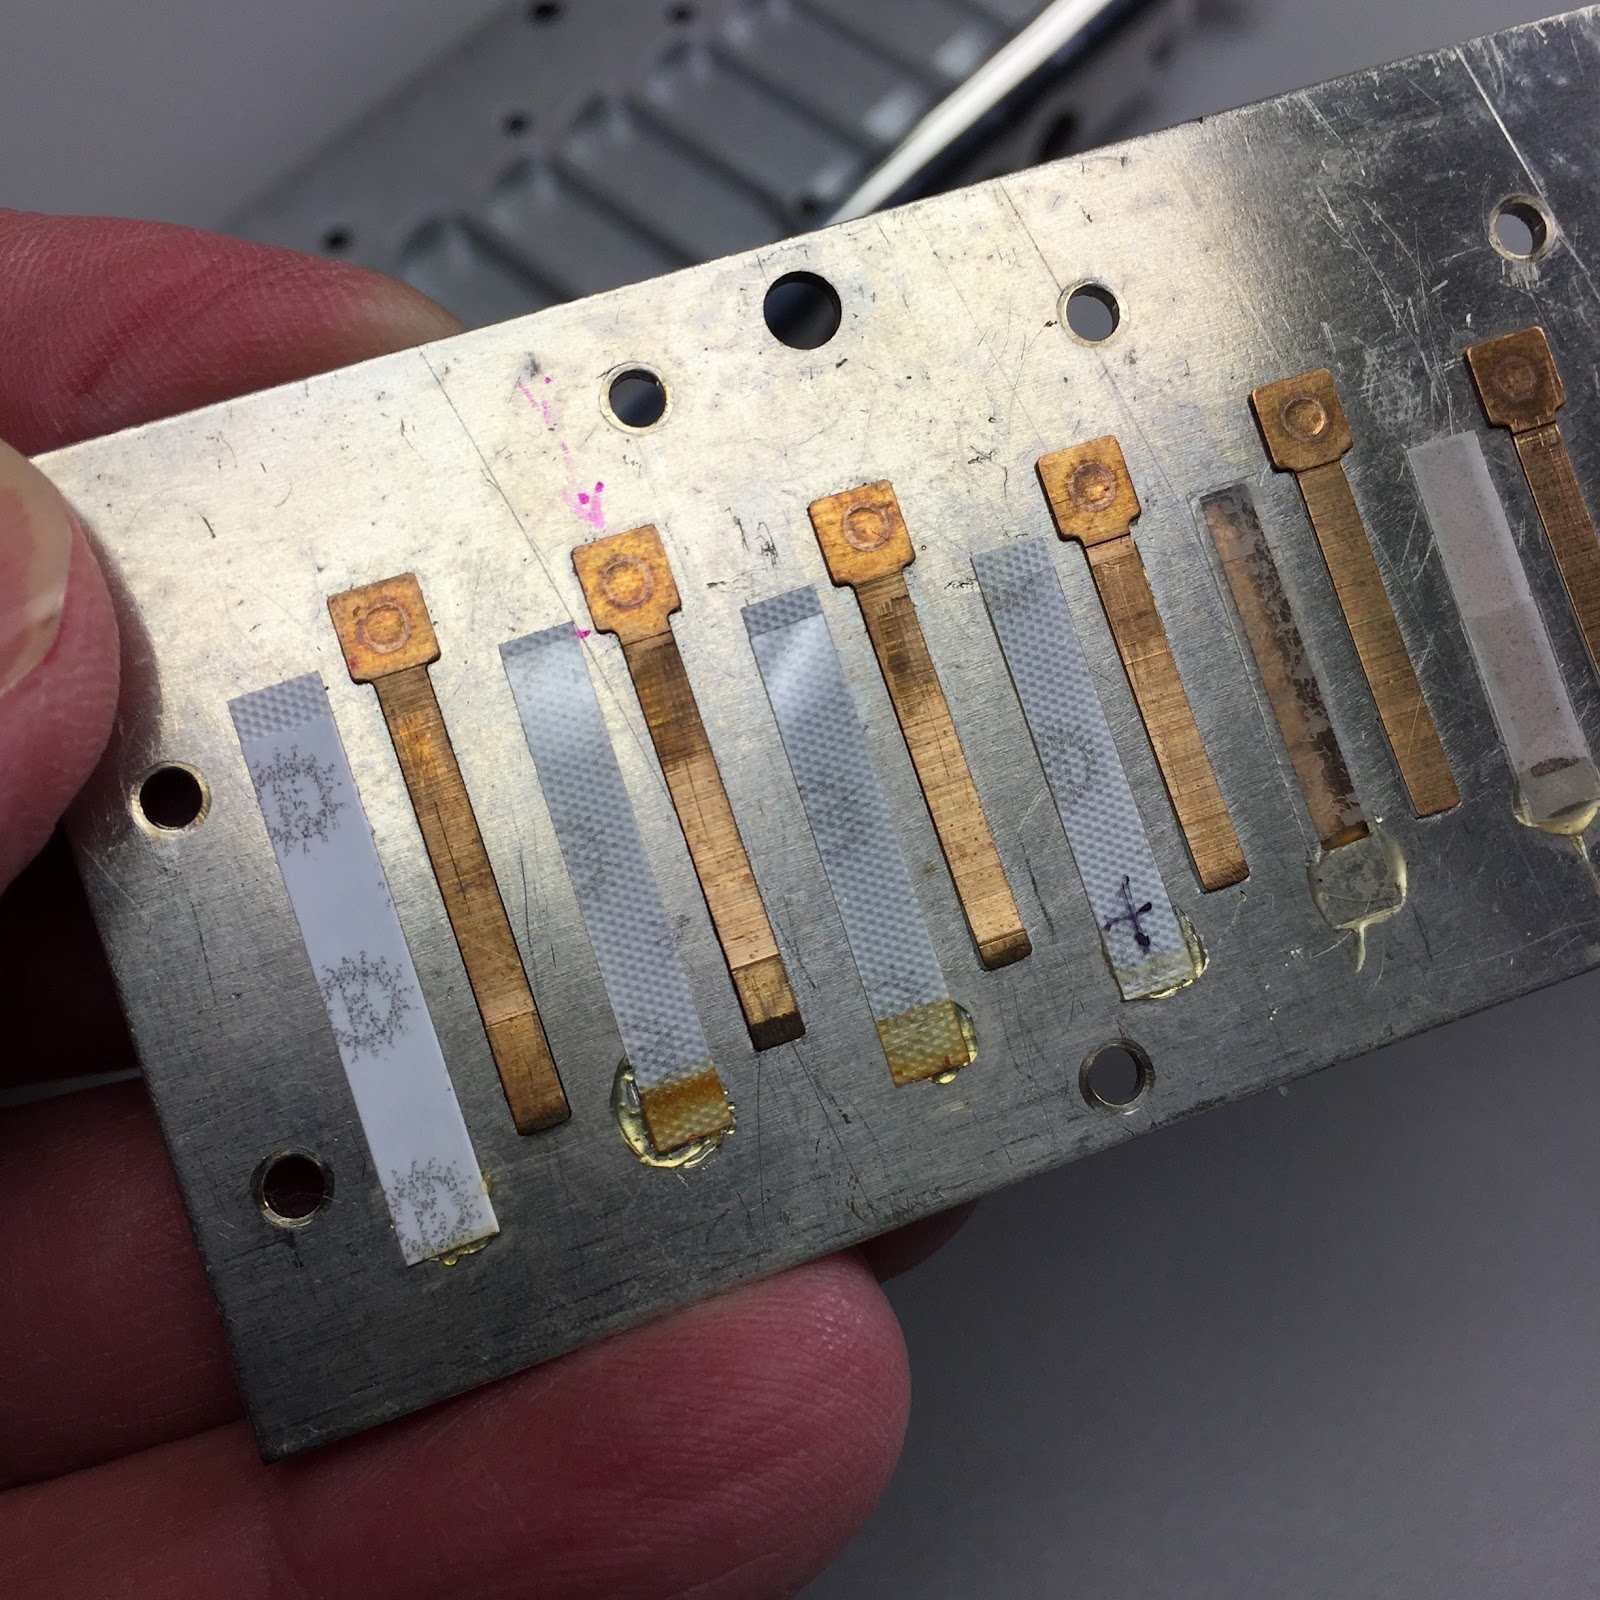
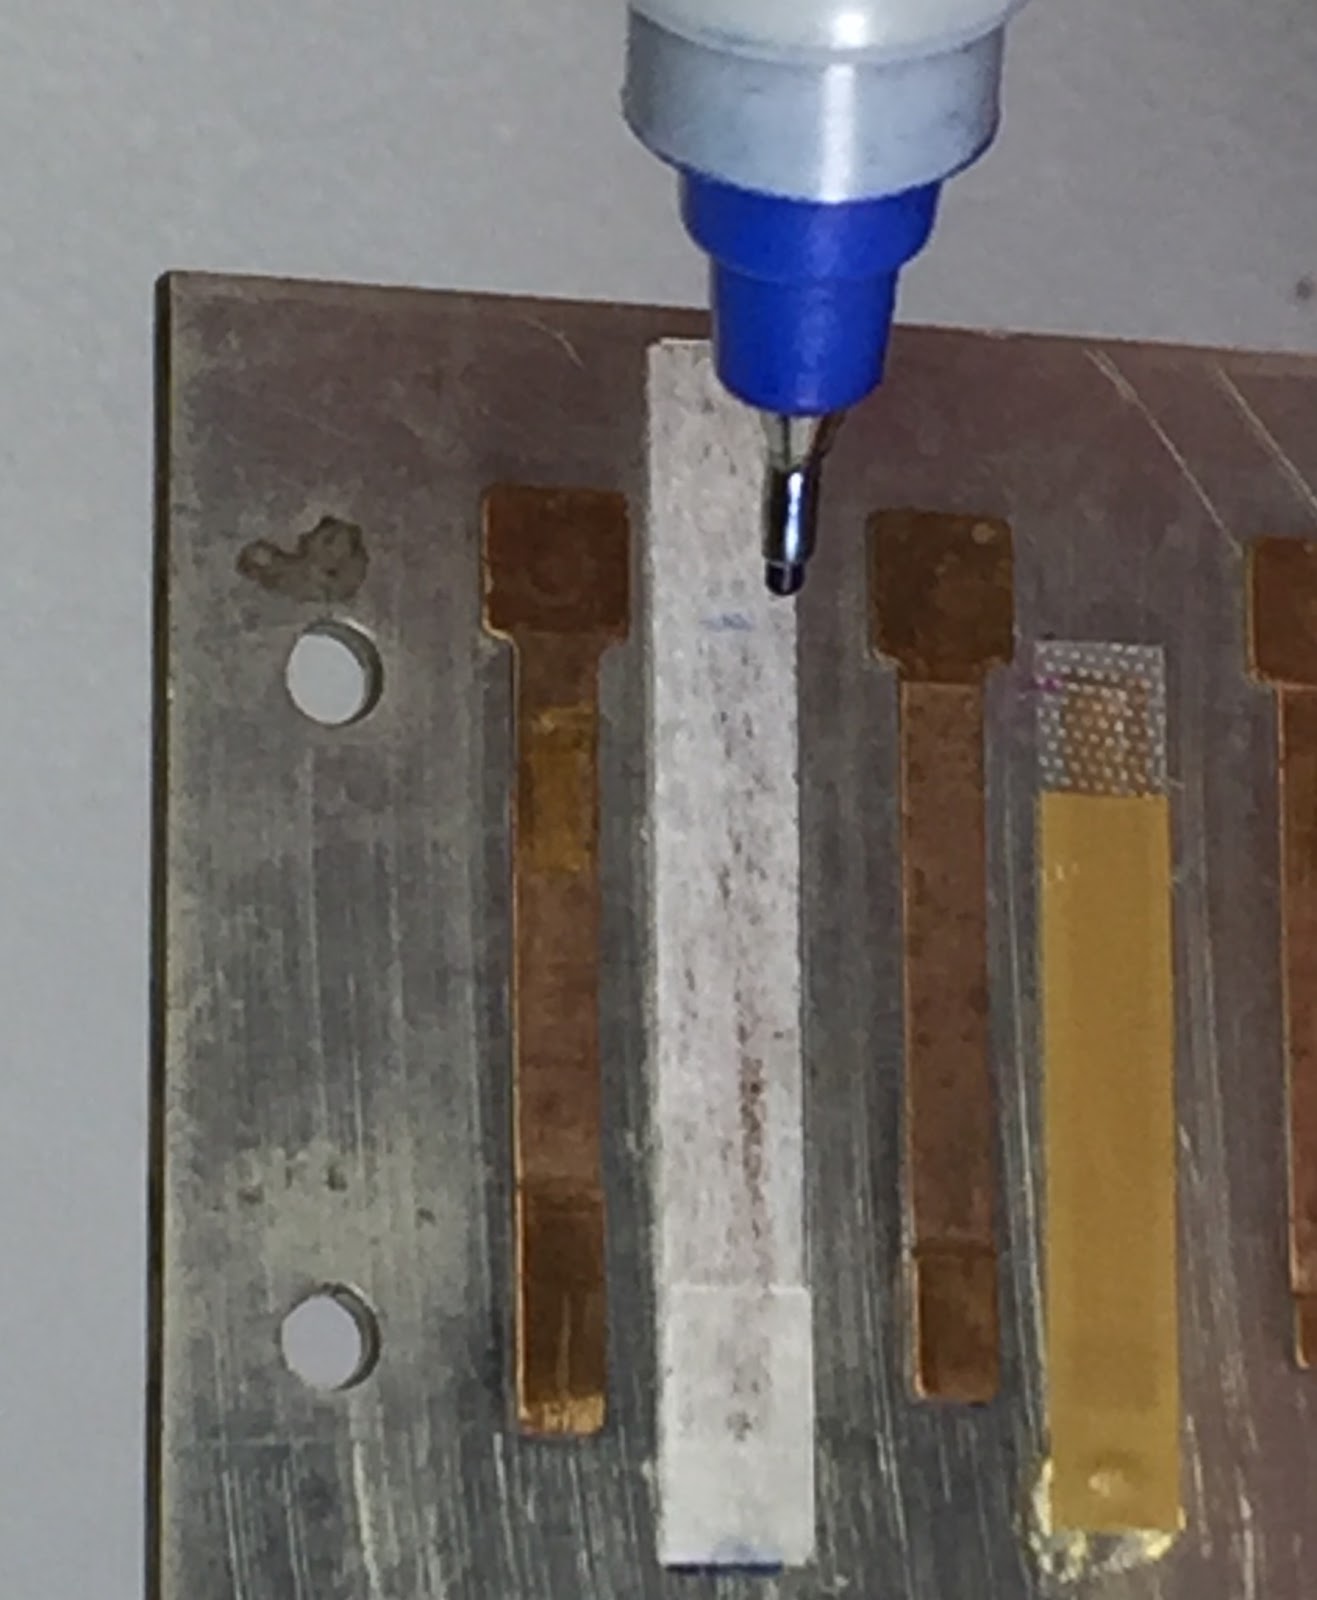
Scrap off the glue residue with the reed plinking tool
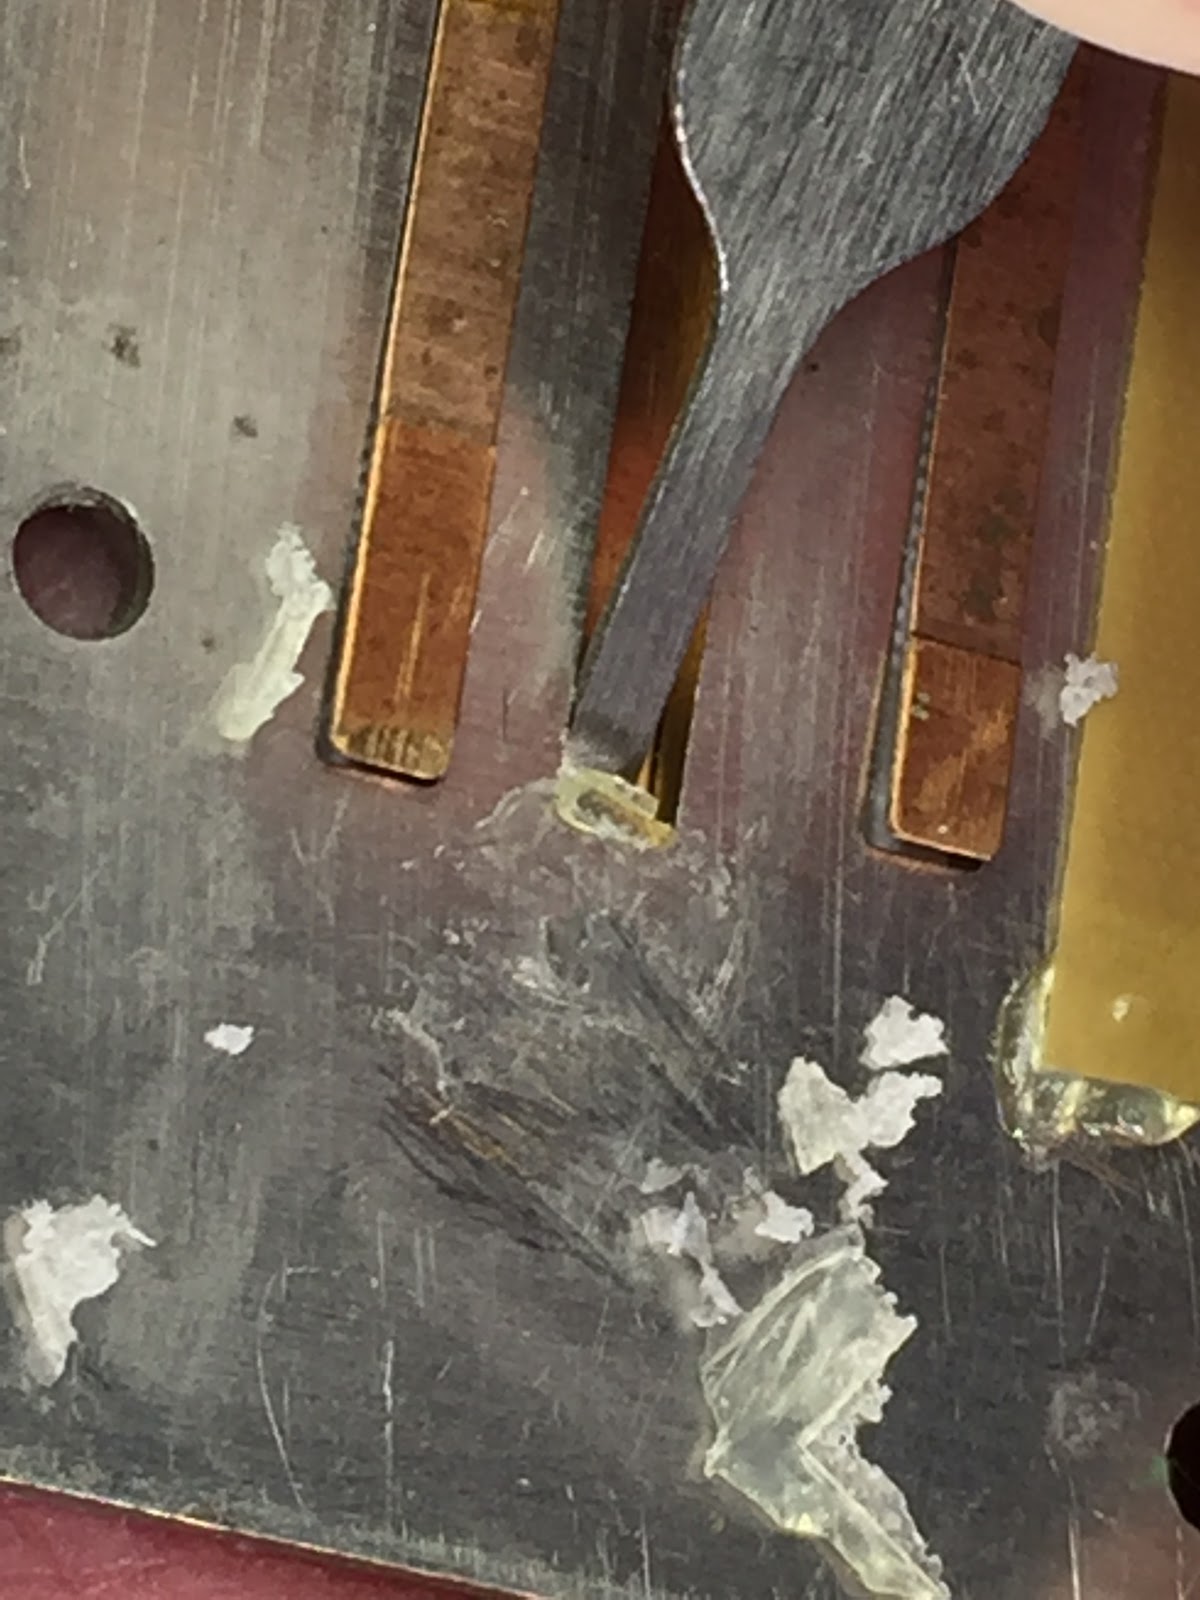
Don’t miss the opportunity to remove glue that may have flowed into the reed slot

Rubbing alcohol and swab works well clean off the area that will land our new windsaver
Using my numbnail, I examine the area to ensure it has been eradicated of the glue residue
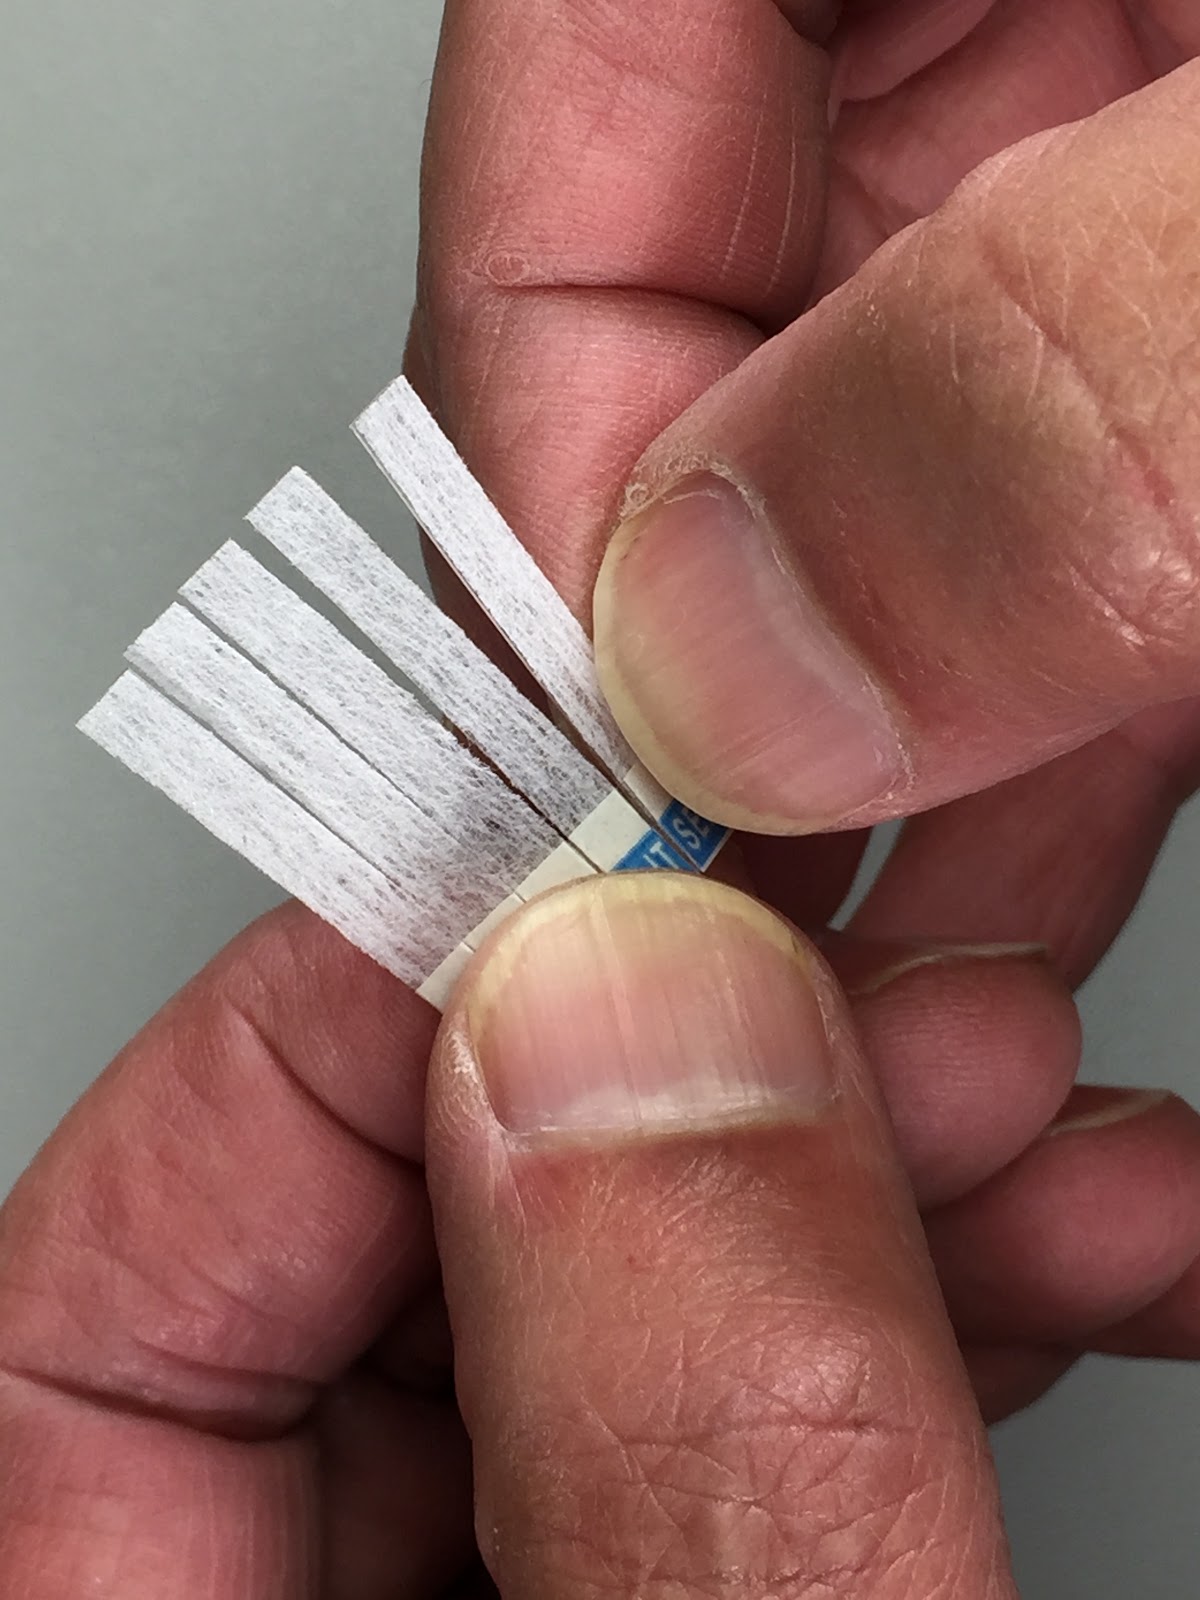
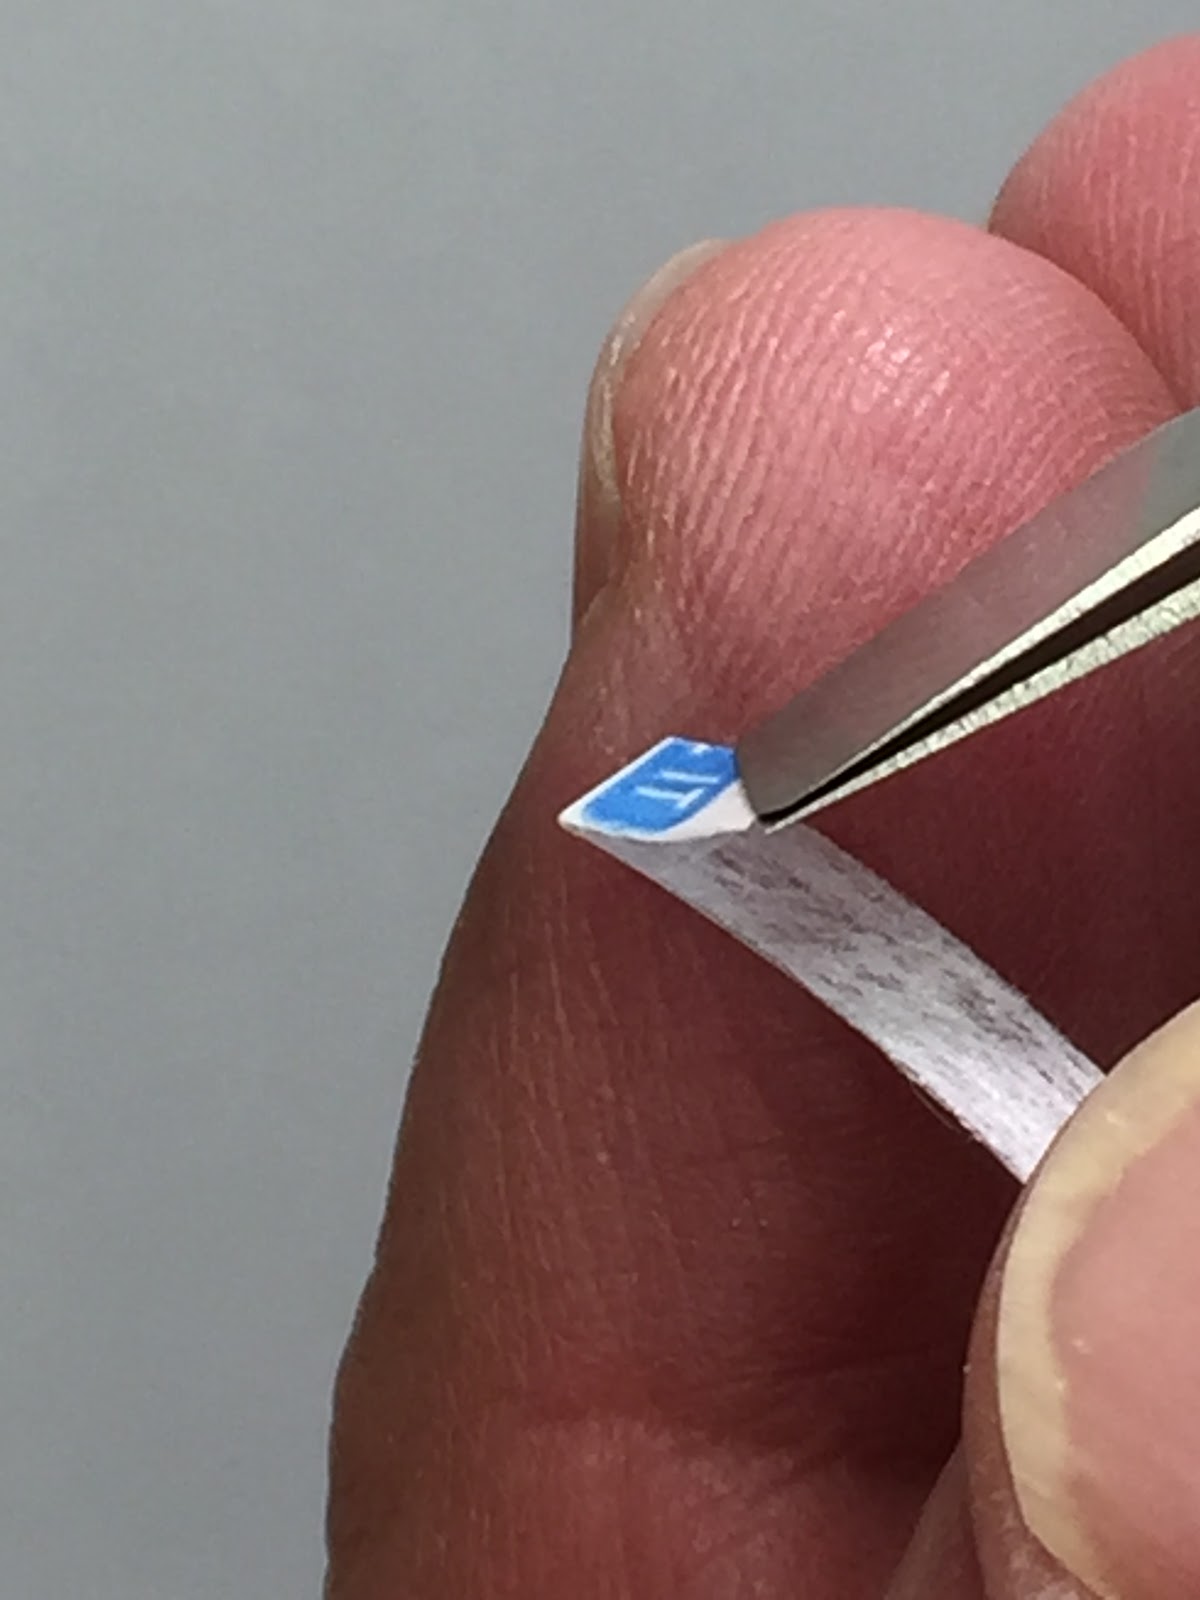
Pull away the windsaver from the sheet
Close up view of the non absorbent material which mitigates the windsaver from sticking
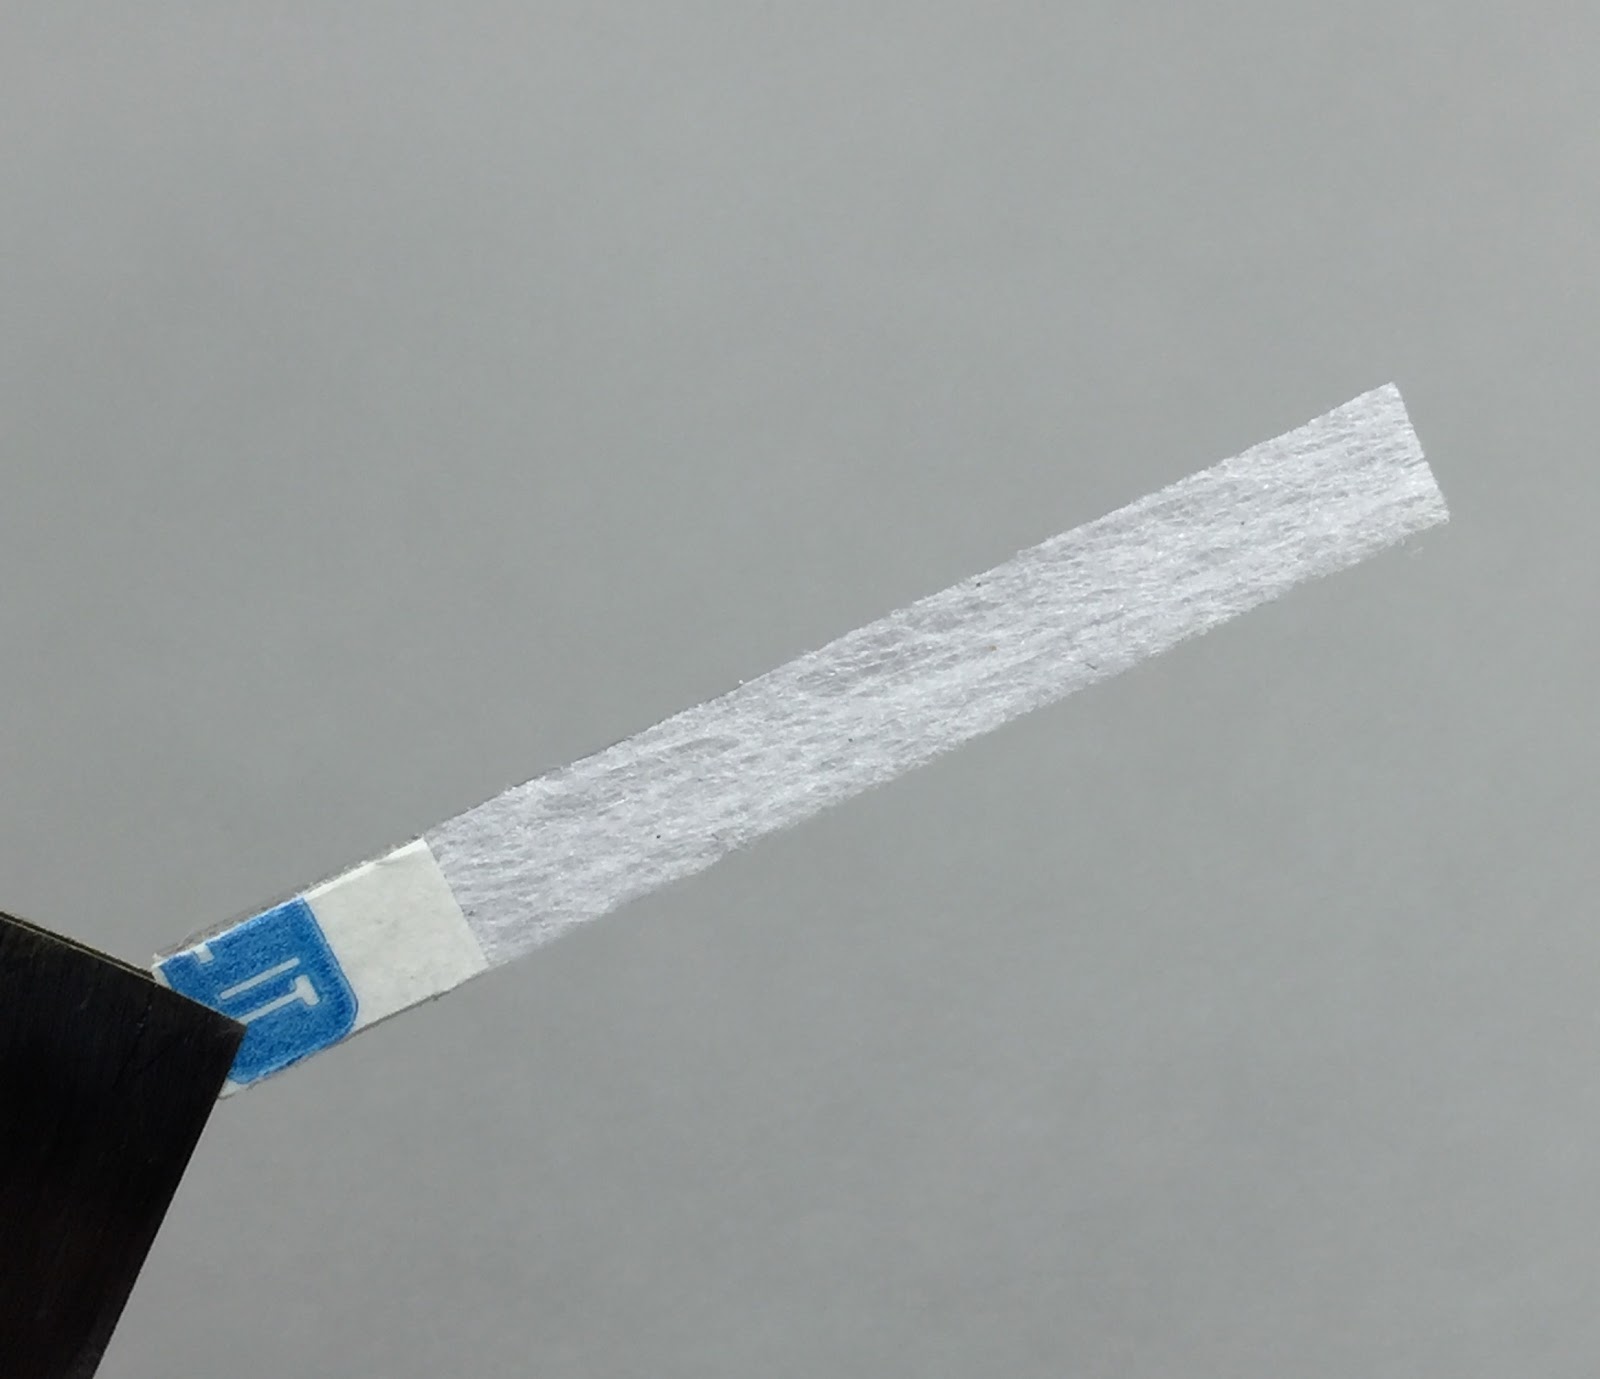
Here is a good view of the mylar “spring” which aids the windsaver closing action.
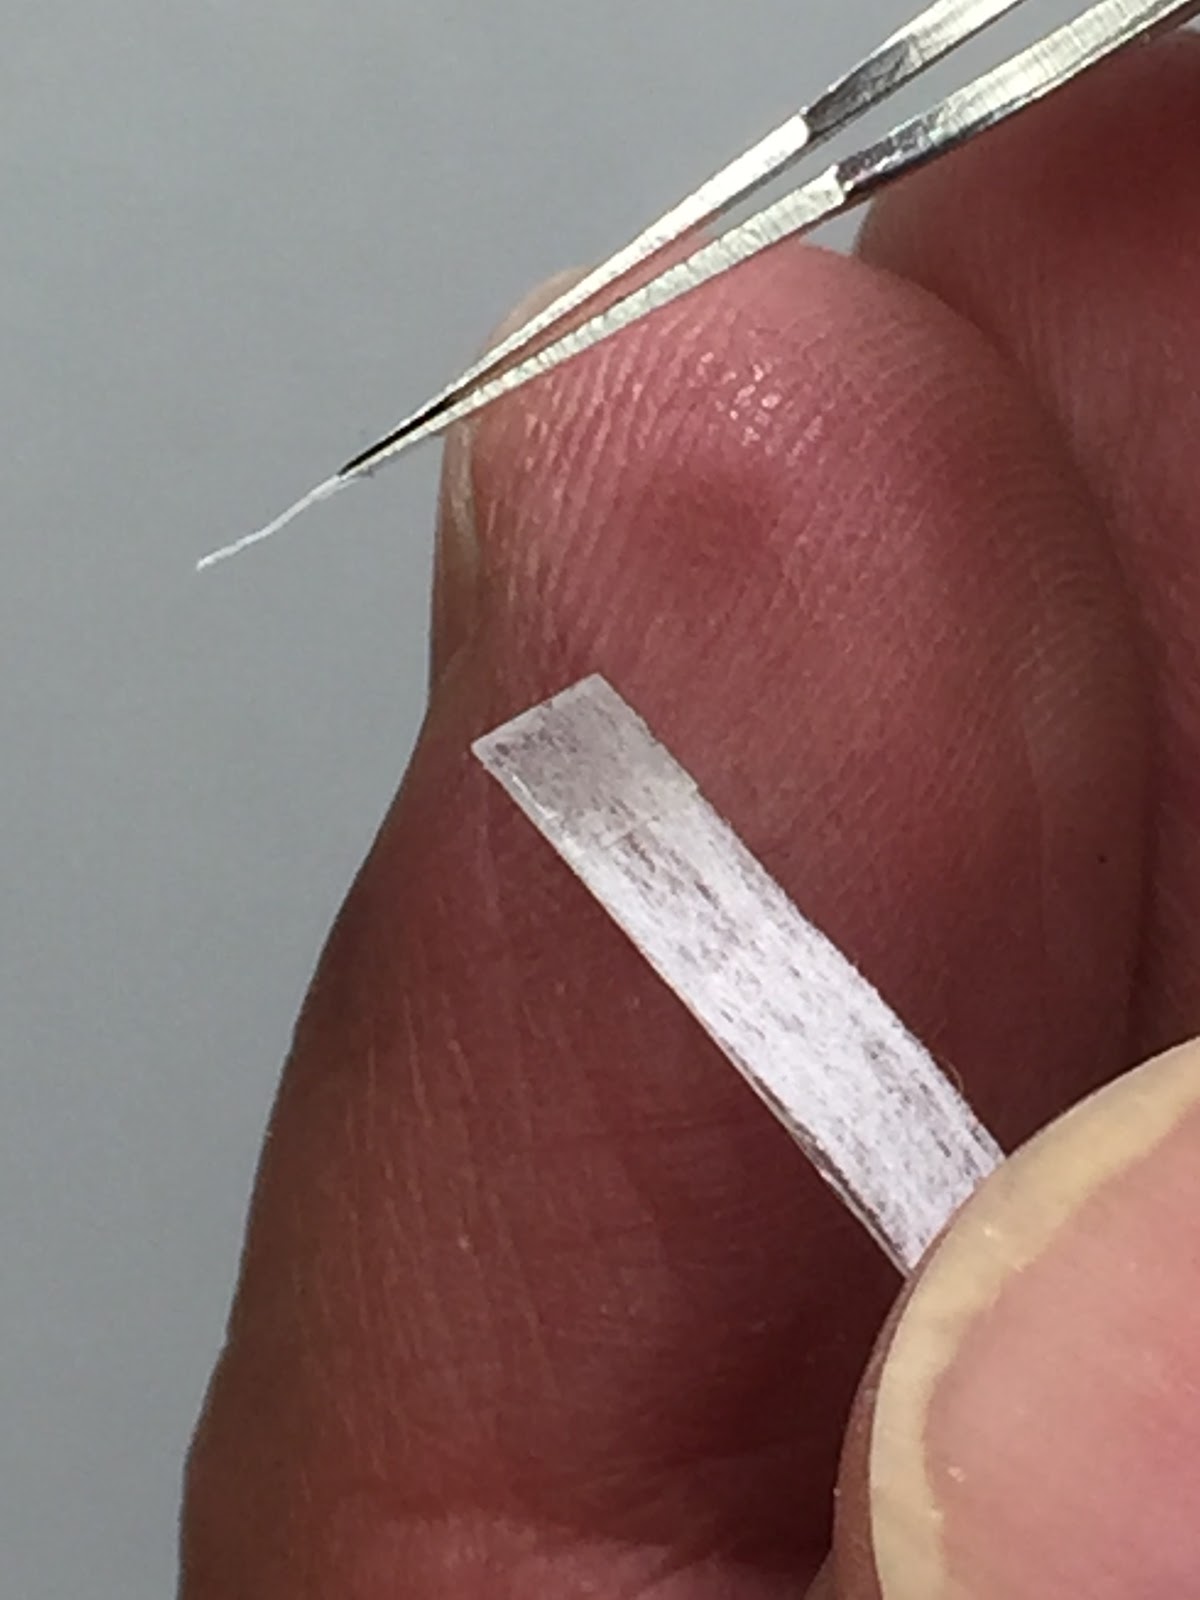
Peel away the protective paper to expose the adhesive
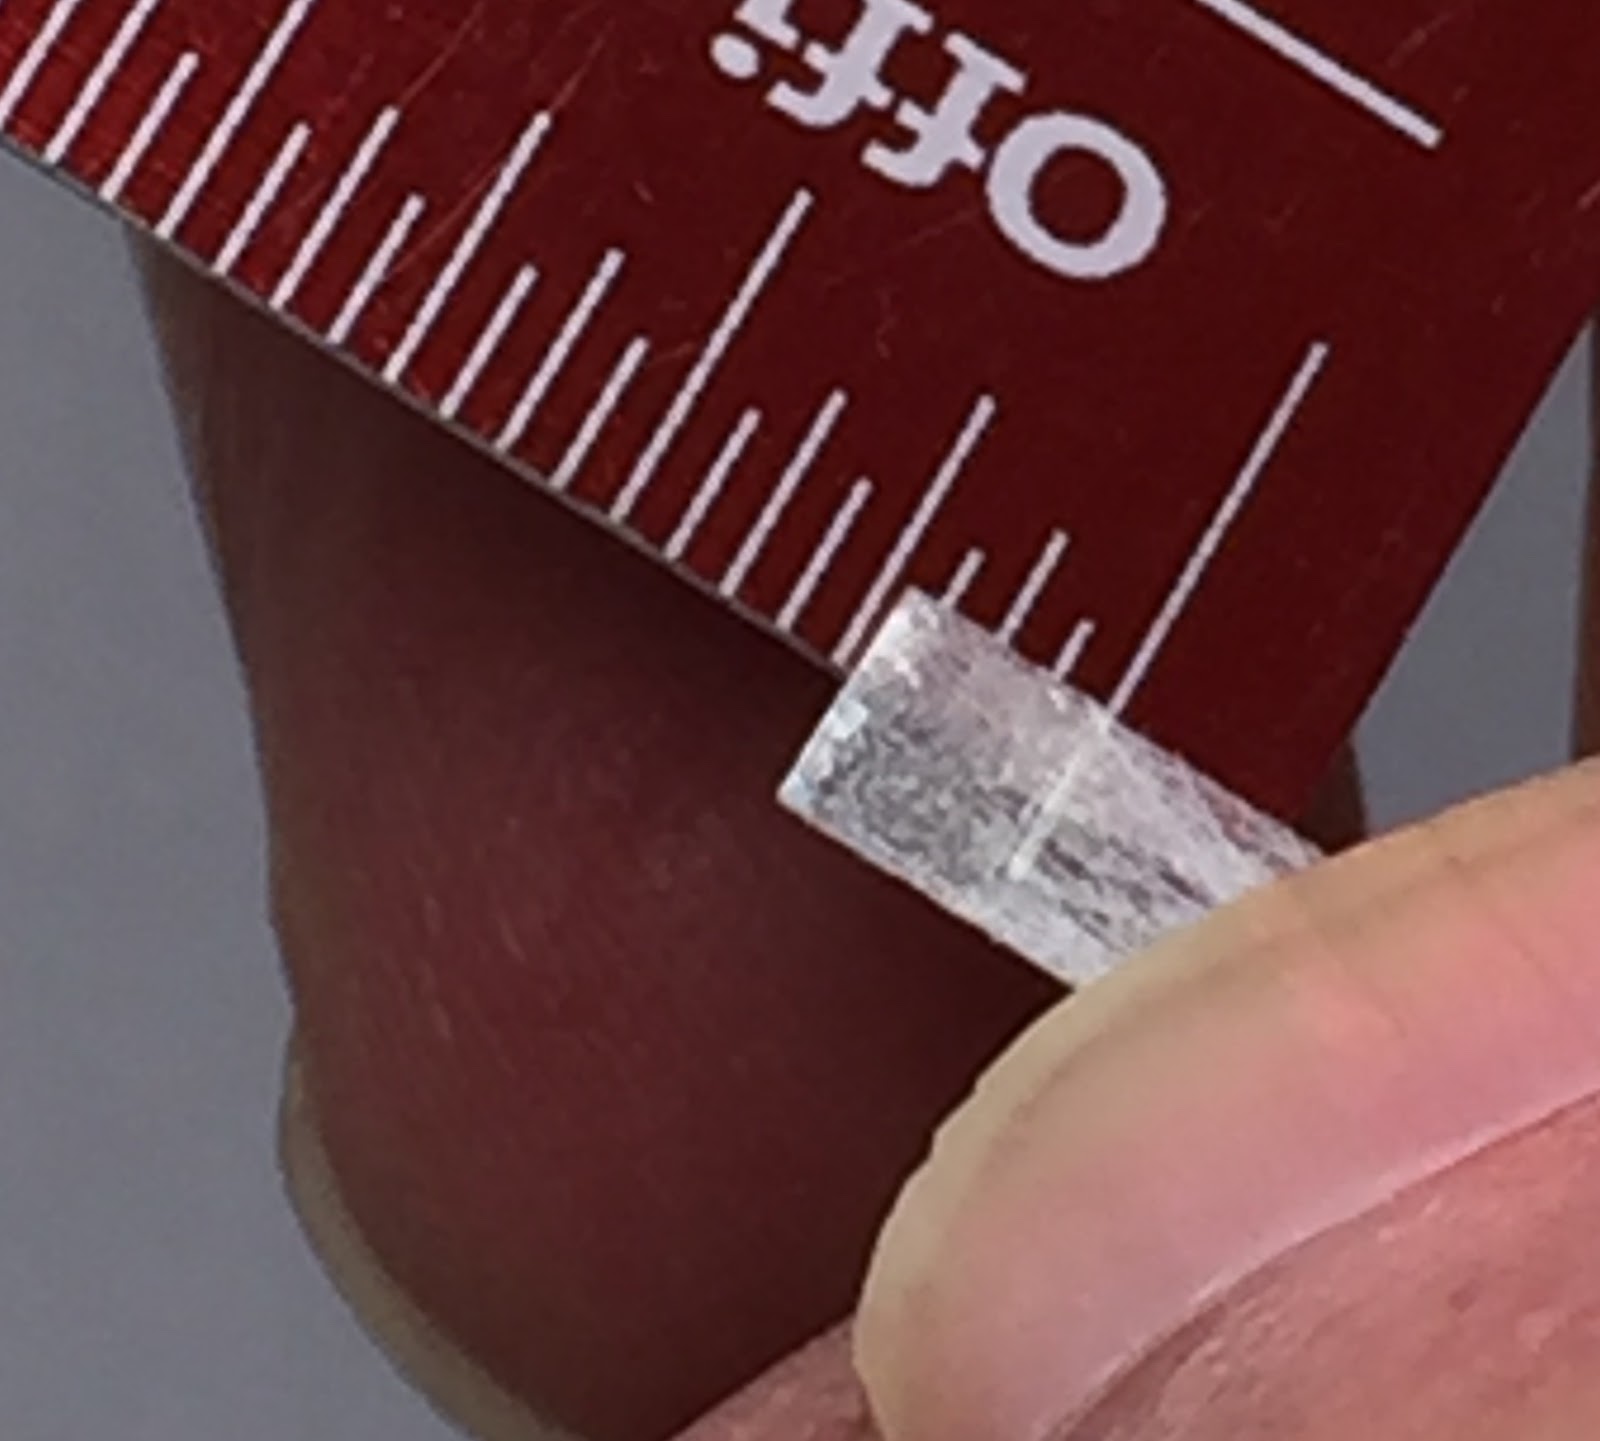
The adhesive measures ⅛” x ⅛” square
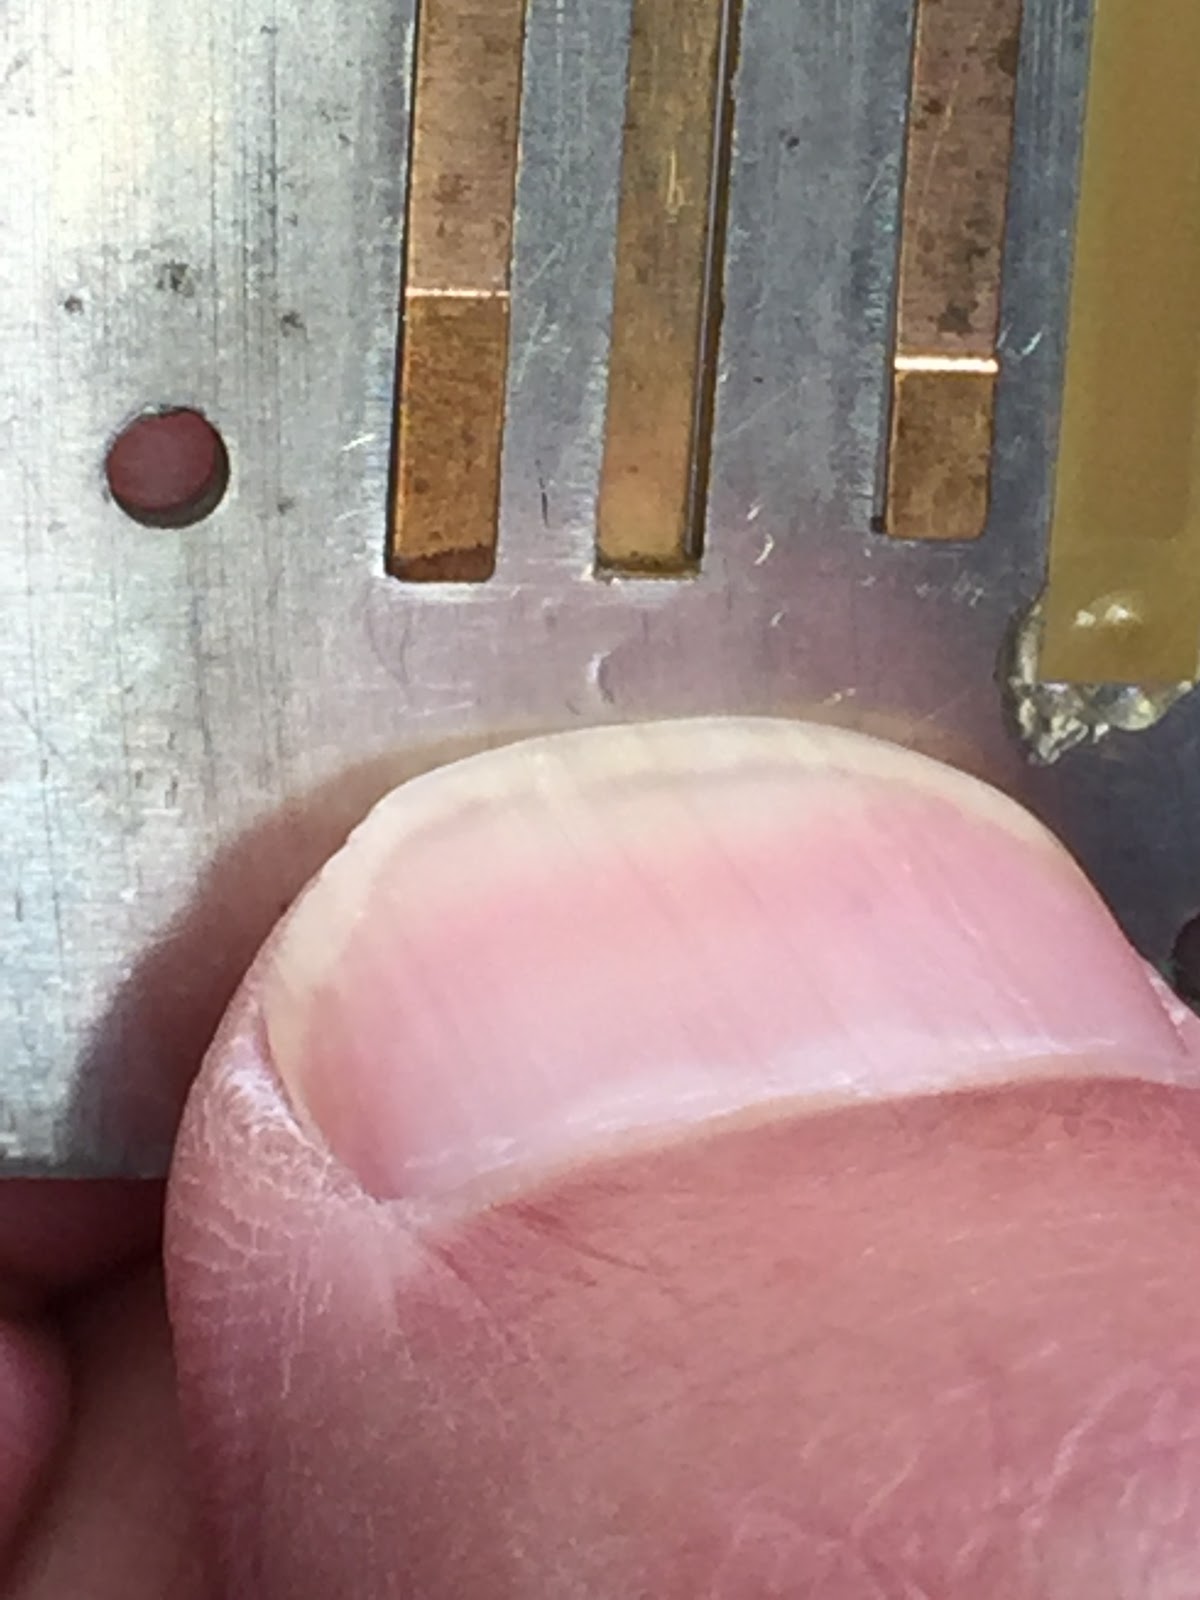
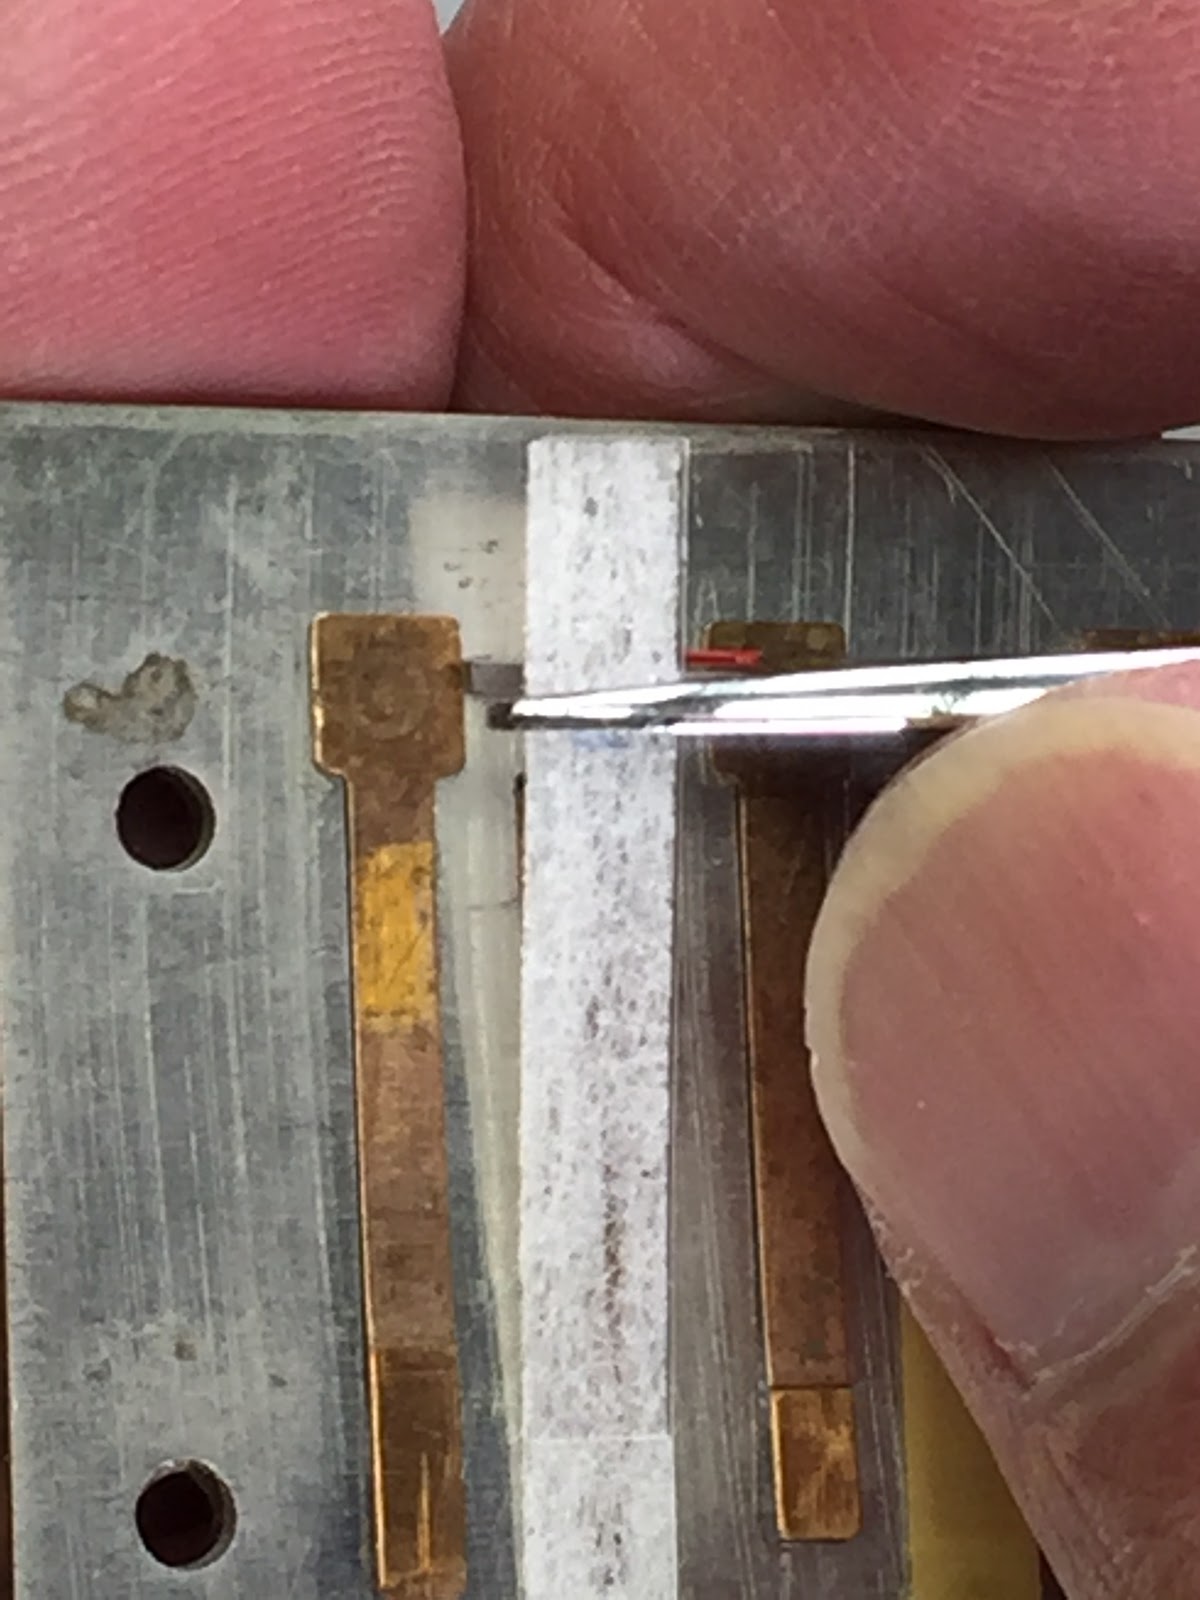
Until you have become practiced at applying the Gen 2 windsaver, it is helpful to annotate on the reed plate, the precise landing spot of the windsaver.
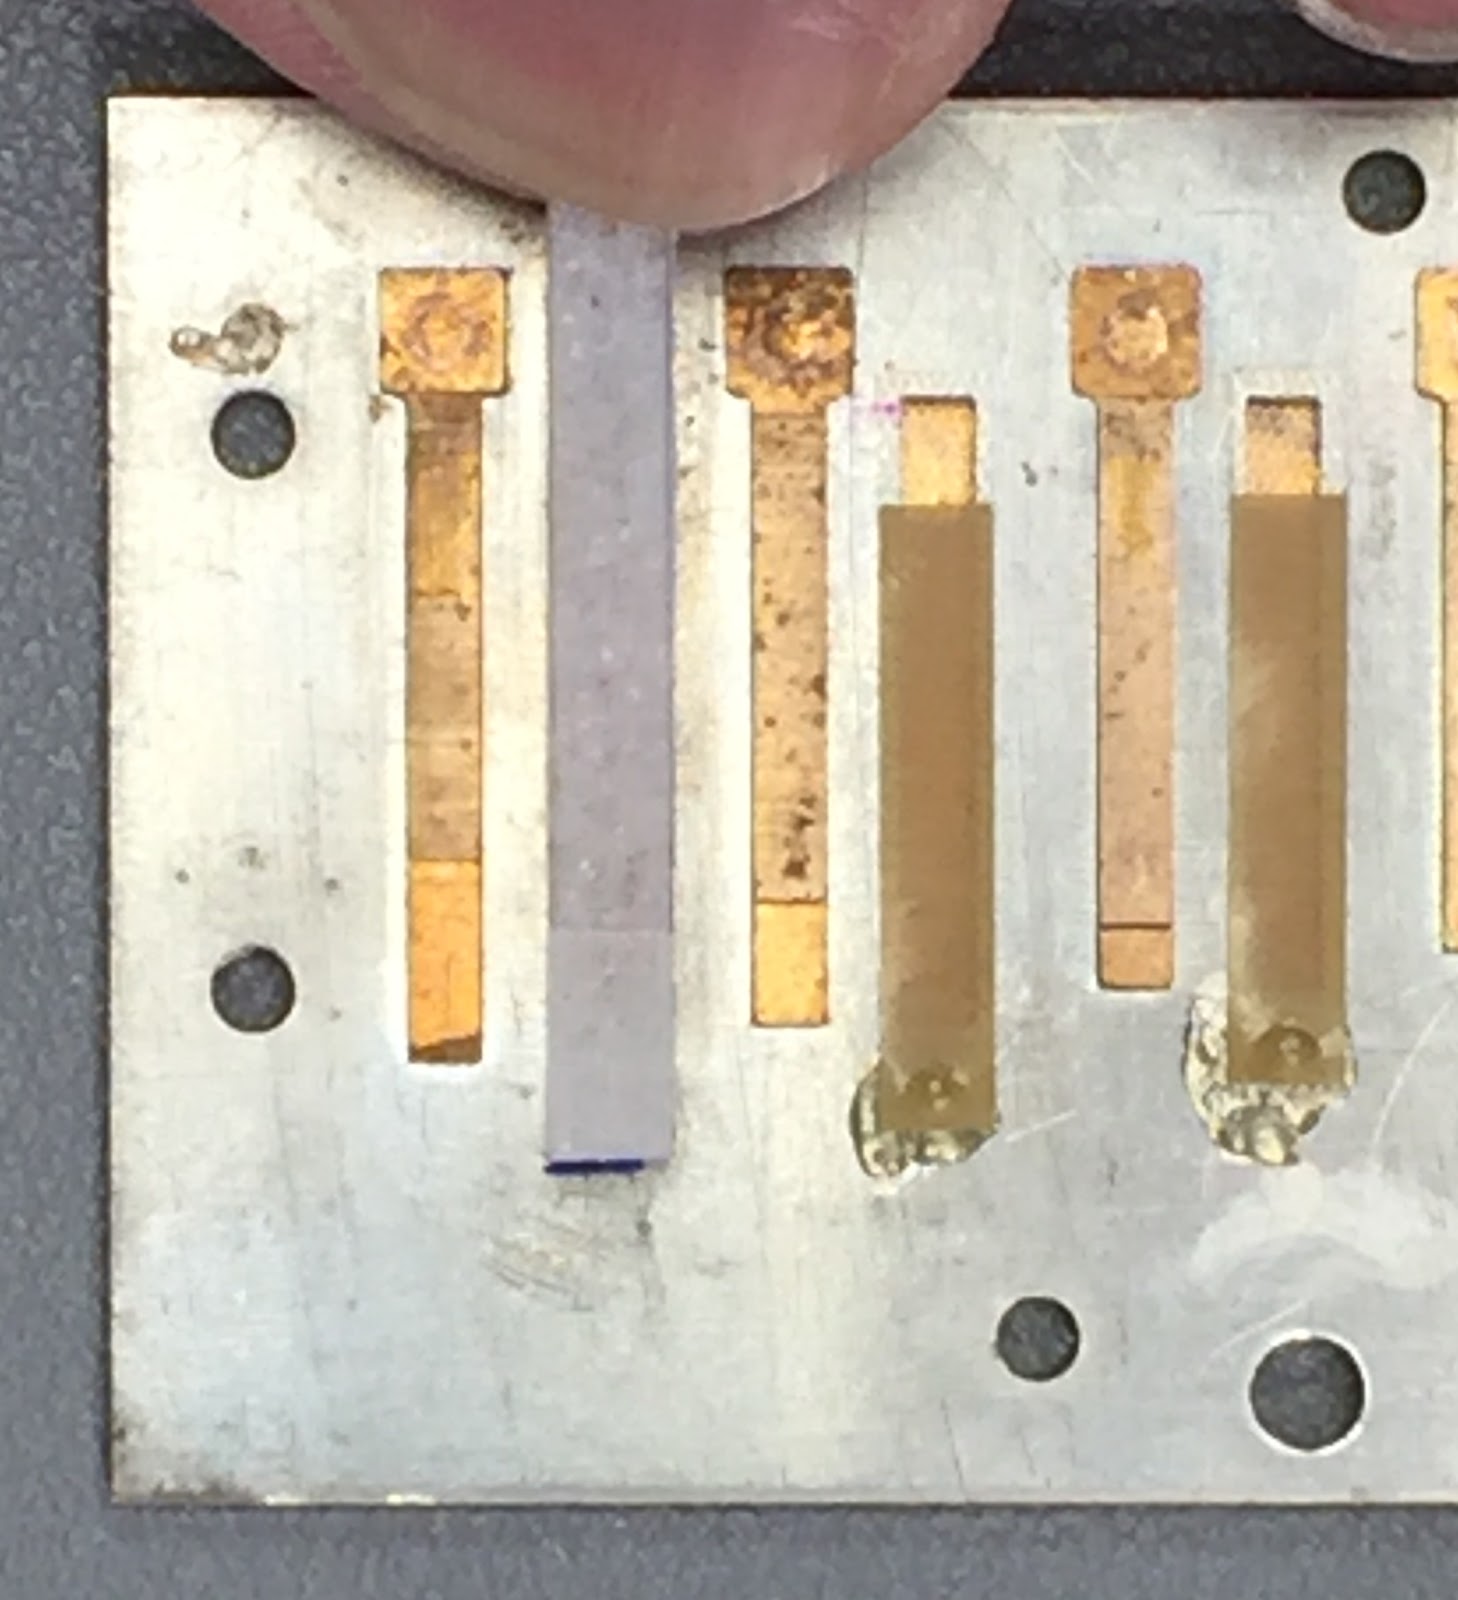
Notice the windsaver is perfectly aligned, and equally spaced between the two reeds
Using the reed plinking tool to apply downward pressure will ensure a good attachment
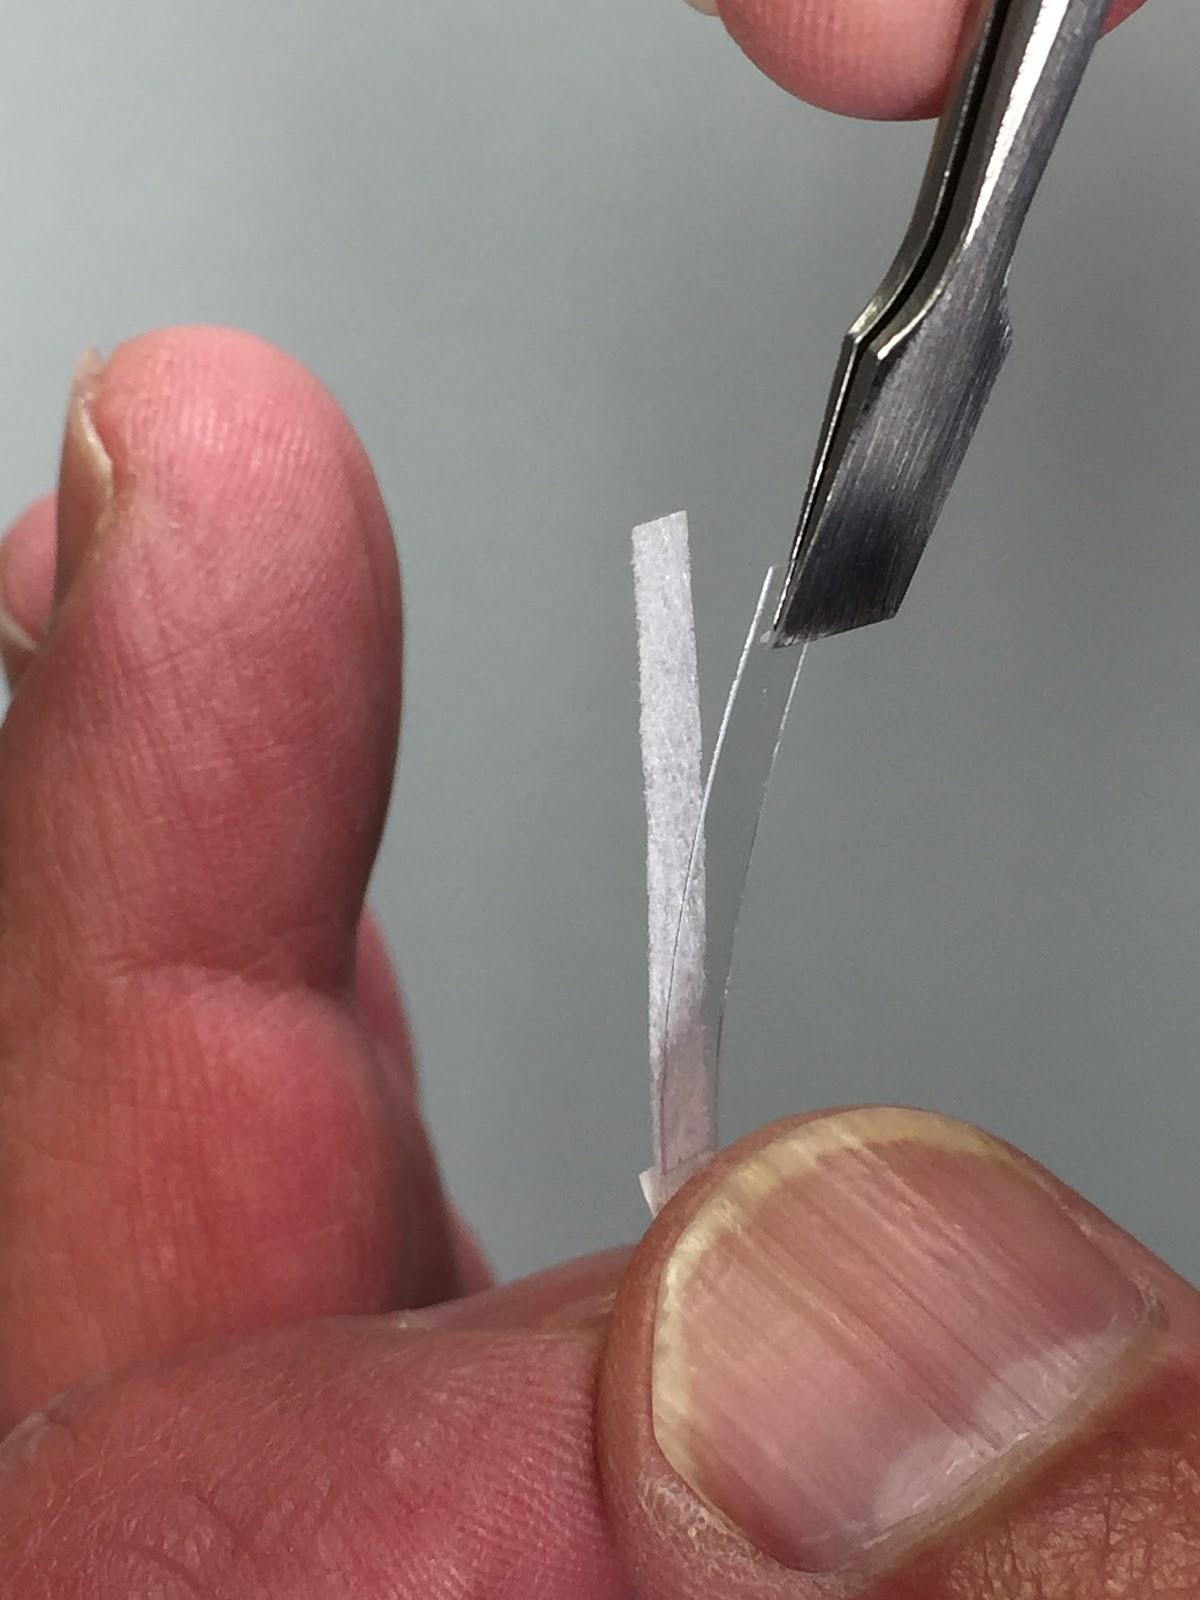
In this photo if you look carefully upwards, the free end of the windsaver, you will be able to see the silhouette of the reed slot opening. Approximately 1/32” from this edge, mark the windsaver. This will be your cut line.
Cut off the excess from the windsaver.
Not shown, but the last step will be to cut off the last ⅛” piece of the mylar strip from the free end.
Available direct from Dee's Fine Tuned Instruments; deesfti@gmail.com Tell Don that Kinya sent you ;o)
Your Harpsmith, Kinya
