Breaking In New Harmonicas with an Easy to Build Vacuum Table

Hello Harp Techs
A properly broken-in harmonica will hold its tuning longer and provide more hours of playability. In previous postings, members expressed their interest in learning how to safely break-in new harmonica reeds. I shared my proven method of breaking-in, and “setting” reed tunings and offsets (gapping).
I coupled my Sjoberg Harp Tuner, with a low volume vacuum cleaner to the breather tube of the tuner, then operated the vacuum cleaner full tilt (all valves fully opened), for about 10 minutes.
WARNING: this reed “breaking-in” vacuum table does not function as a reed “tuning” table device. Attempts of tuning your harmonica reeds with this vacuum table, will end in disappointing results.
For those of you that do not own a Sjoberg Harp Tuner, and wish to build your own reed breaking-in vacuum table, check this out:
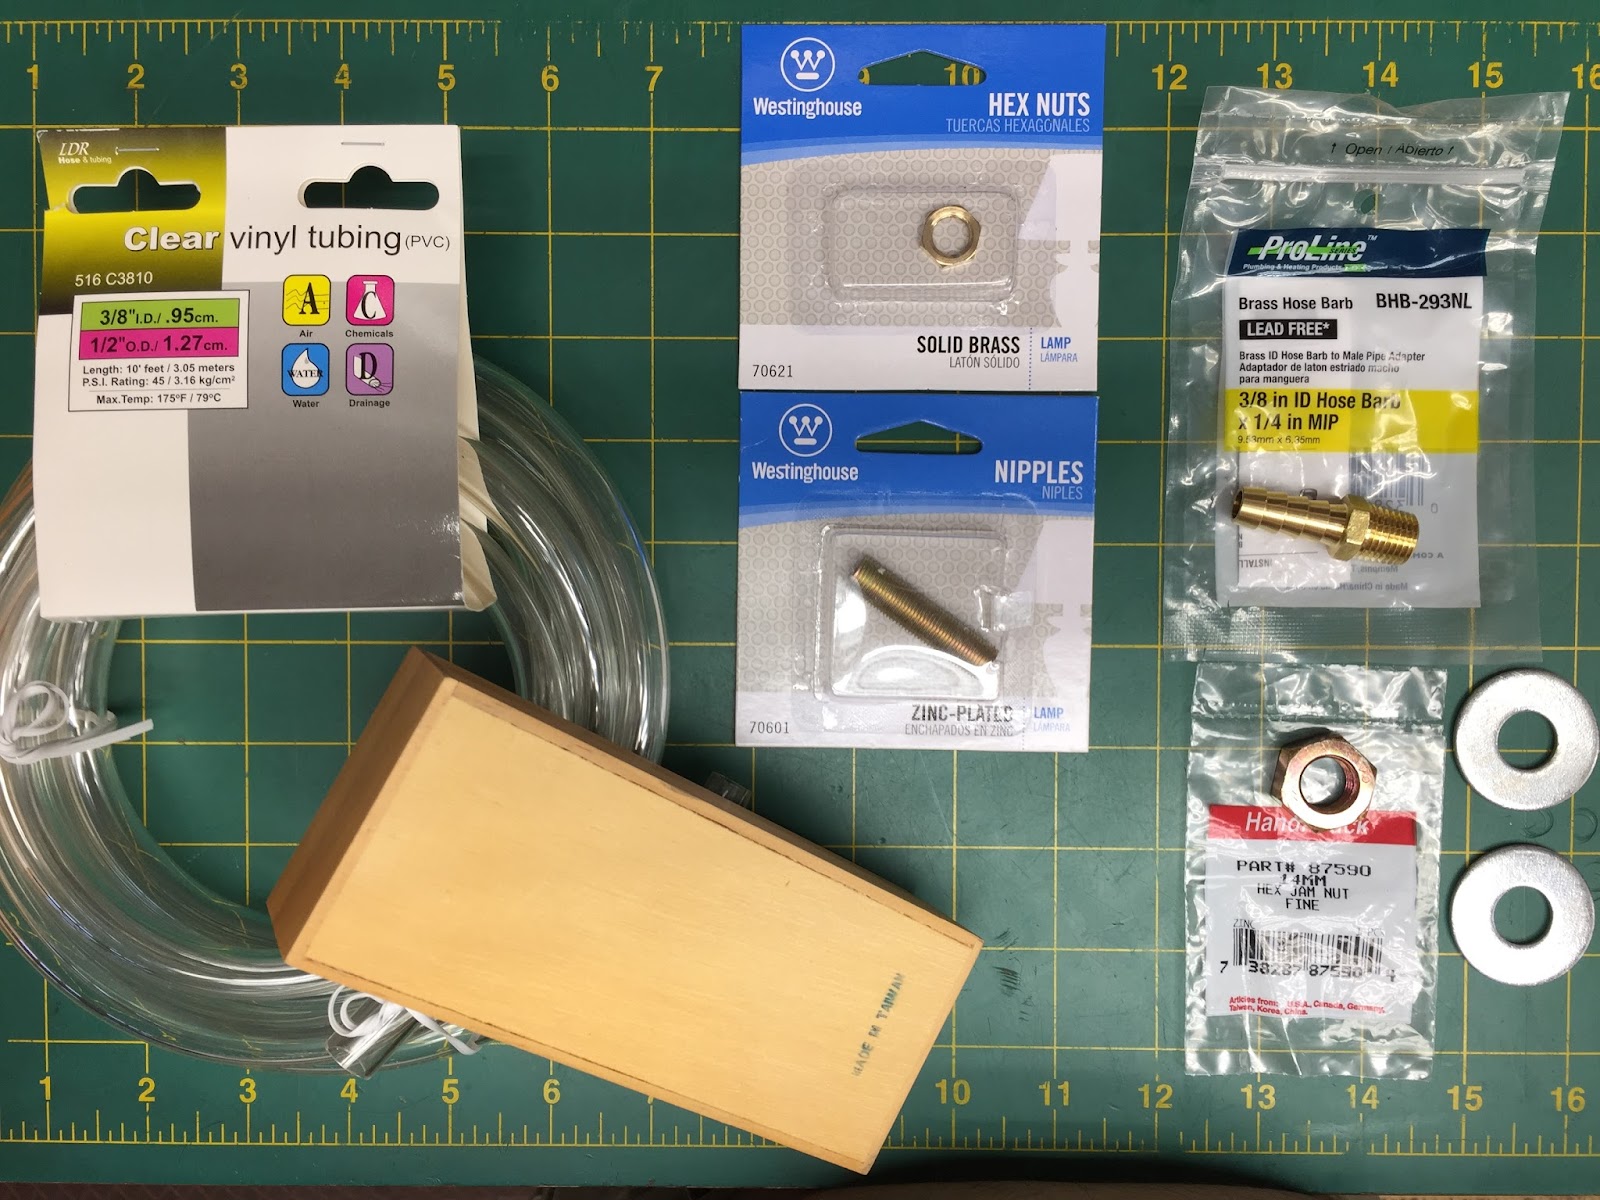
Visit your local hardware store and cobble it together with stuff you may have around the house. For this build, my bill of materials (BOM) included:
-
⅜” Clear vinyl tubing
-
Small wooden wristwatch box
-
⅜” ID hose barb x ¼” MIP
-
14mm jam nut
-
Double sided carpet tape
-
Single edge razor blade (or Xacto knife)
-
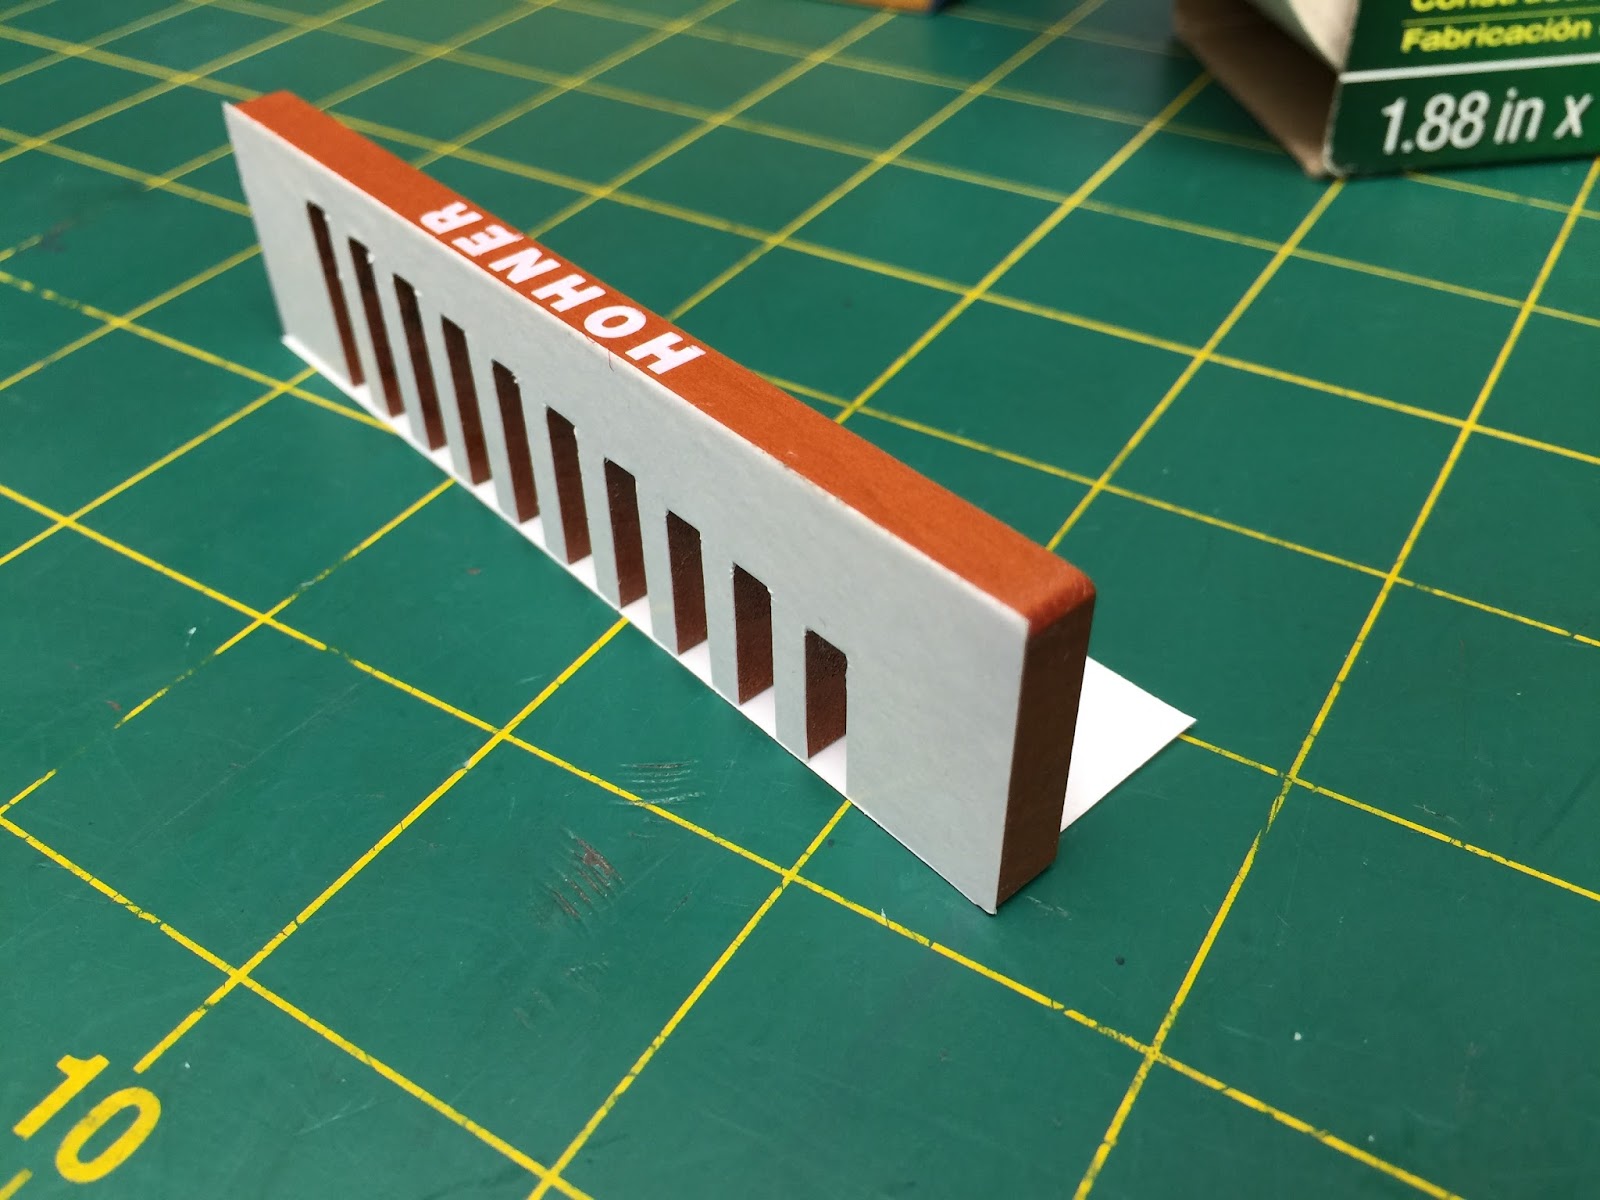
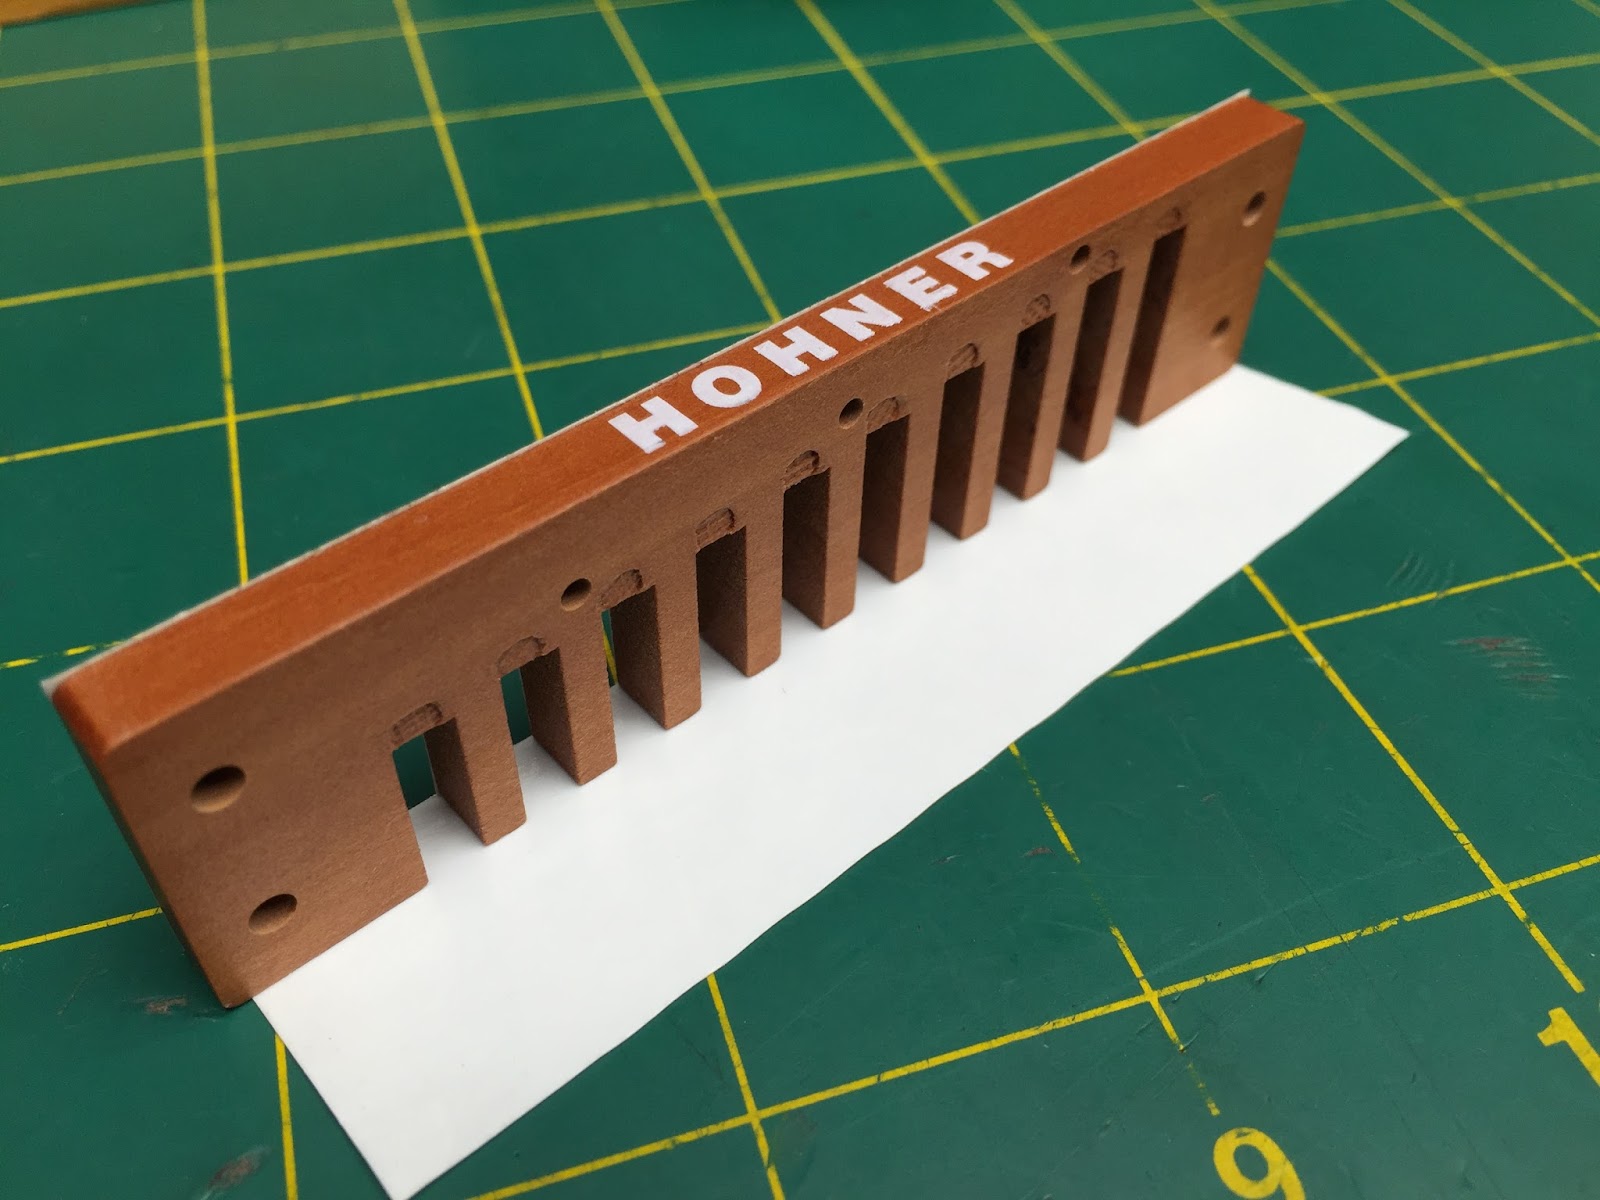
Donor Marine Band comb (models include:1896, Deluxe, Crossover, Thunderbird)
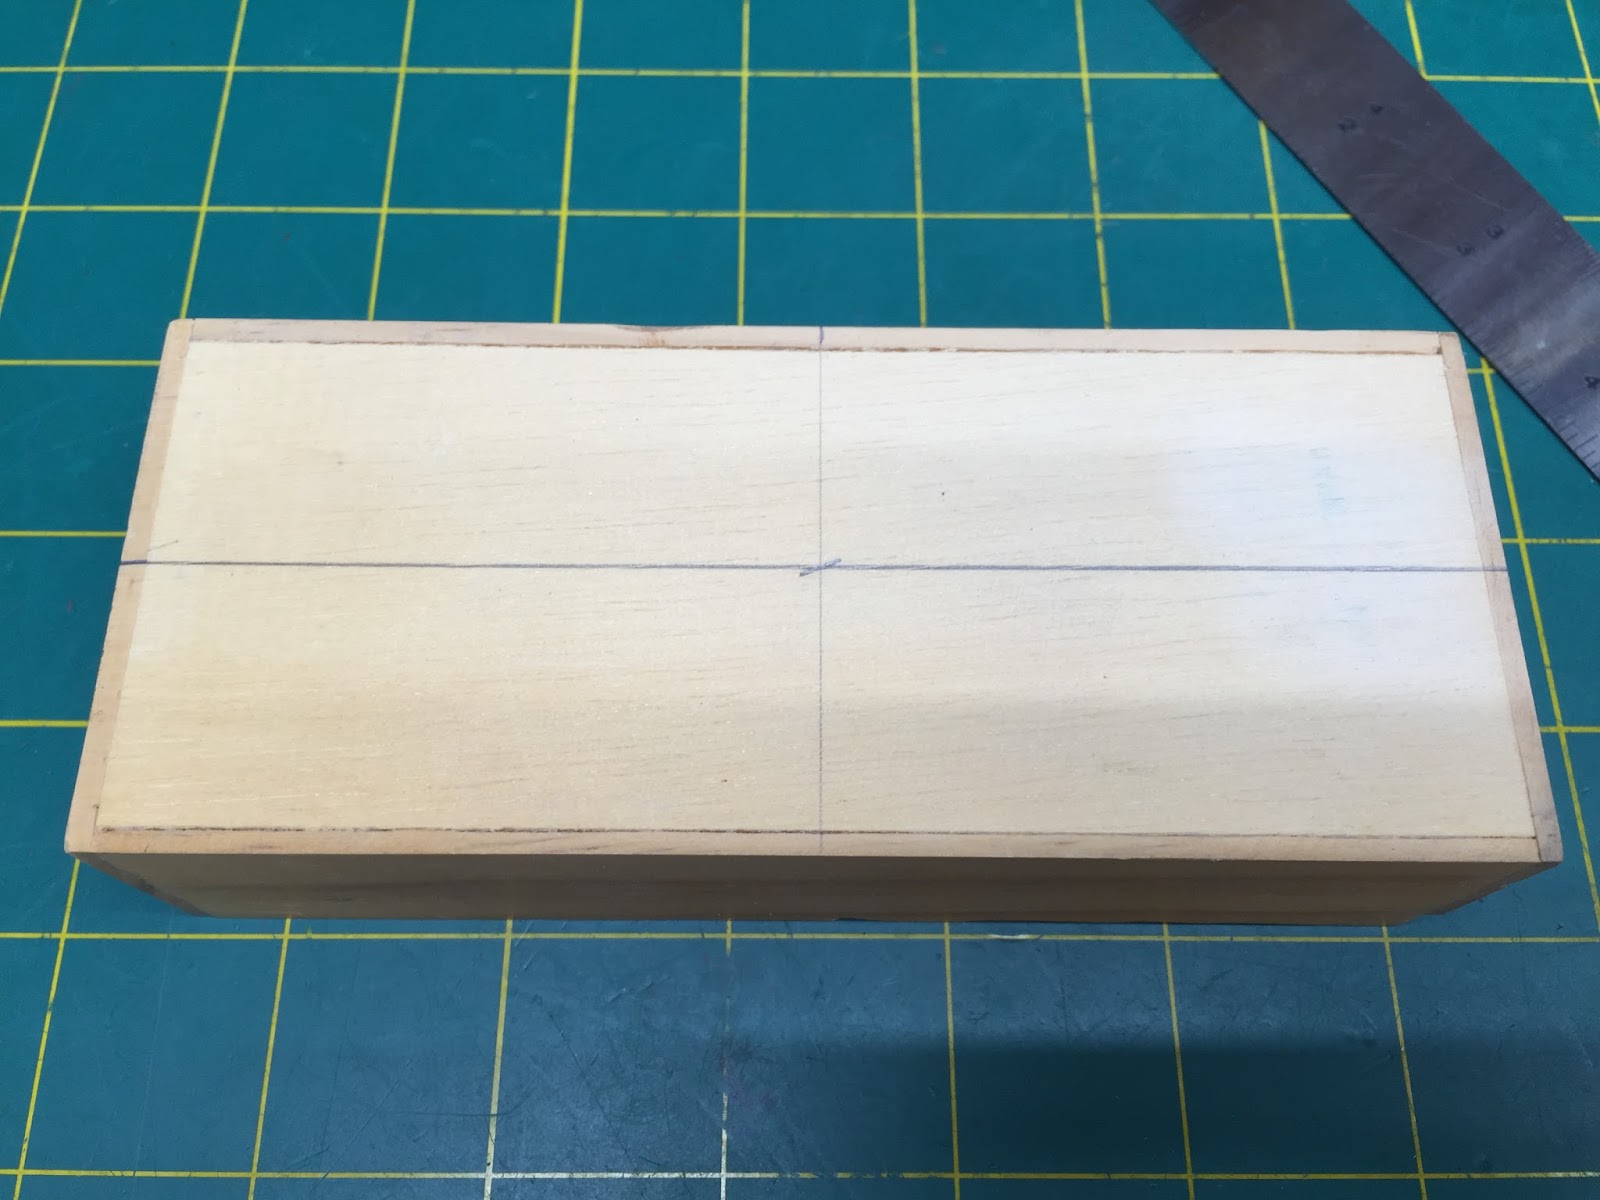
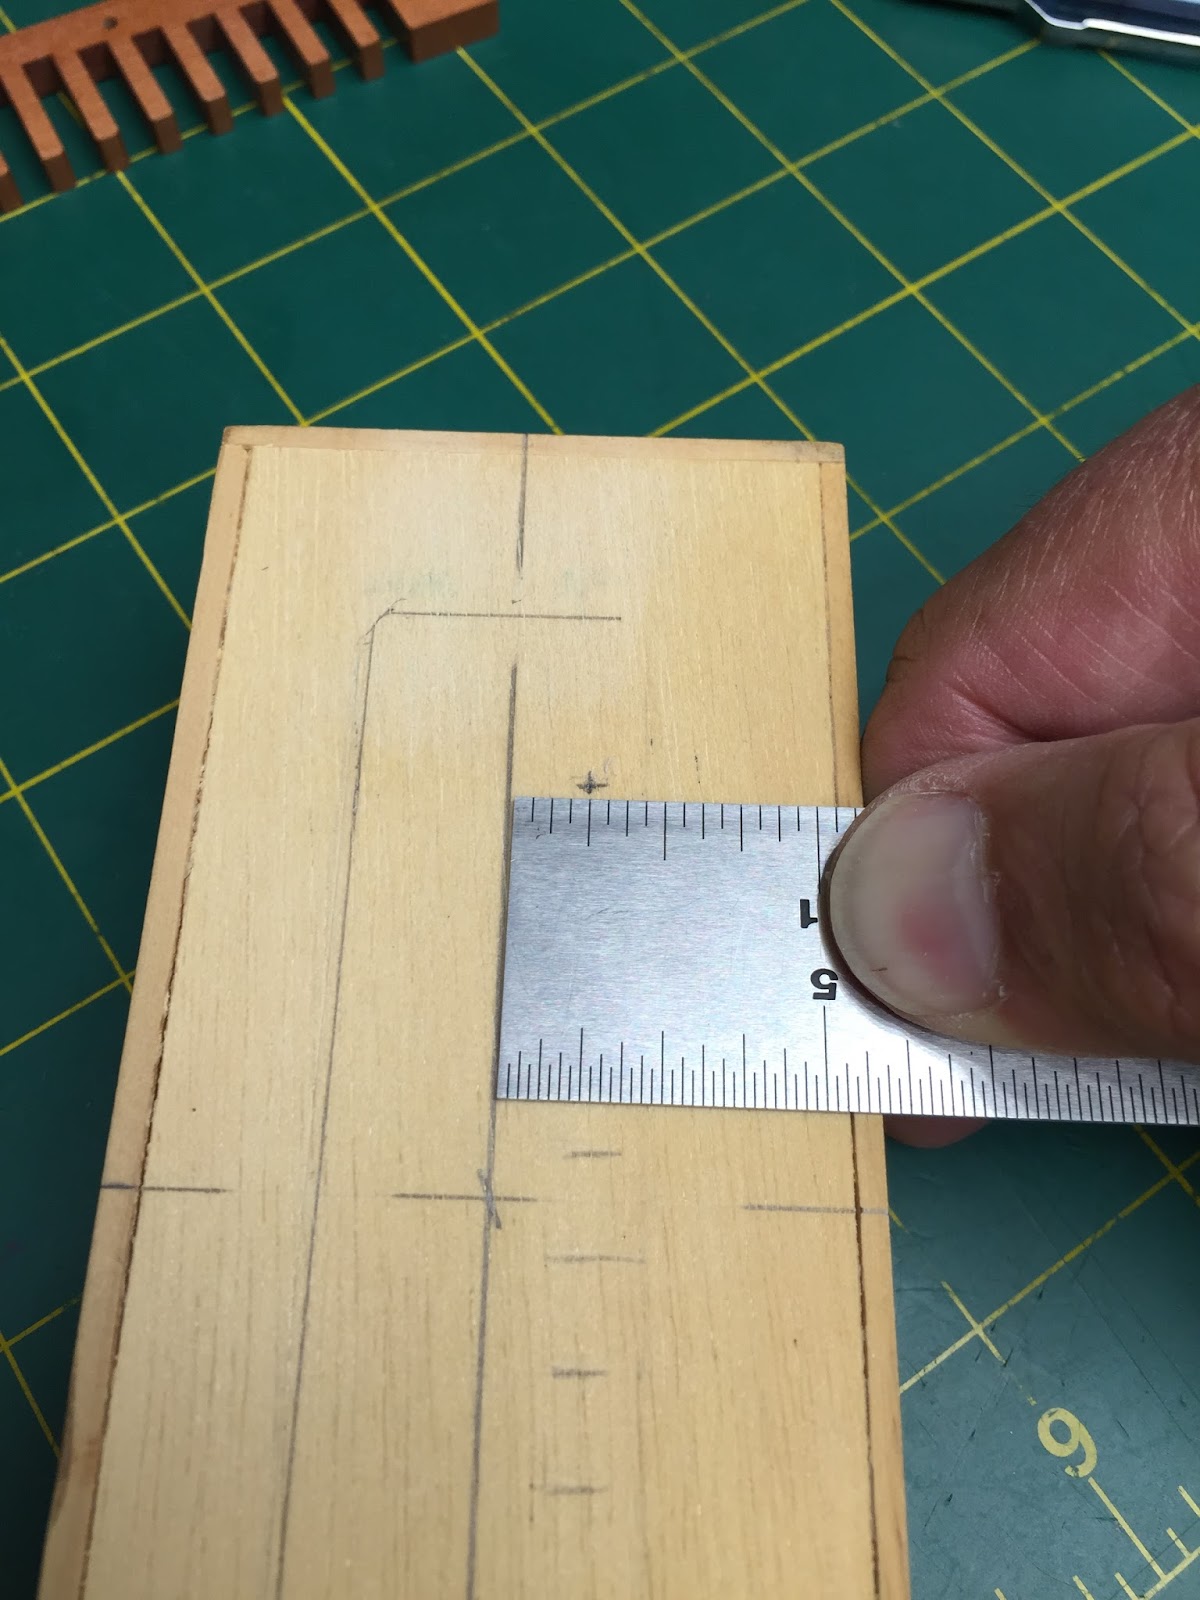
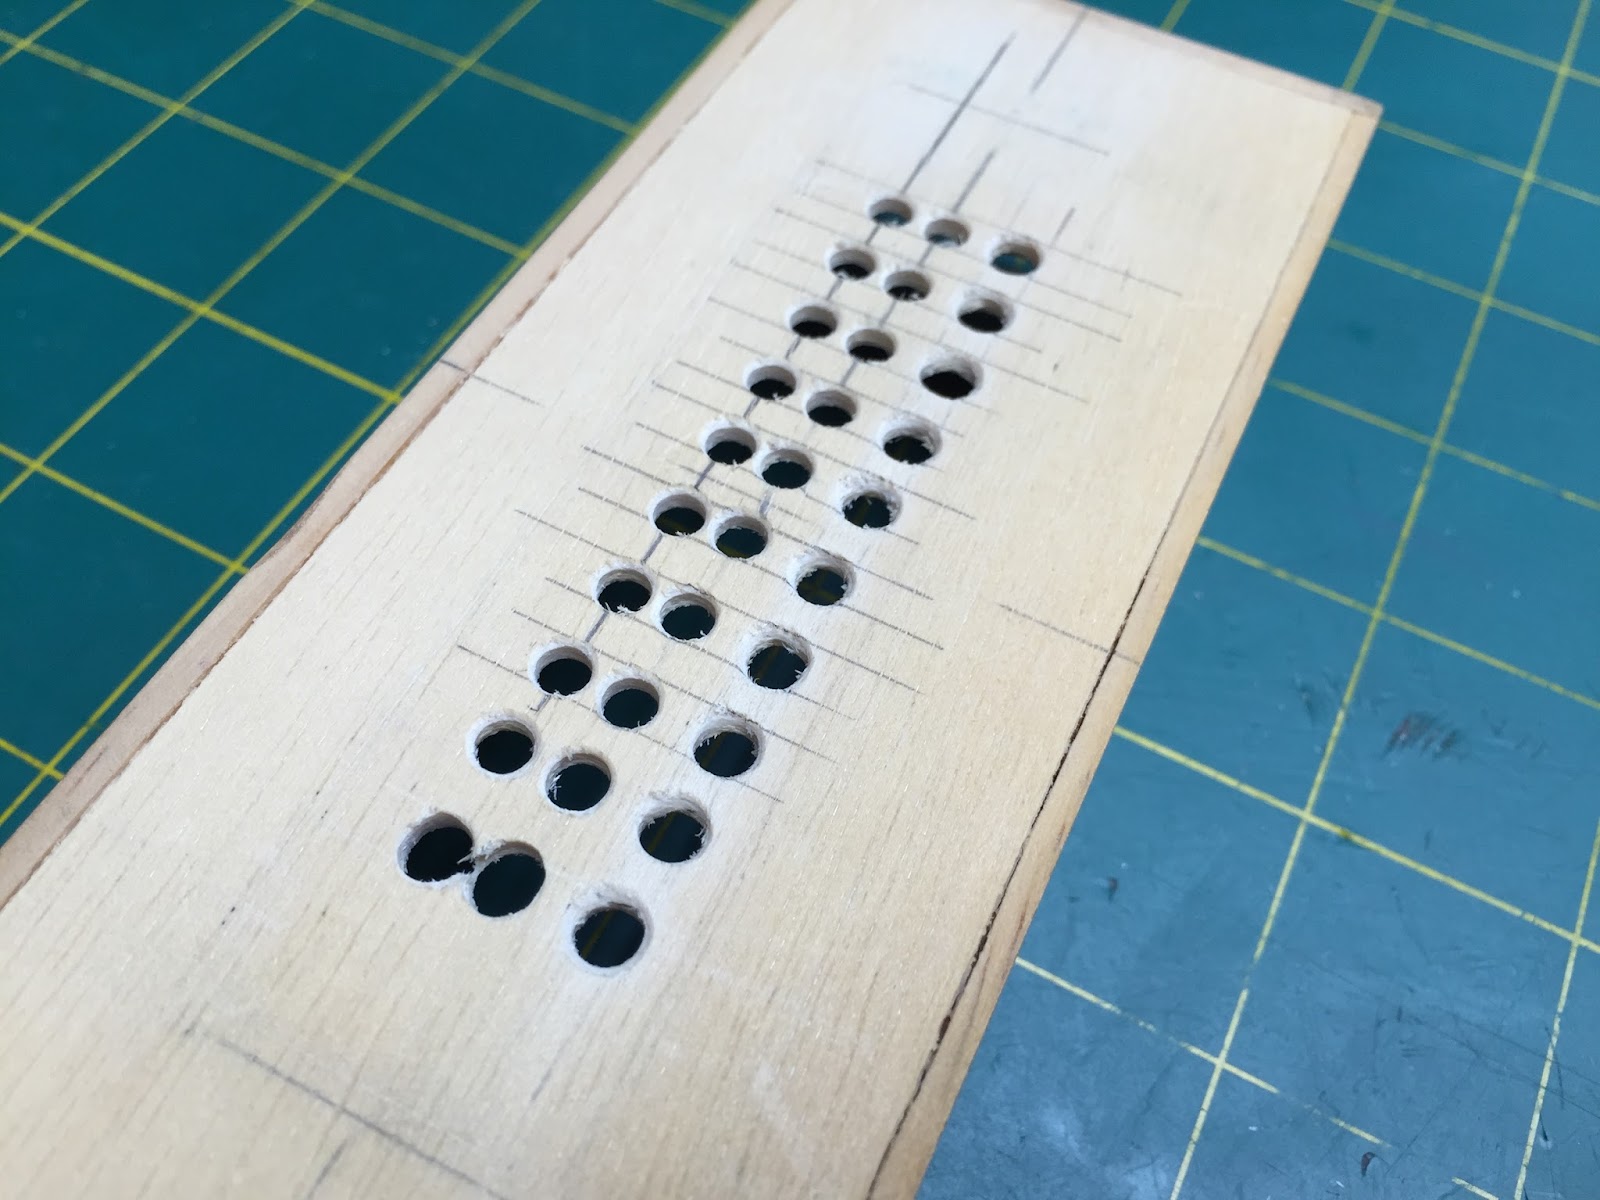
Locate the centers of your box (I chose the bottom), then align and mark the boundaries of the comb:
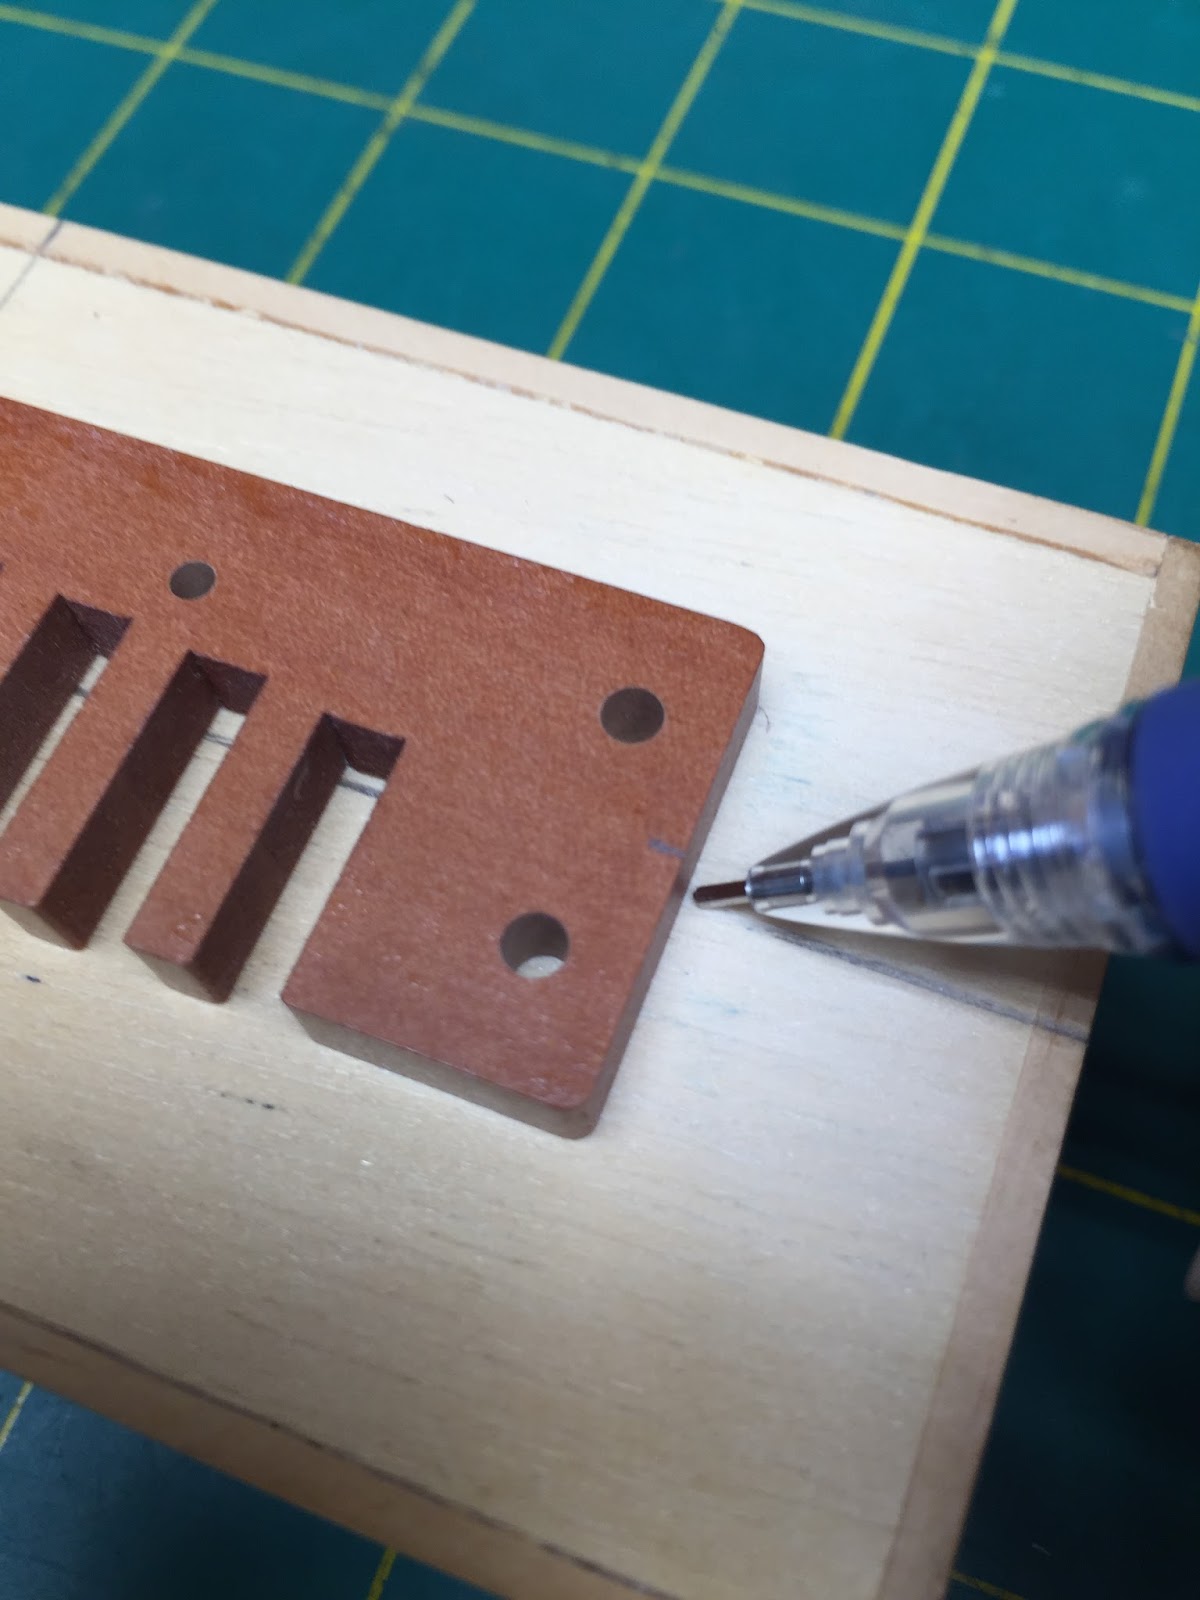
Align the comb to the box, then mark the centers of each slot:
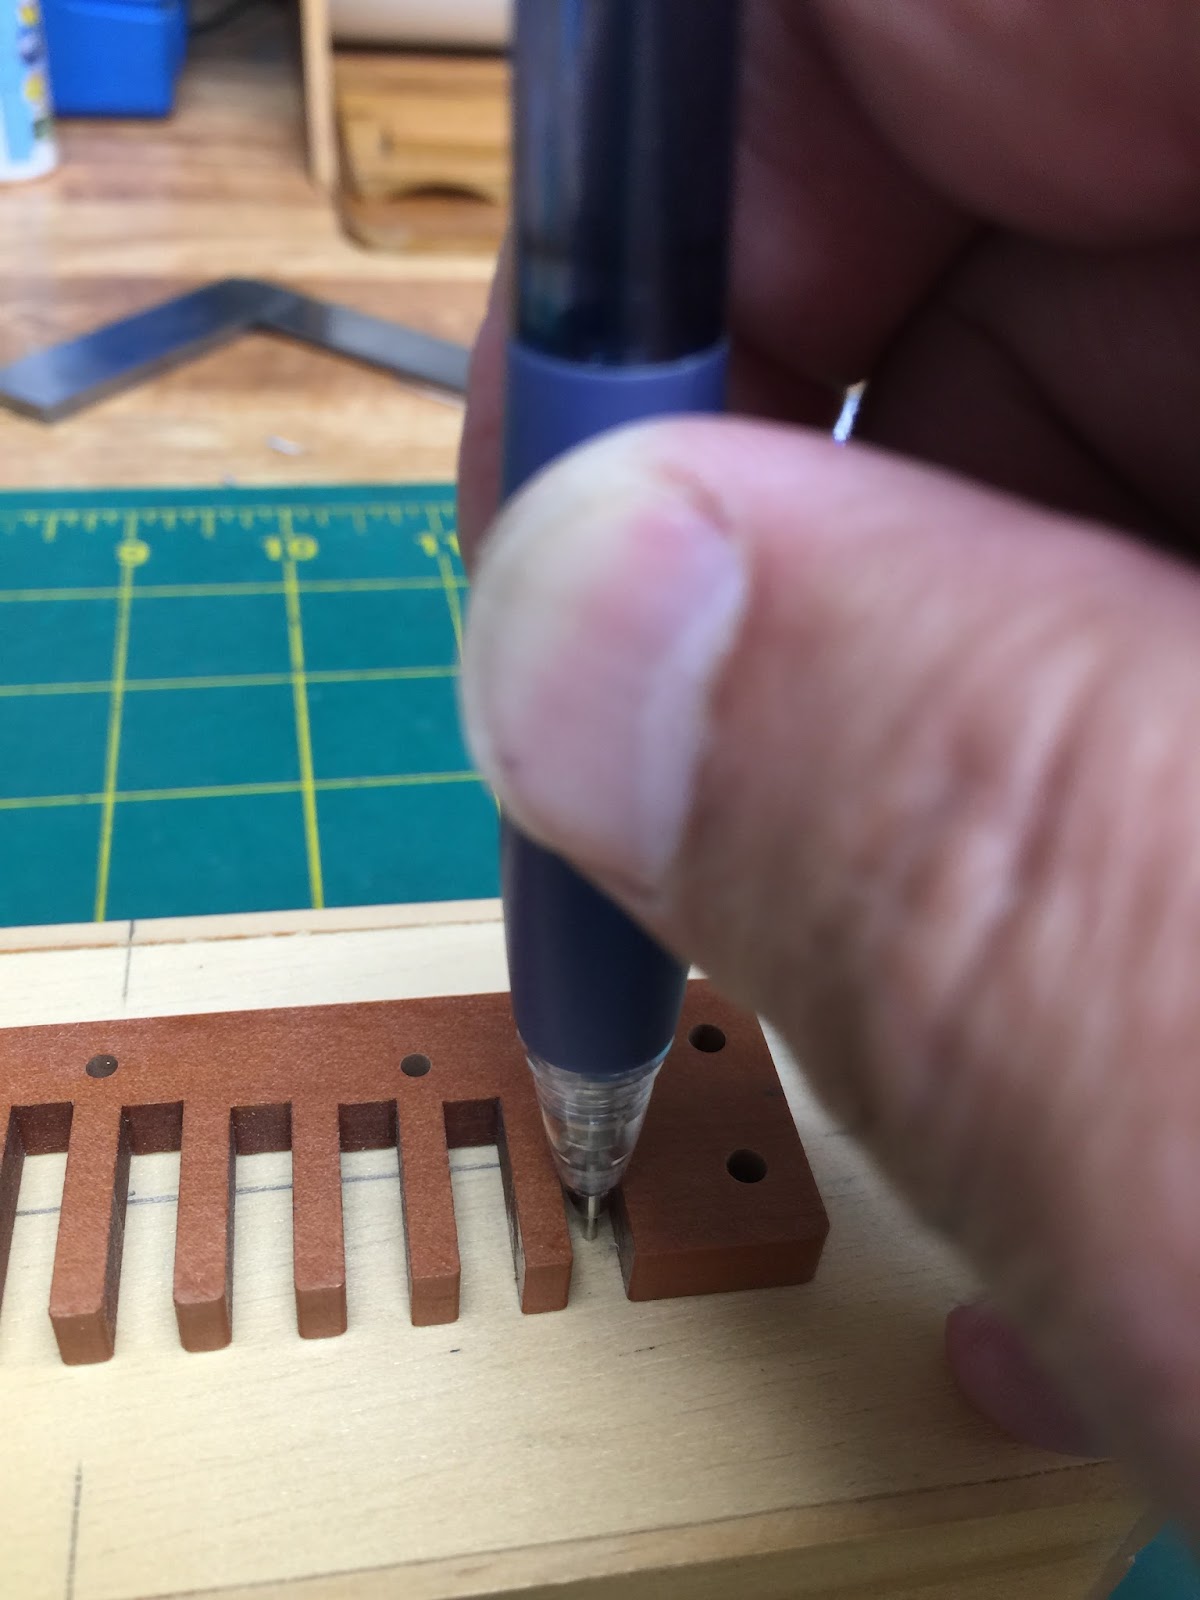
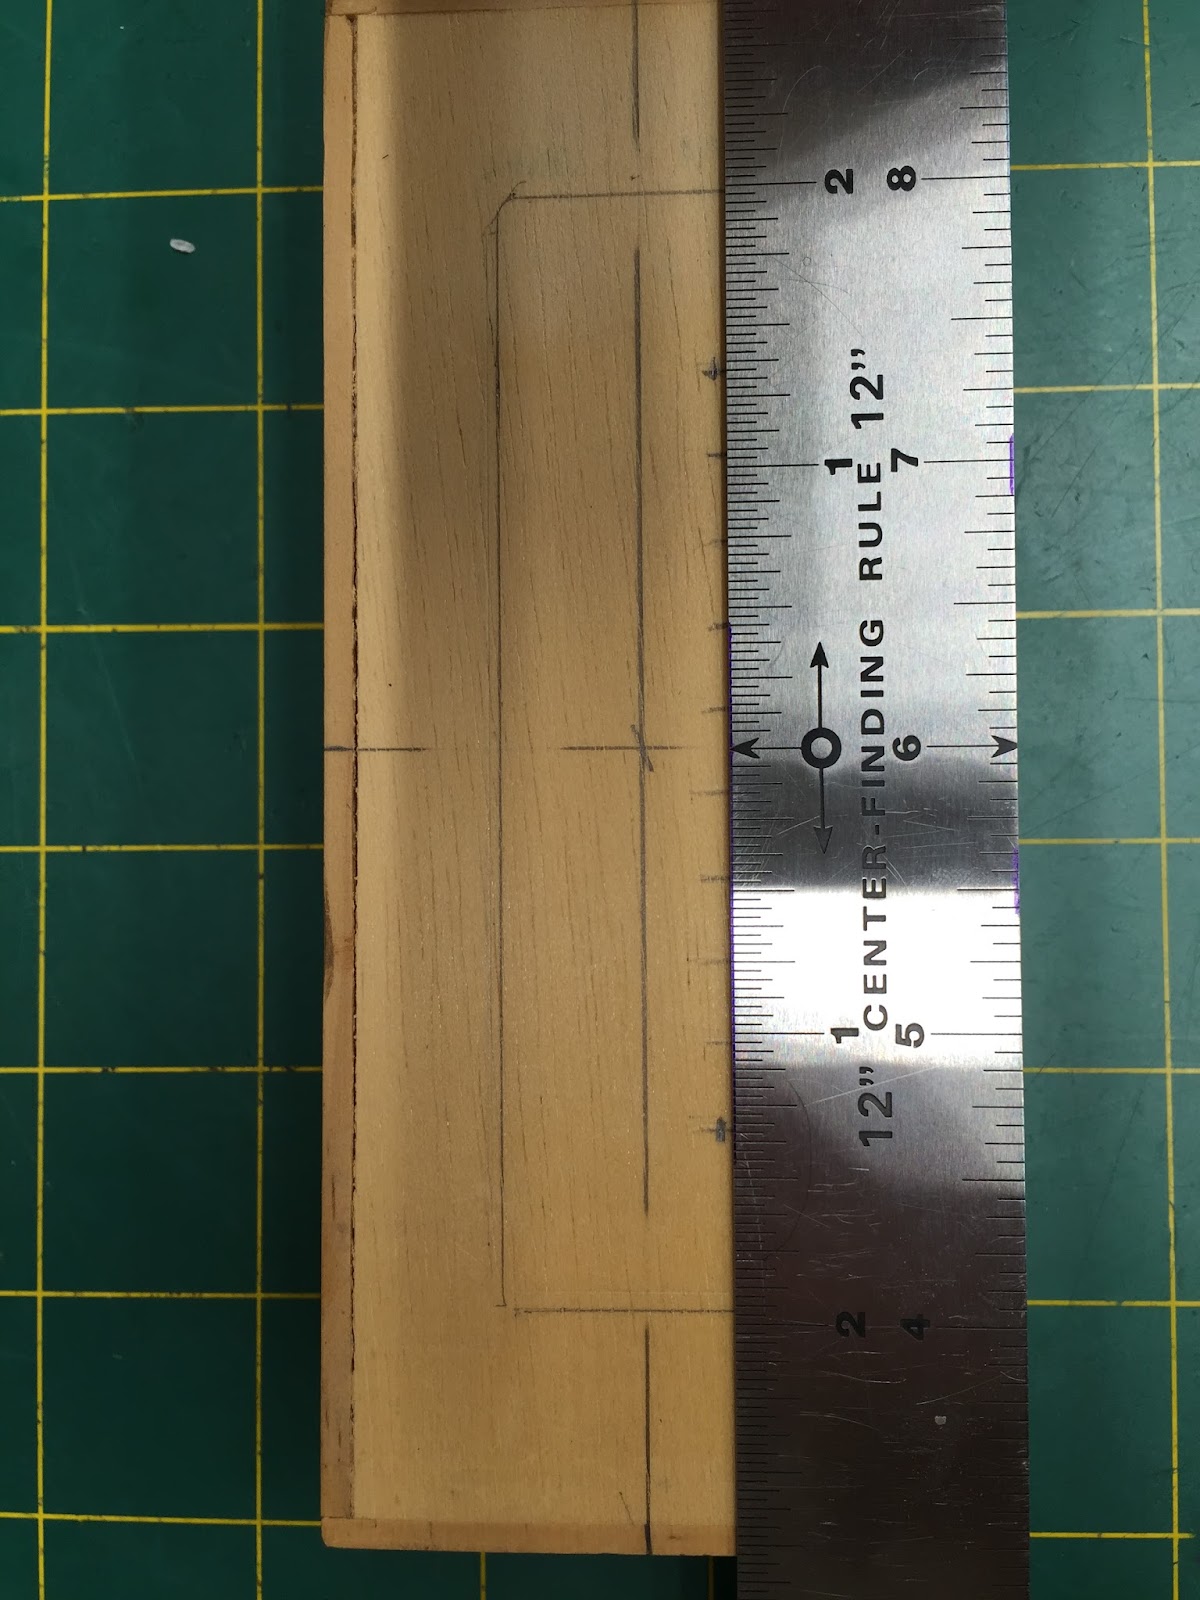
Use a ruler to help space the dots evenly across, and within each slot:
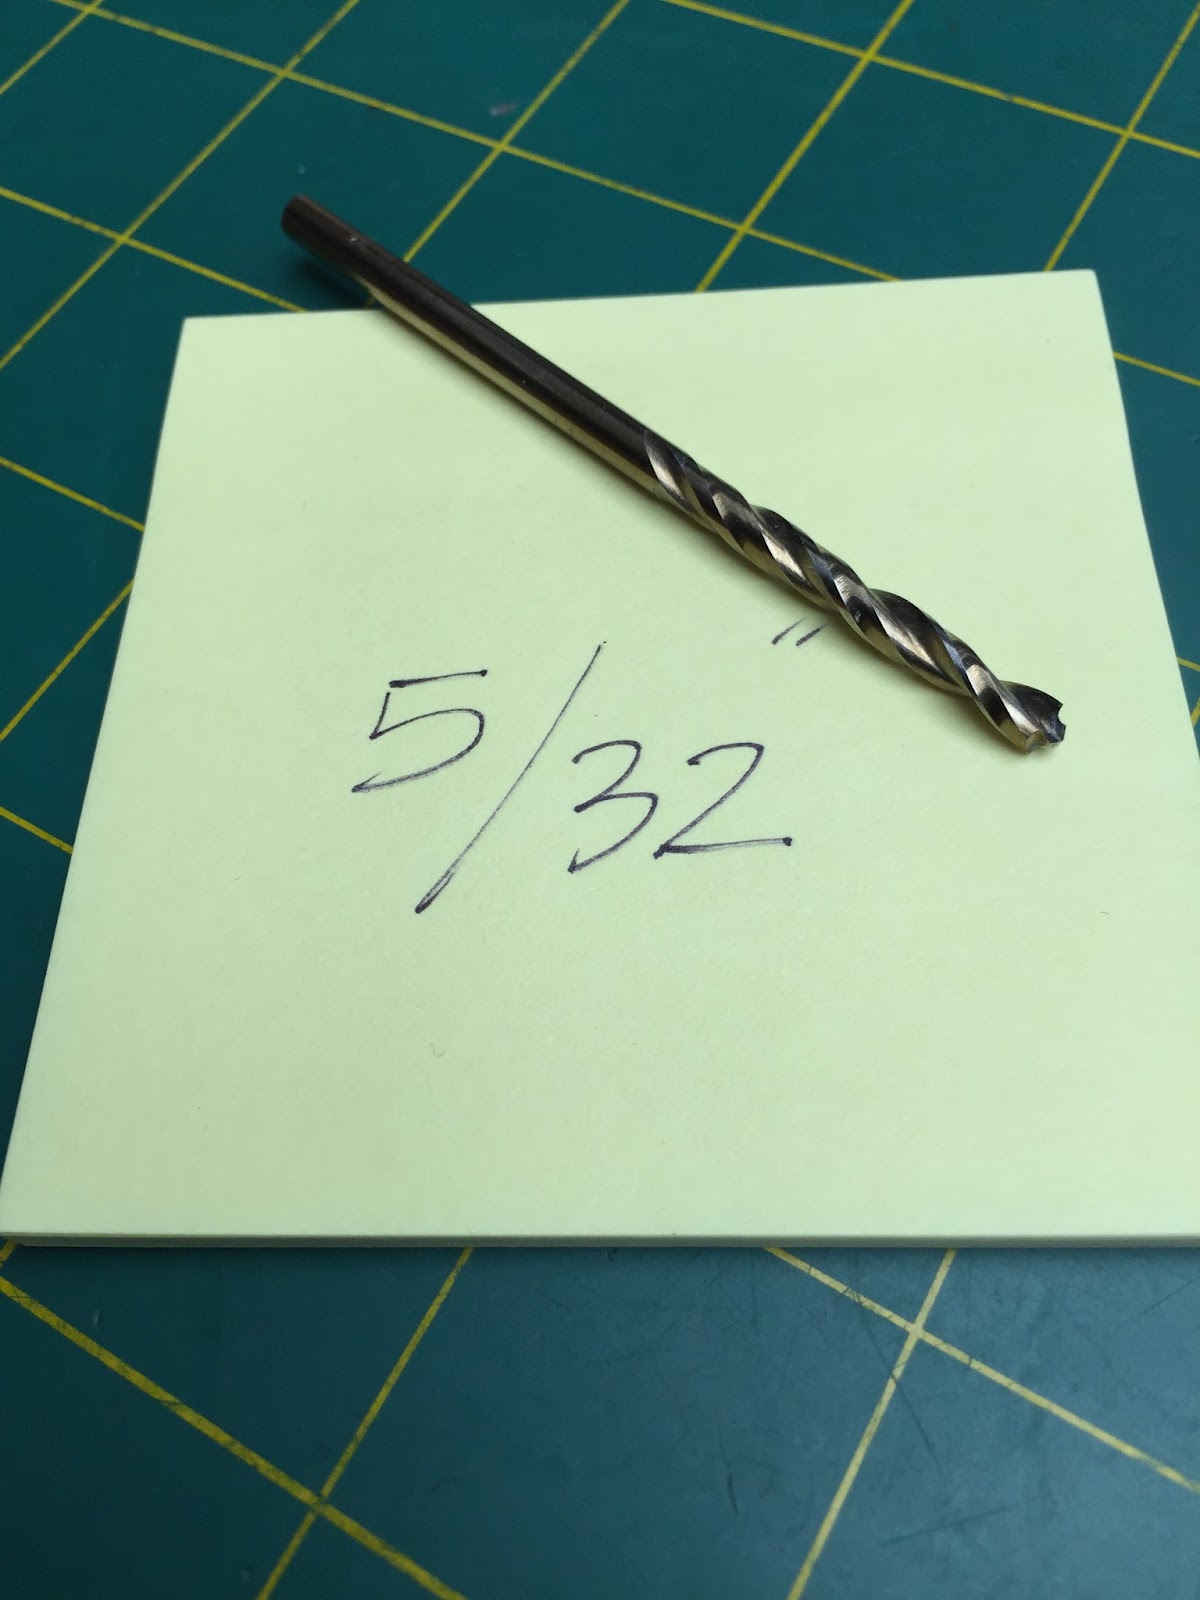
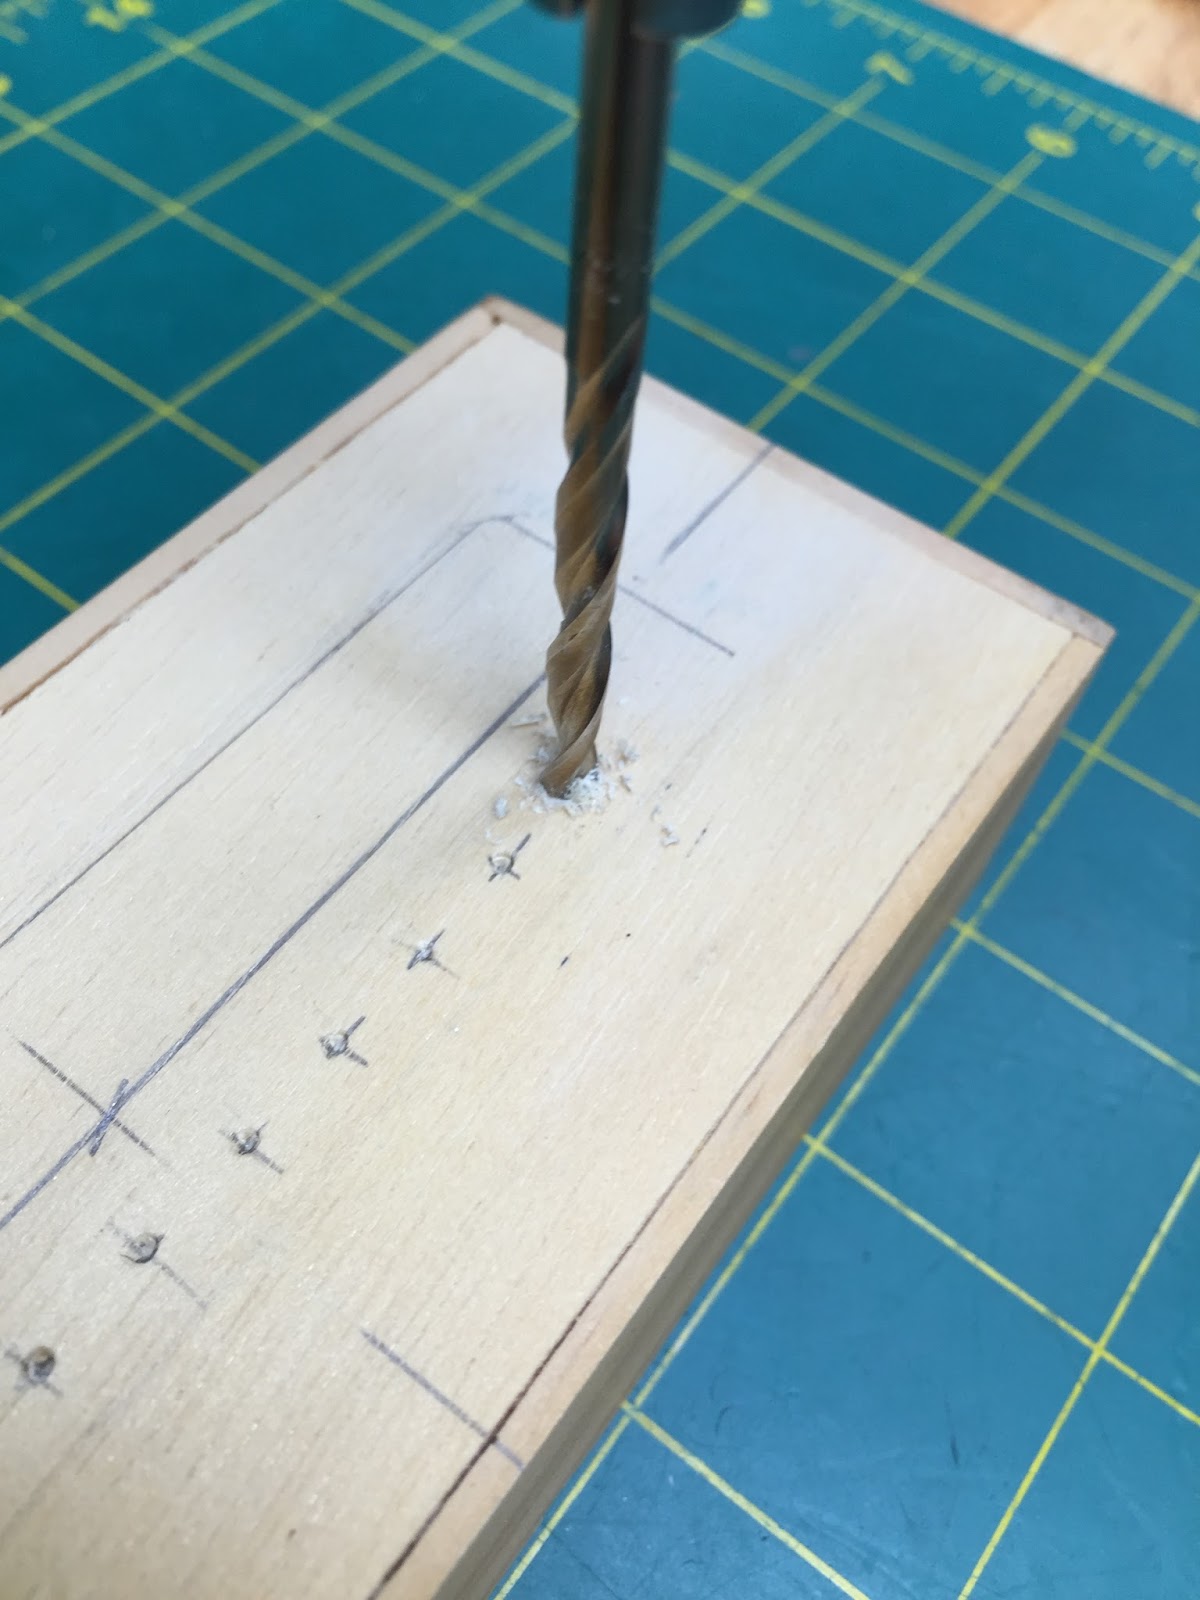
Insert a 5/32” drill bit into your drill’s chuck, then for every “dot”, drill a hole--a total of 30 (remove wood shavings with countersink and sandpaper):
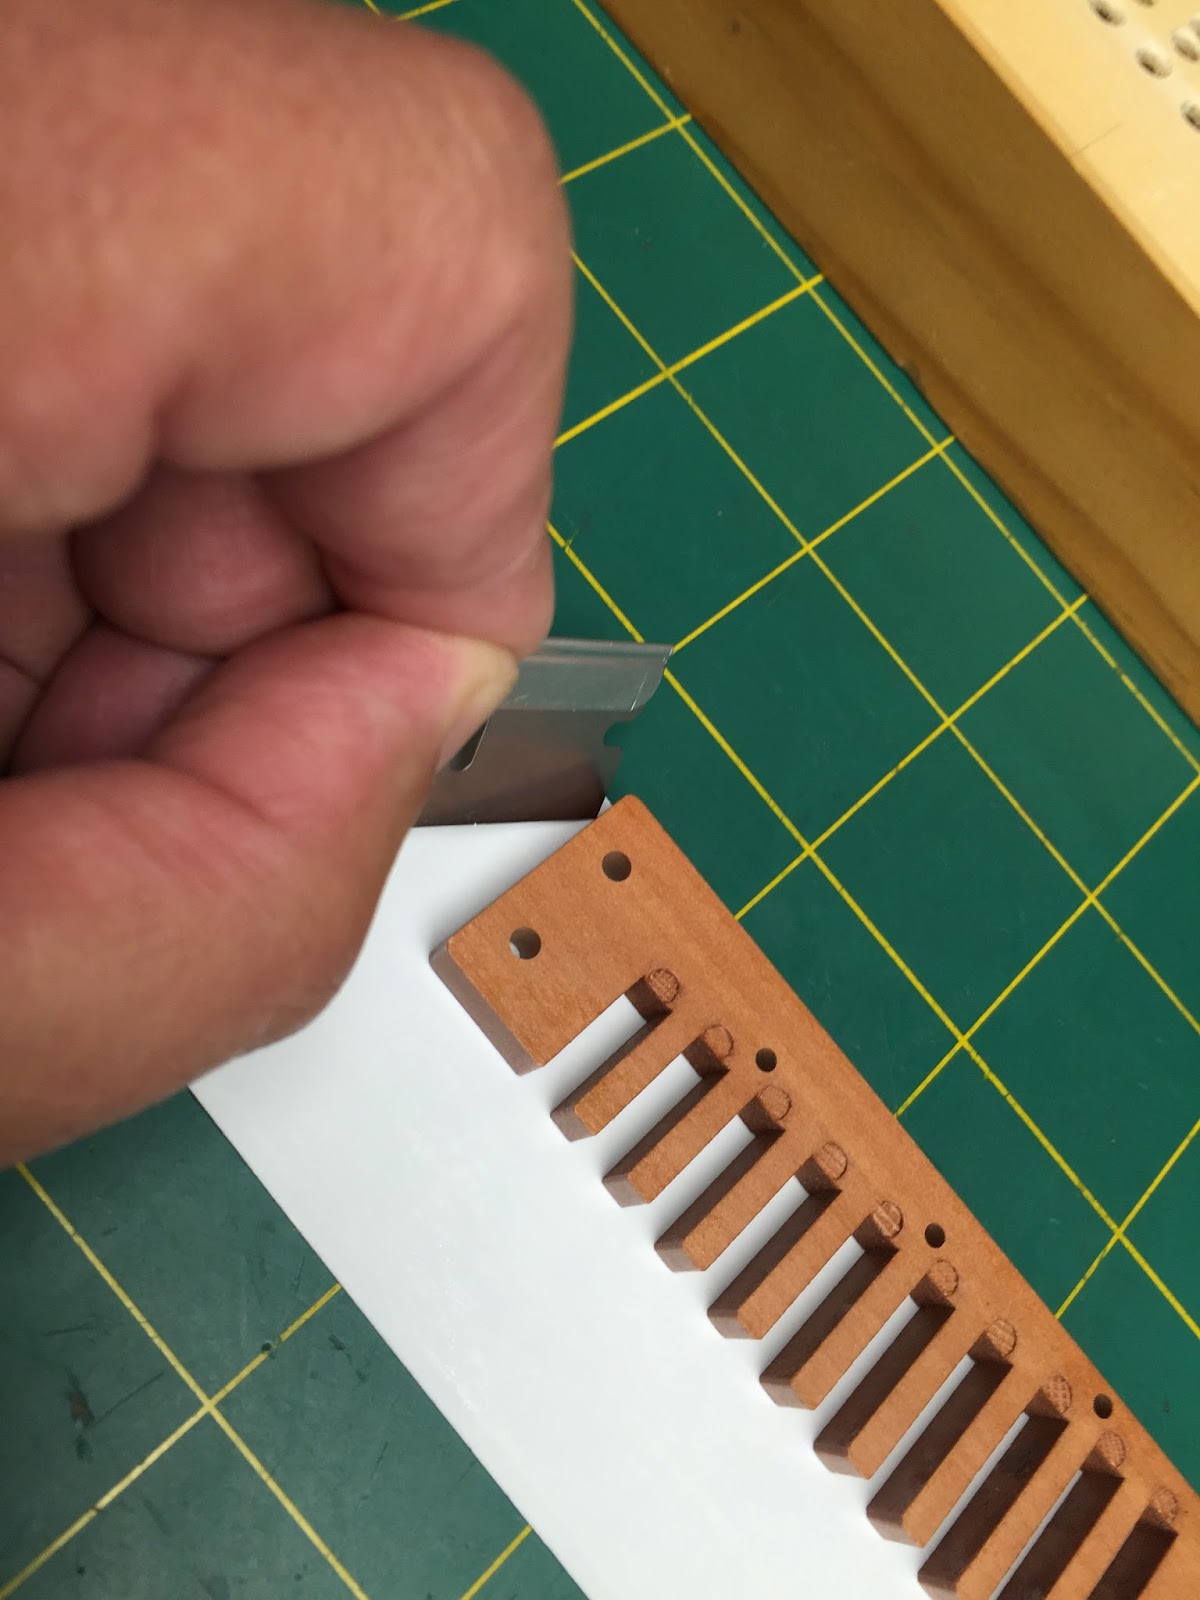
Cut a strip of double faced carpet tape slightly larger than the length of your harmonica comb, then flatten the backing side of tape onto your work area. With the DRAW side of the comb facing you--align it to the edge of the tacky side of the tape. TIP: take your time, this stuff is extremely sticky!

Press evenly onto tape.

Trim off excess with single edge razor (or Xacto knife).
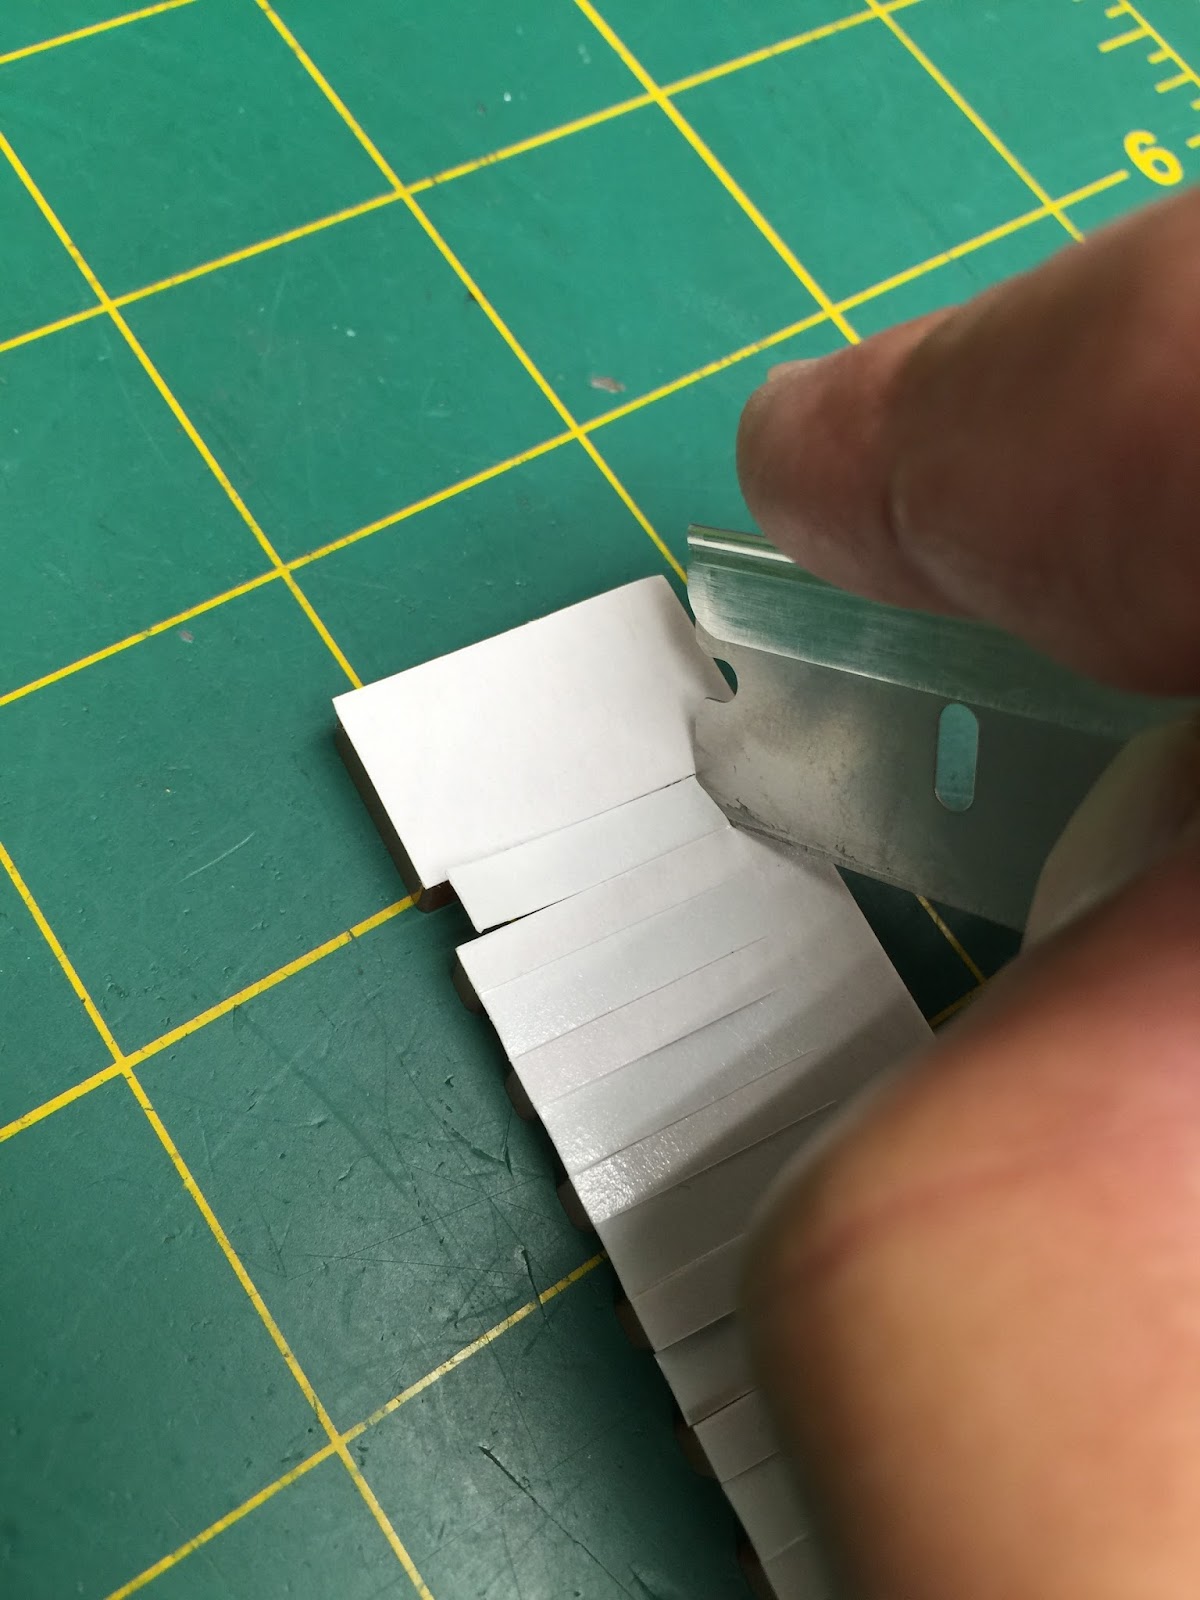
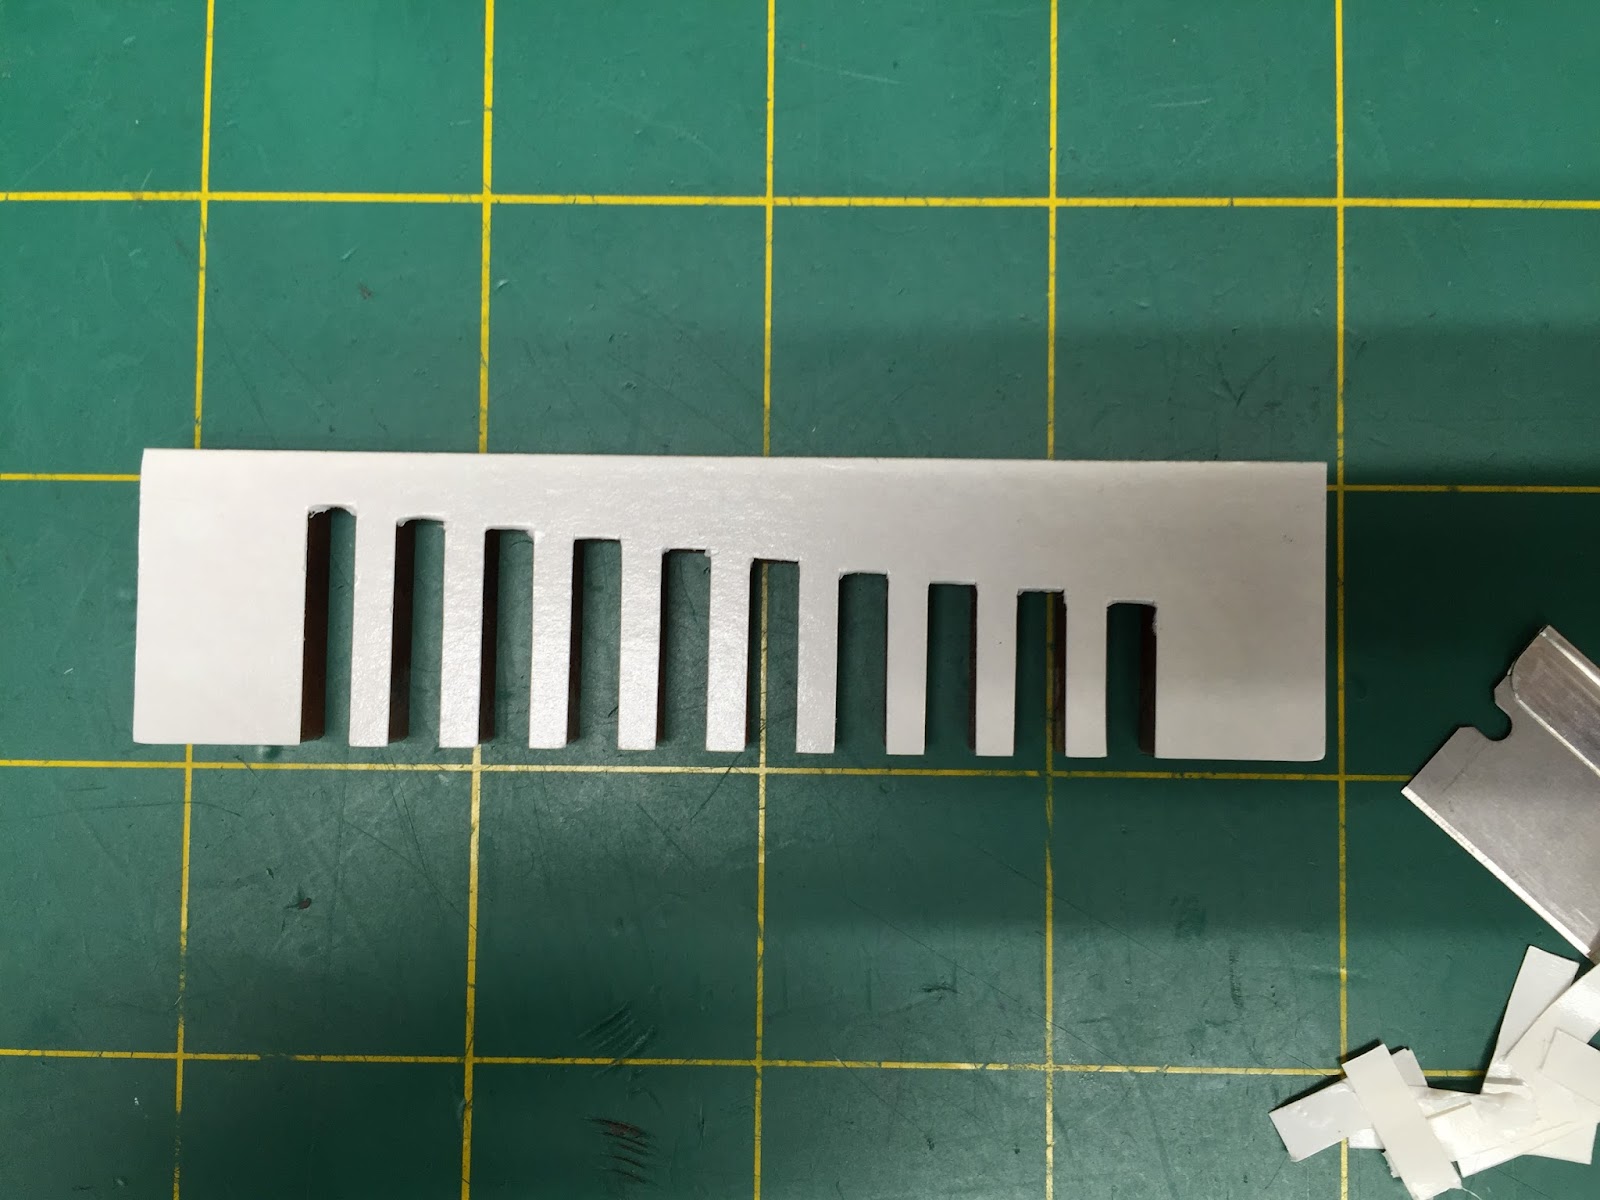
Trim tape around each slot of comb.

Flip over and remove excess tape from the comb slots.

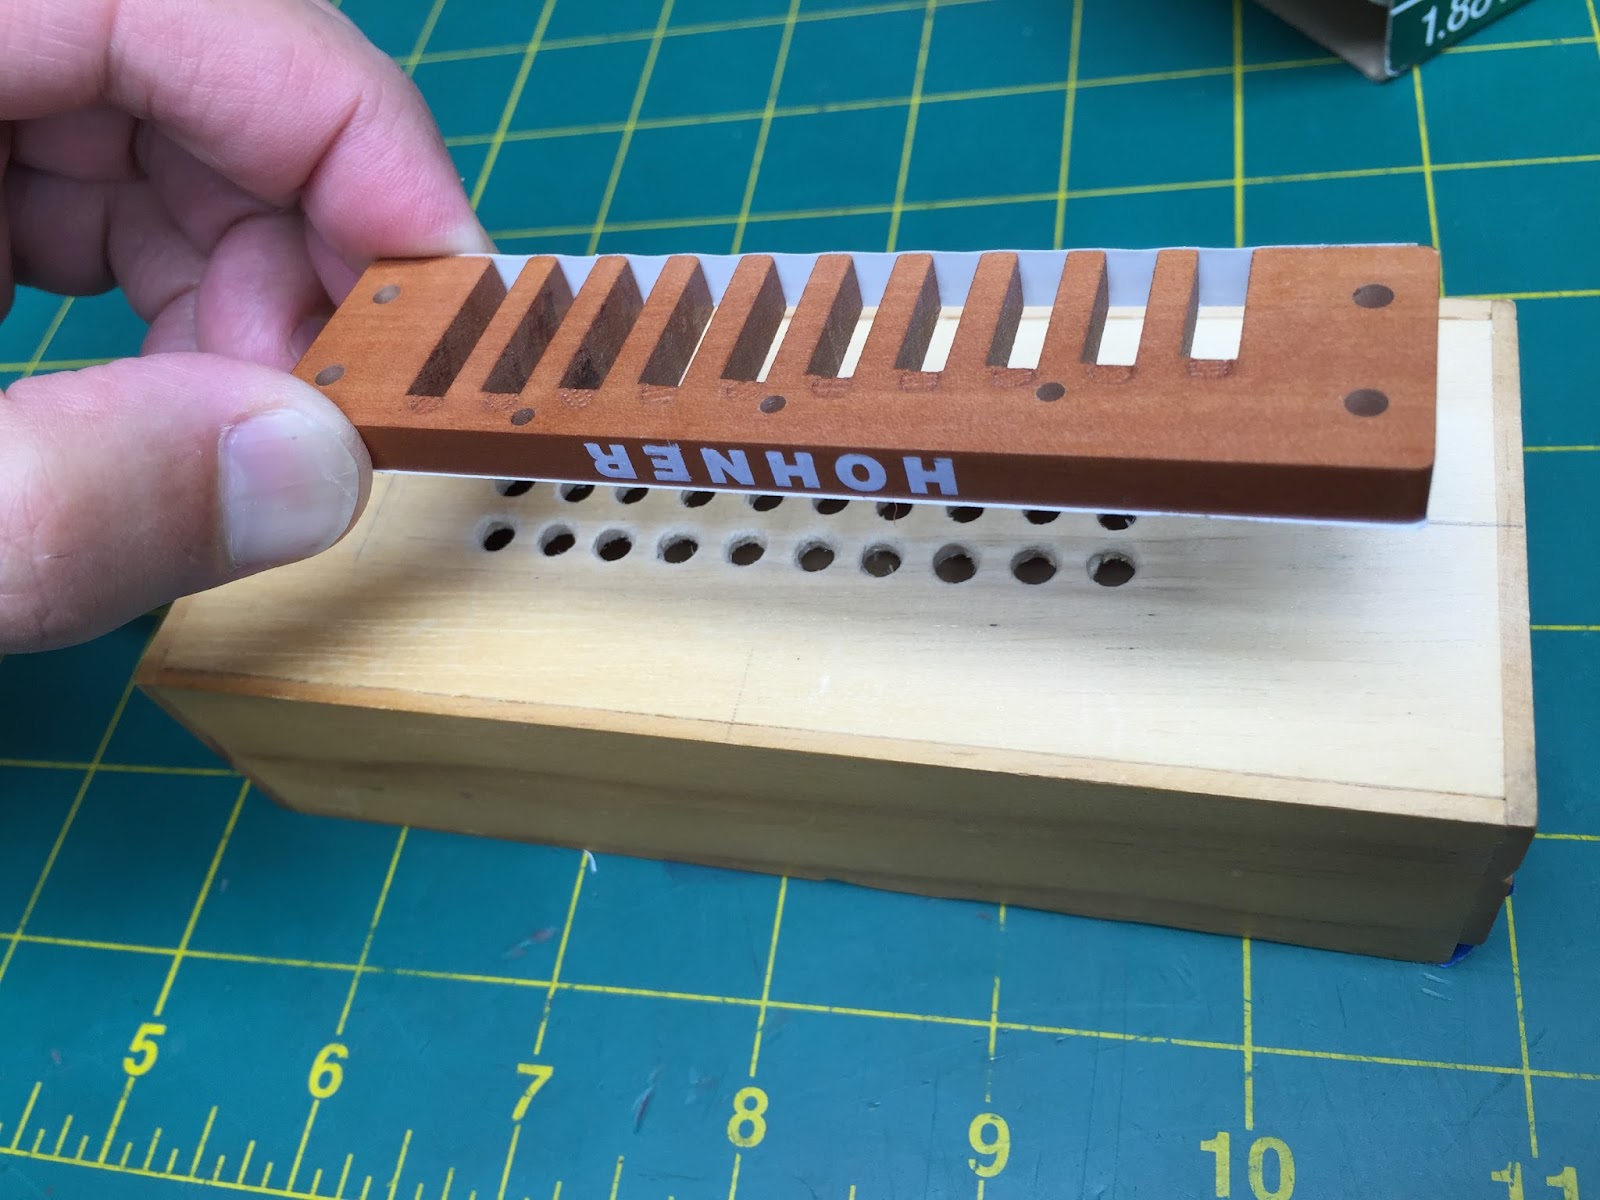
In order to permanently block off the air from entering the open part of the mouthpiece, secure a strip of the carpet tape to the front of the comb (DO NOT REMOVE THE BACKING).
Remove the backing from the double sided carpet tape.

Flip over the comb once again and carefully align the comb over the holes of the box, then press the sticky side into place. REMEMBER: the draw side of the comb will be facing upwards--the HOHNER markings will appear upside down.
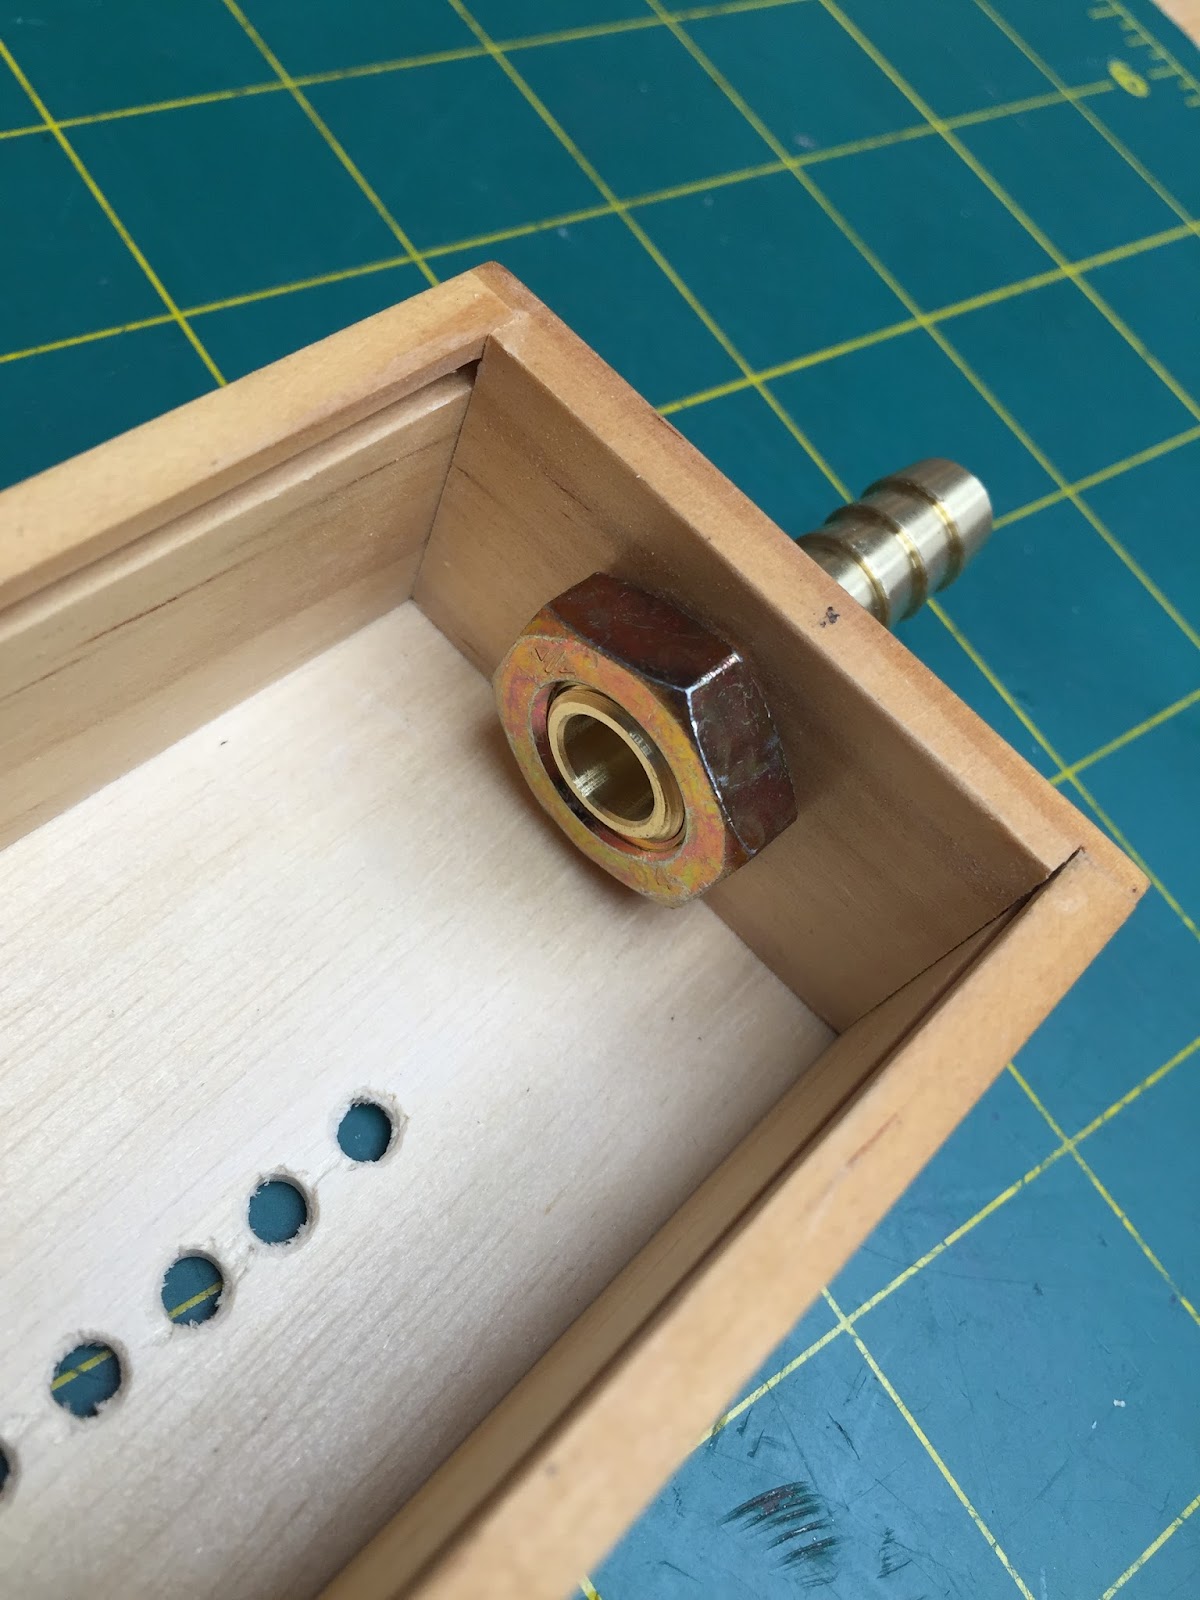
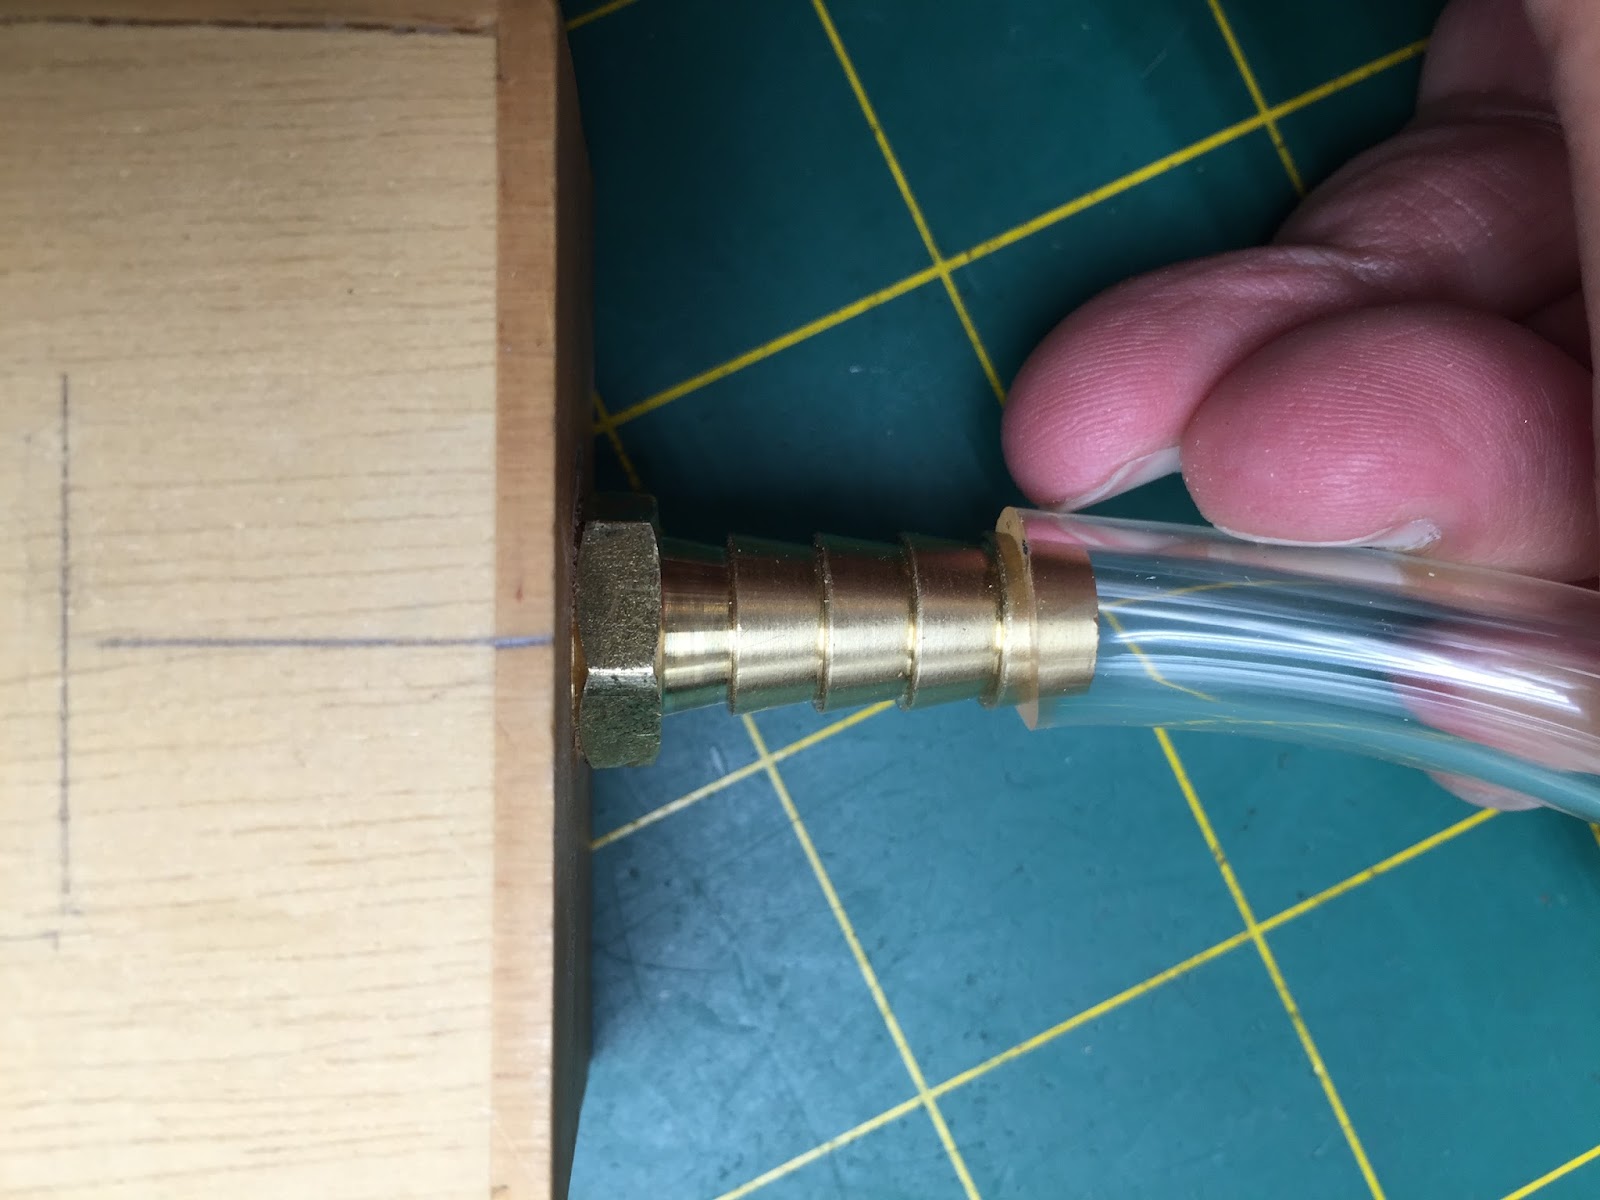
Drill ½” hole in one side of box for the hose barb fitting (which side does not matter):

Note: the ½” hole is slightly smaller than the hose barb--allowing you to “wrench it” (thread) into place.

Note: In the event you accidently oversized the clearance hole for the hose barb, don’t despair--you can use a 14mm jam nut to secure the hose barb from the inside of the box (don’t forget to replace the lid of the box when done):
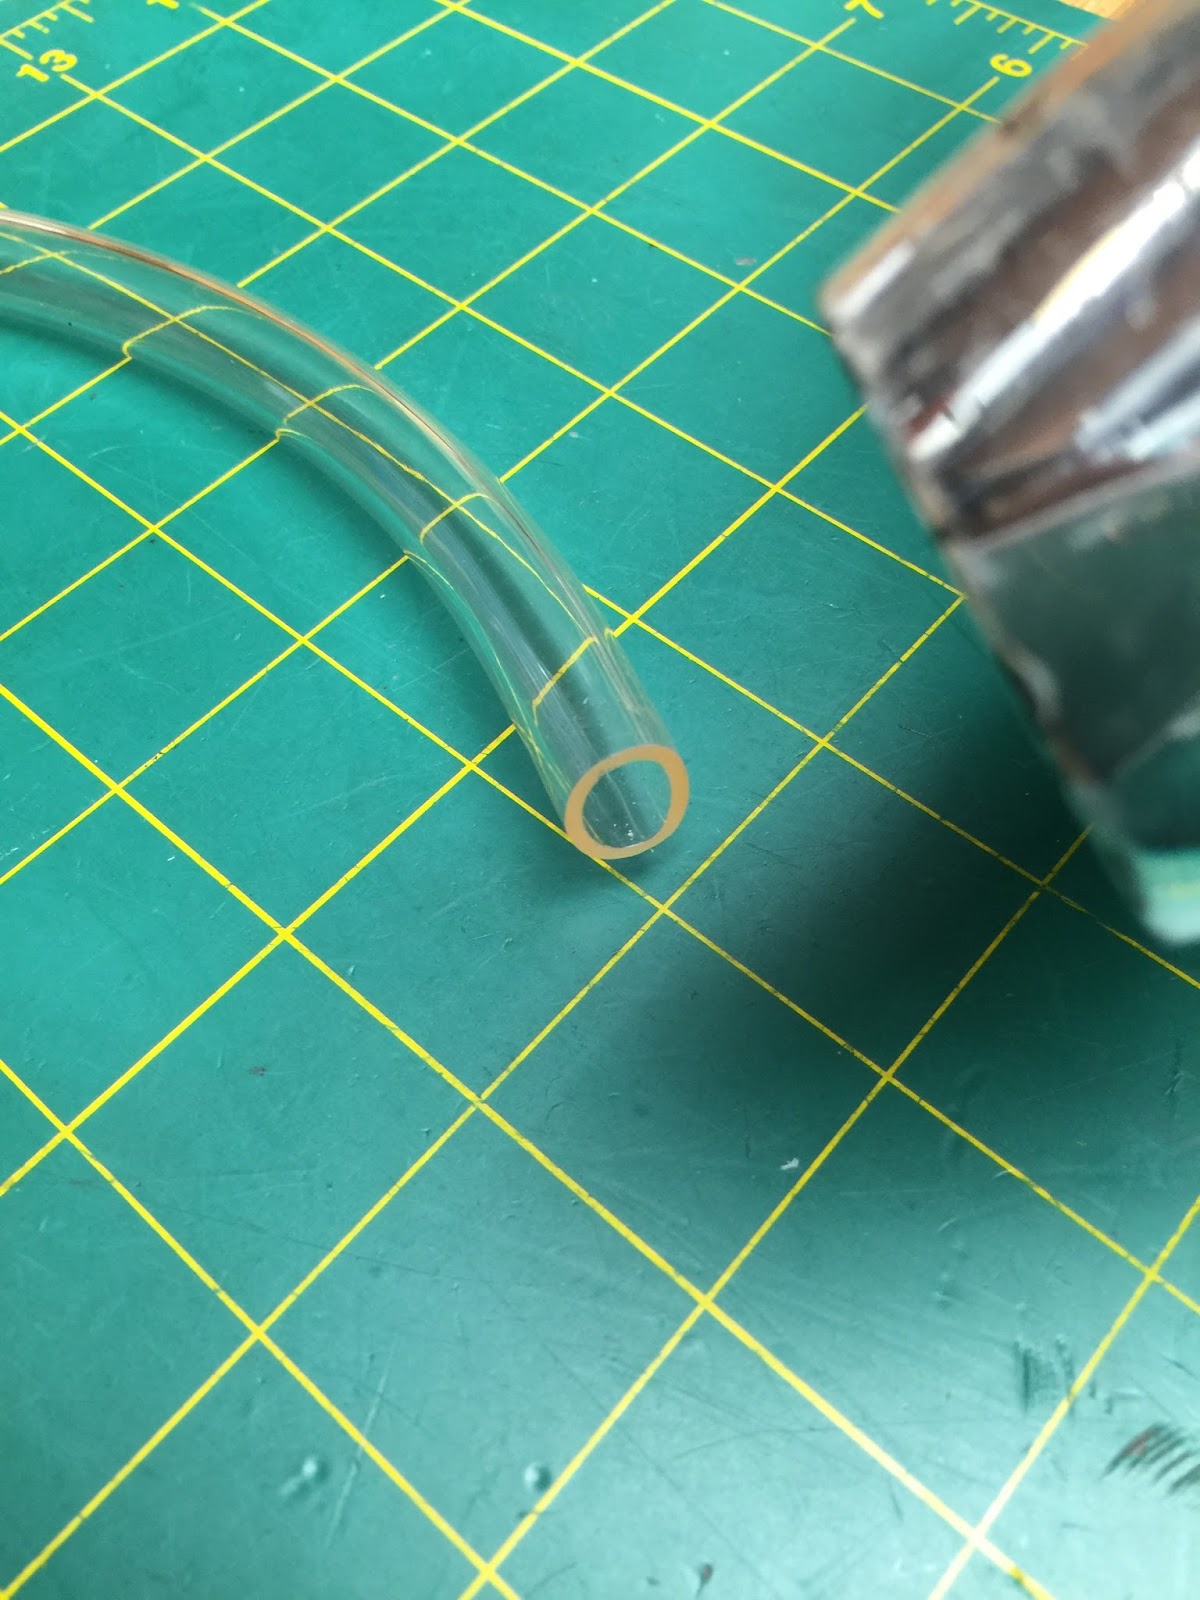
Connect the ⅜” vinyl tubing to the hose barb (you choose the length of tubing you want for your bench):
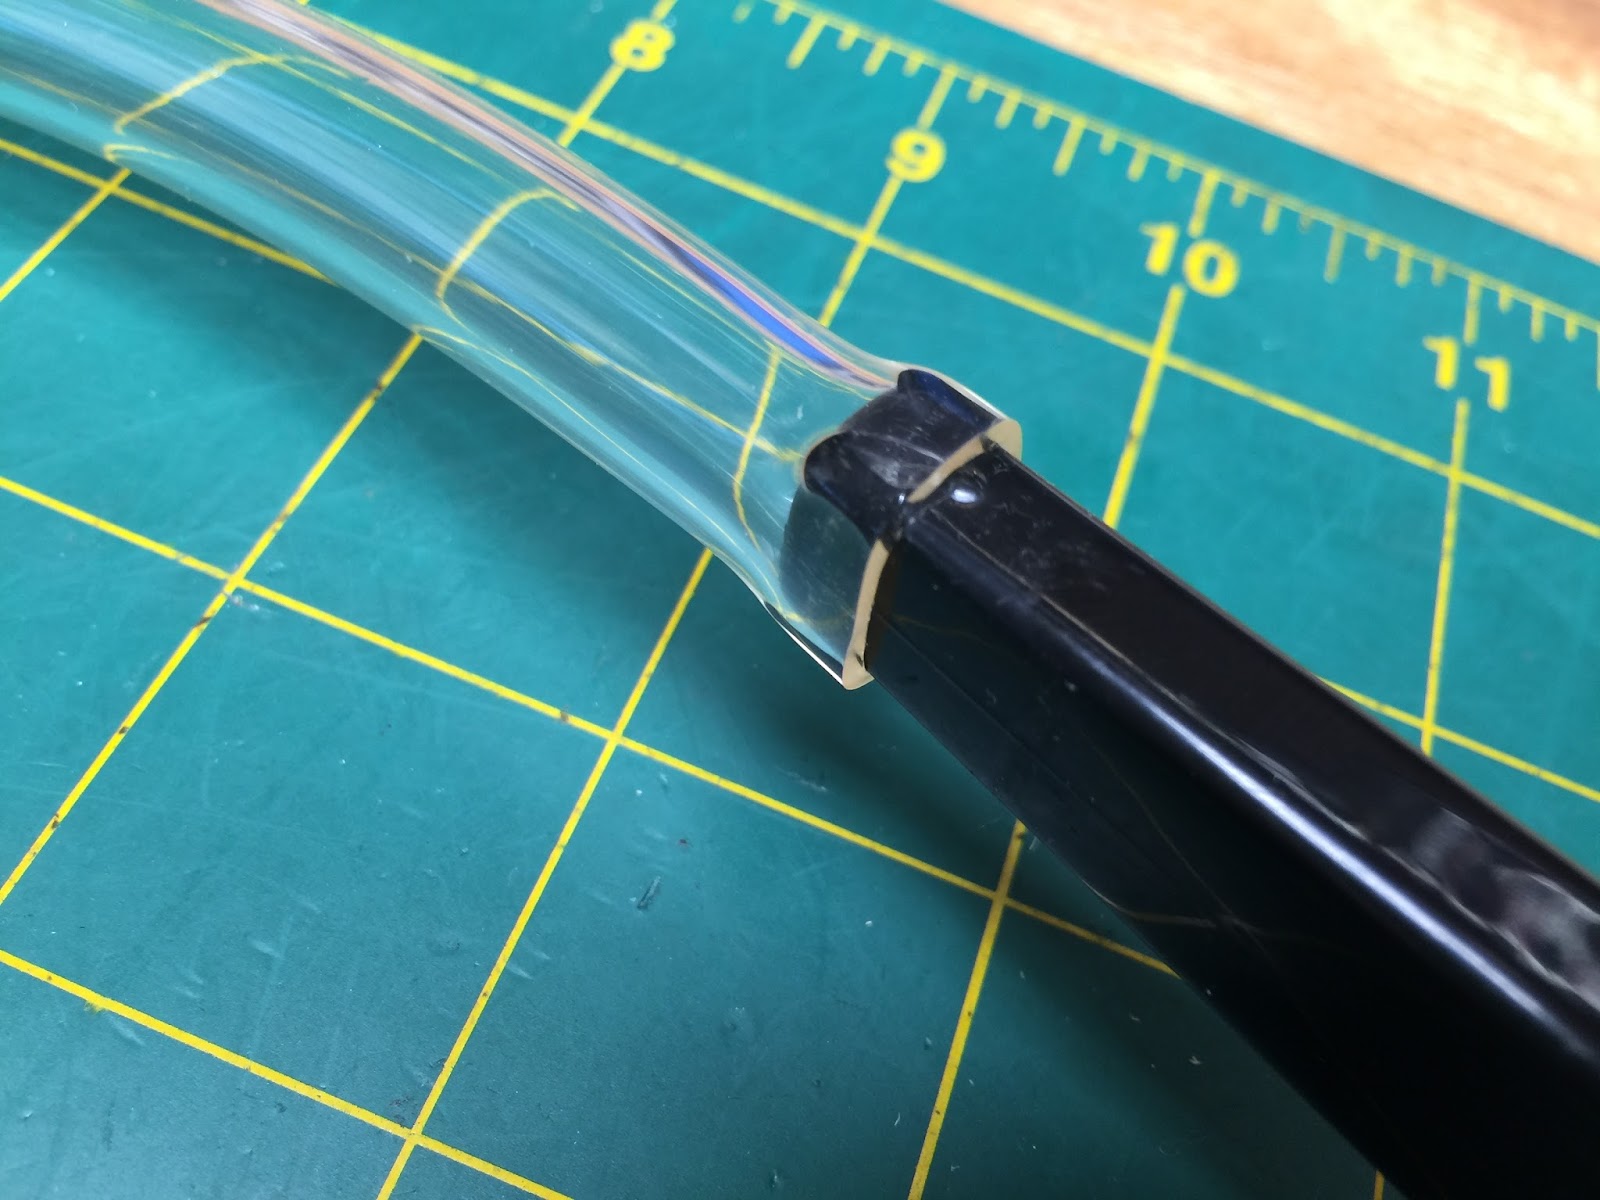
Then connect the other end of the tubing to your miniature vacuum cleaner. Tip: soften the opening of the vinyl tubing with a blow dryer first--it will be a tight fit (see our last forum posting for the make/model of the vacuum cleaner):
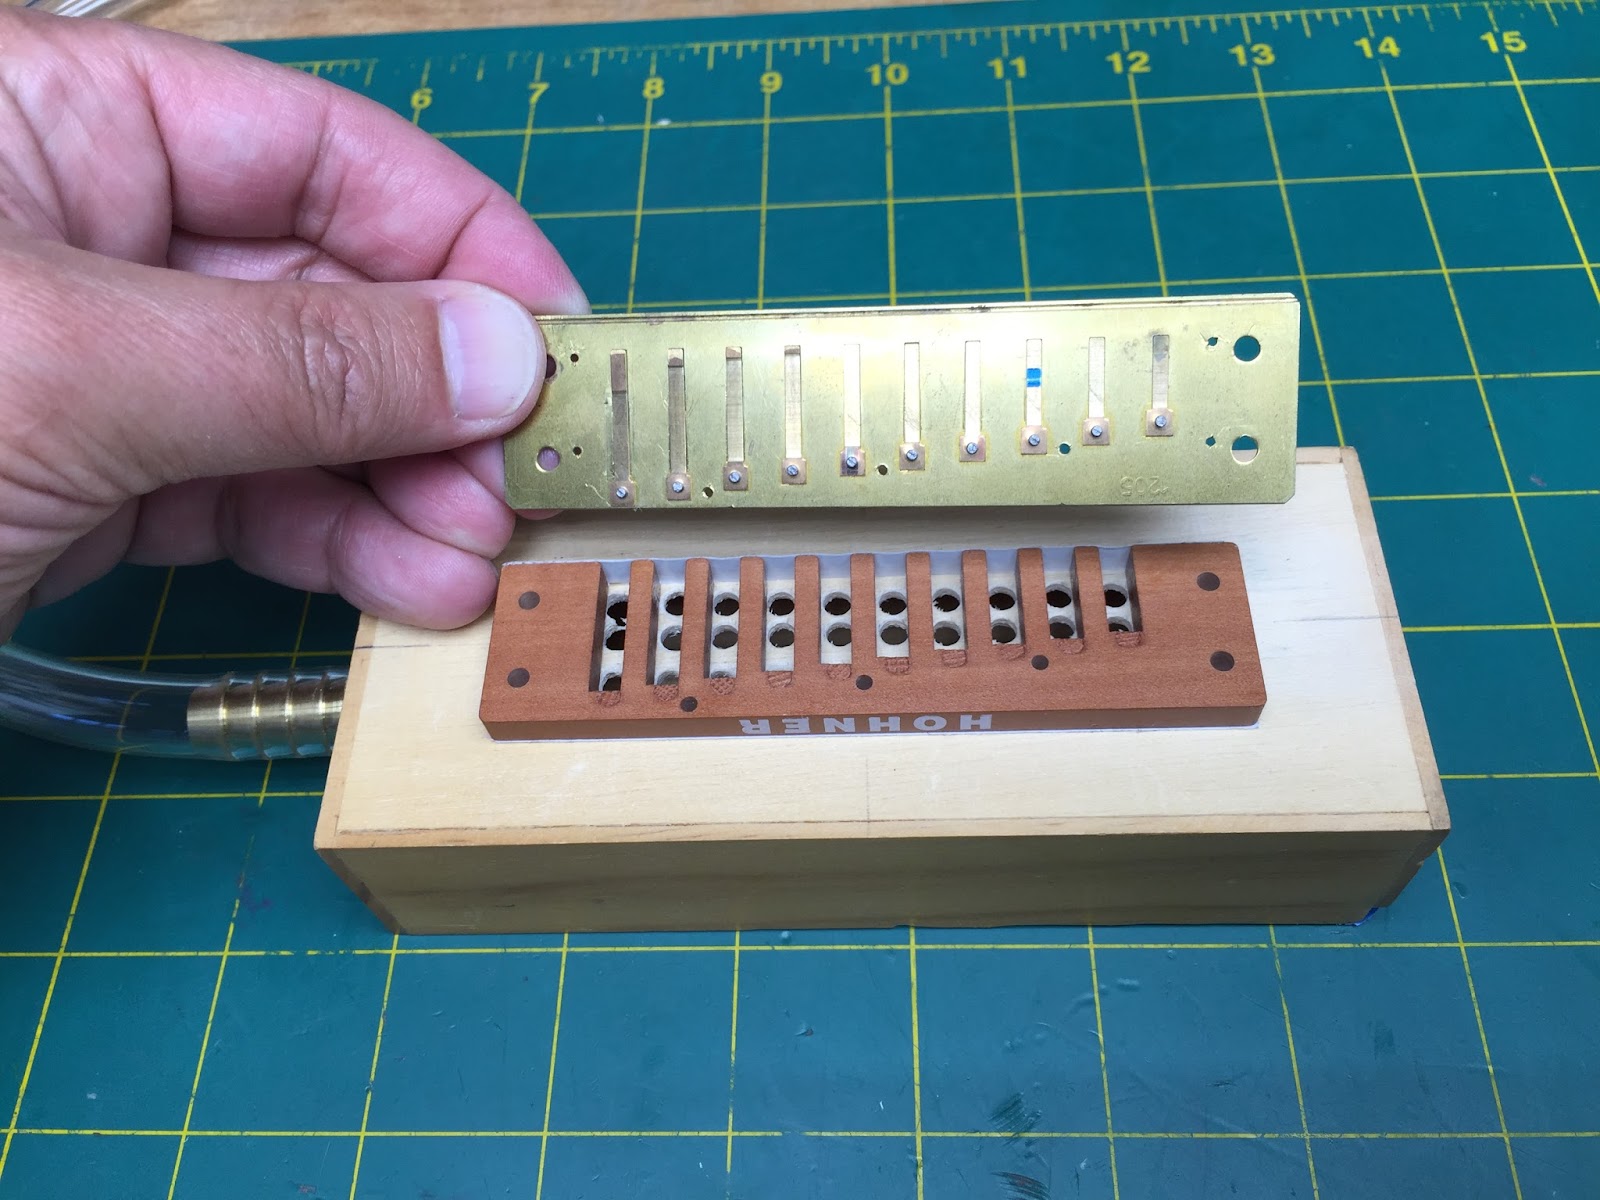
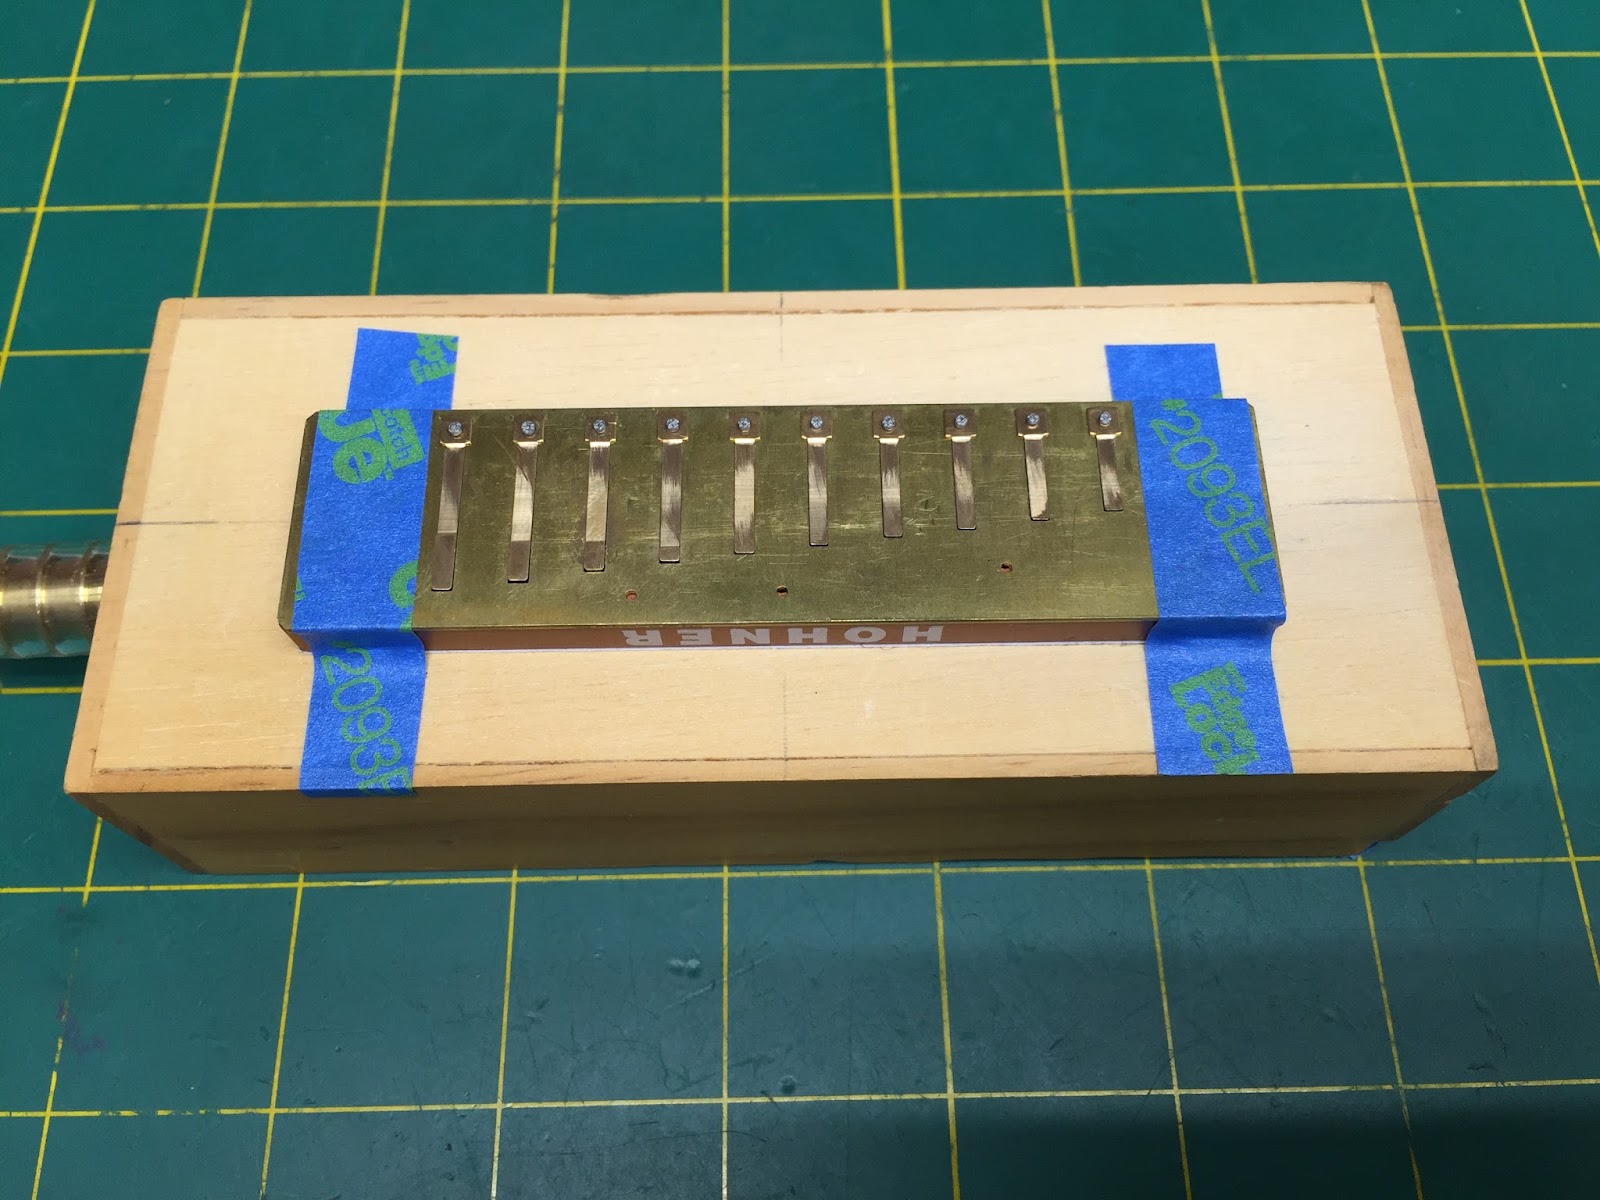
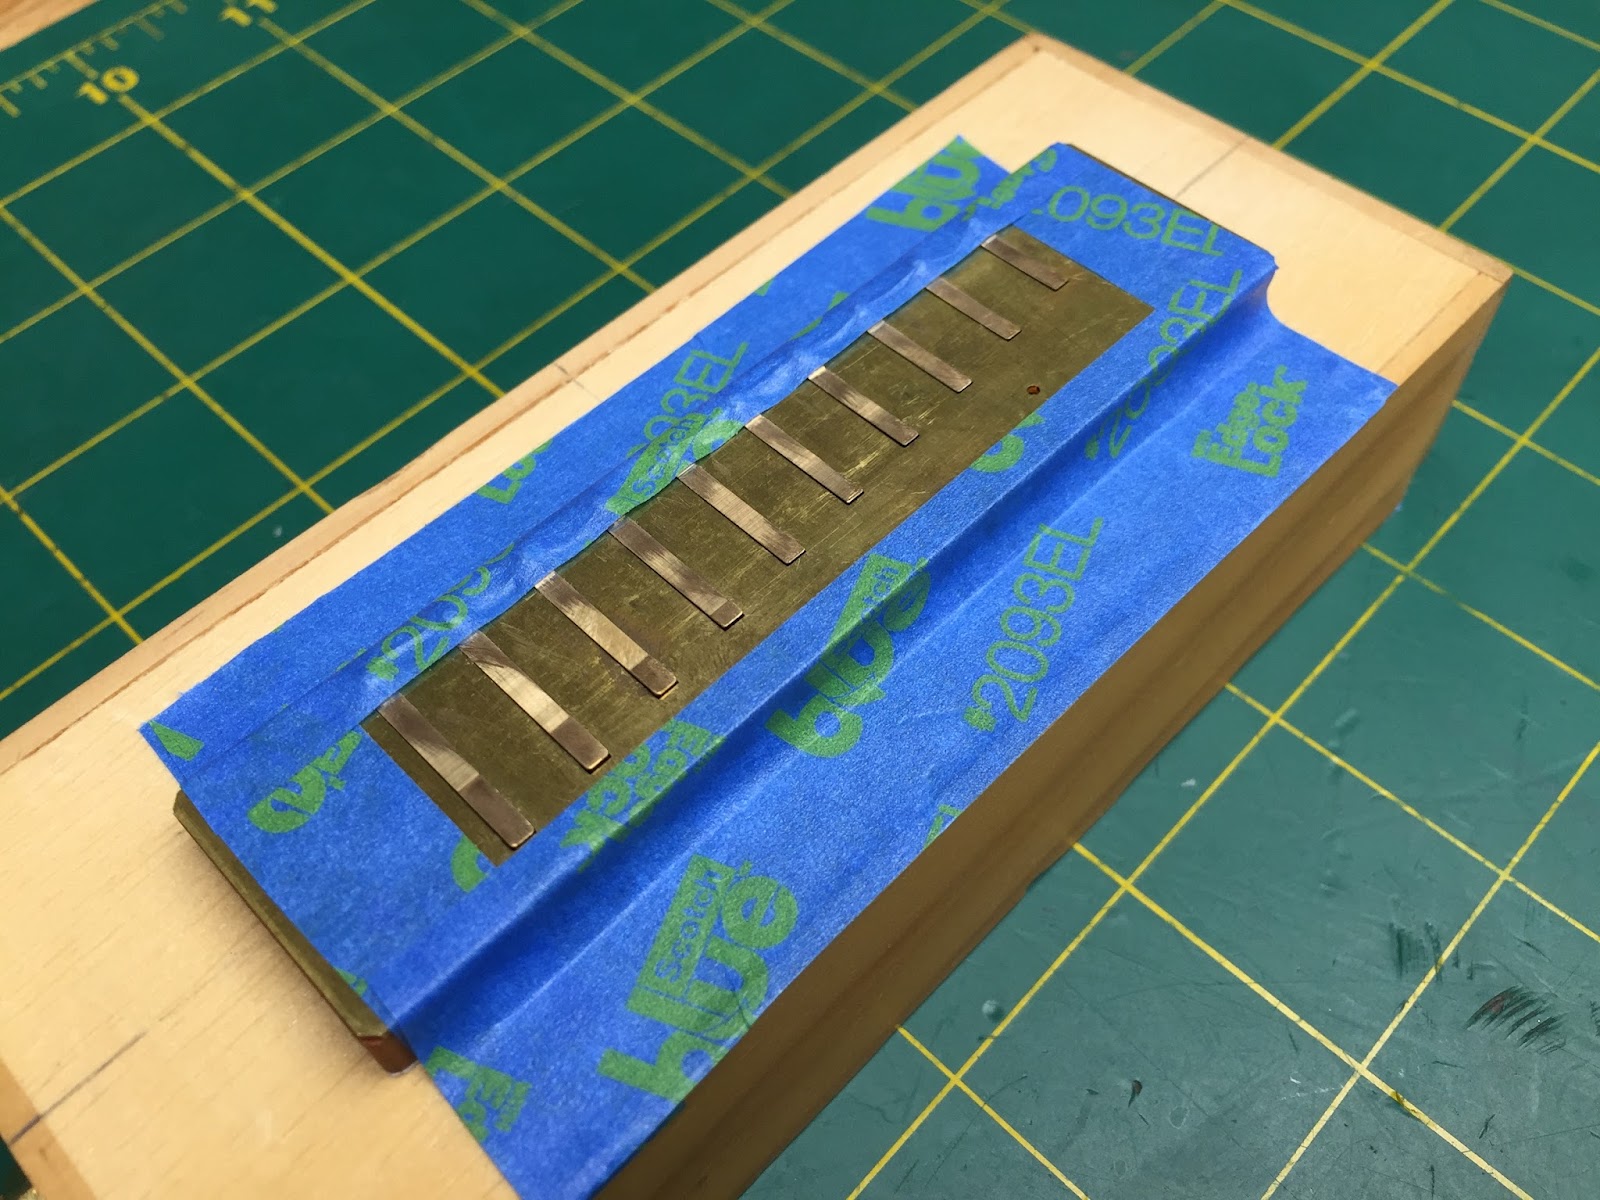
For both the BLOW and DRAW reed plates, have the rivets and reeds facing upward, and align the “stairstep” pattern of the reeds with the stairstep pattern of the comb.
Shown here, is the BLOW reed. TIP: for the blow reeds, the rivets will always be parallel with the leading edge of the reed plate.

Shown next is the DRAW reeds: TIP: for the draw reeds, the rivets will be stair-stepped, with the free end of the reed parallel with the leading edge of the reed plate:
Use “easy to remove” Scotch Blue Painter’s tape to lock and seal the reed plate in place. Shown here is the BLOW reed plate :
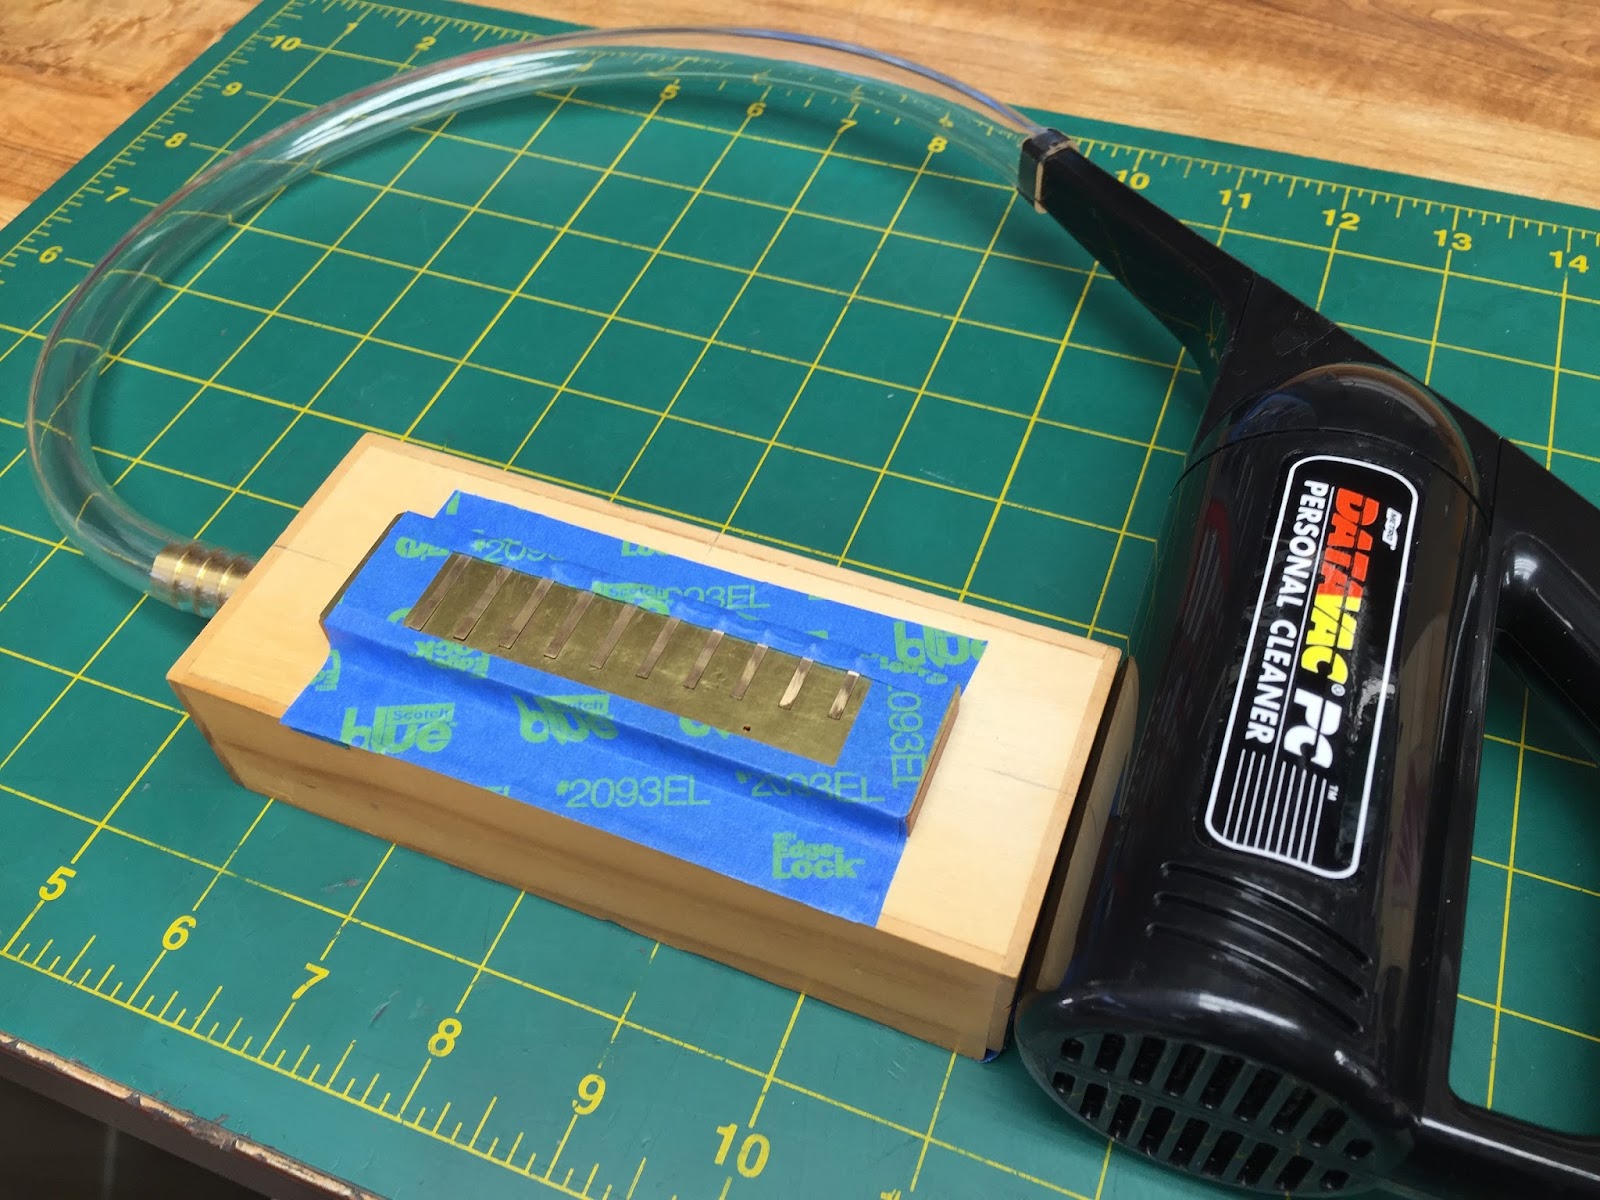
Operate the vacuum for approximately 8 to 10 minutes. Warning: it will be super loud ;o)
Your Harpsmith, Kinya
